Page 81
Wheel removal and inspection
1. Remove the nave/hub caps and wheel trims and loosen the
wheel nuts.
2. Jack up the vehicle until the wheel is clear of the ground.
3. Remove the wheel.
4. Examine the wheel carefully for damage. Use a wire brush
to clear any corrosion. Inspect the centre for cracking, especially in the
area of the wheel nut apertures. Repairs to damaged wheels should
not be carried out. The wheel should be renewed.
5. Refit the wheel.
6. The wheel nuts must be fitted with the tapered end
towards the wheel face. Do not over tighten the wheel nuts. The
pressure that can be applied with the supplied wrench will be
sufficient. If a torque spanner is used the tightening torque should be
4.15 to 4.84 kg/m (30 to 35 lb/ft).
Valves and caps
When checking tyre pressures always ensure that the dust cap is
replaced on the valve and tightened down firmly by hand only. The
cap prevents the ingress of dirt and acts as an extra barrier against
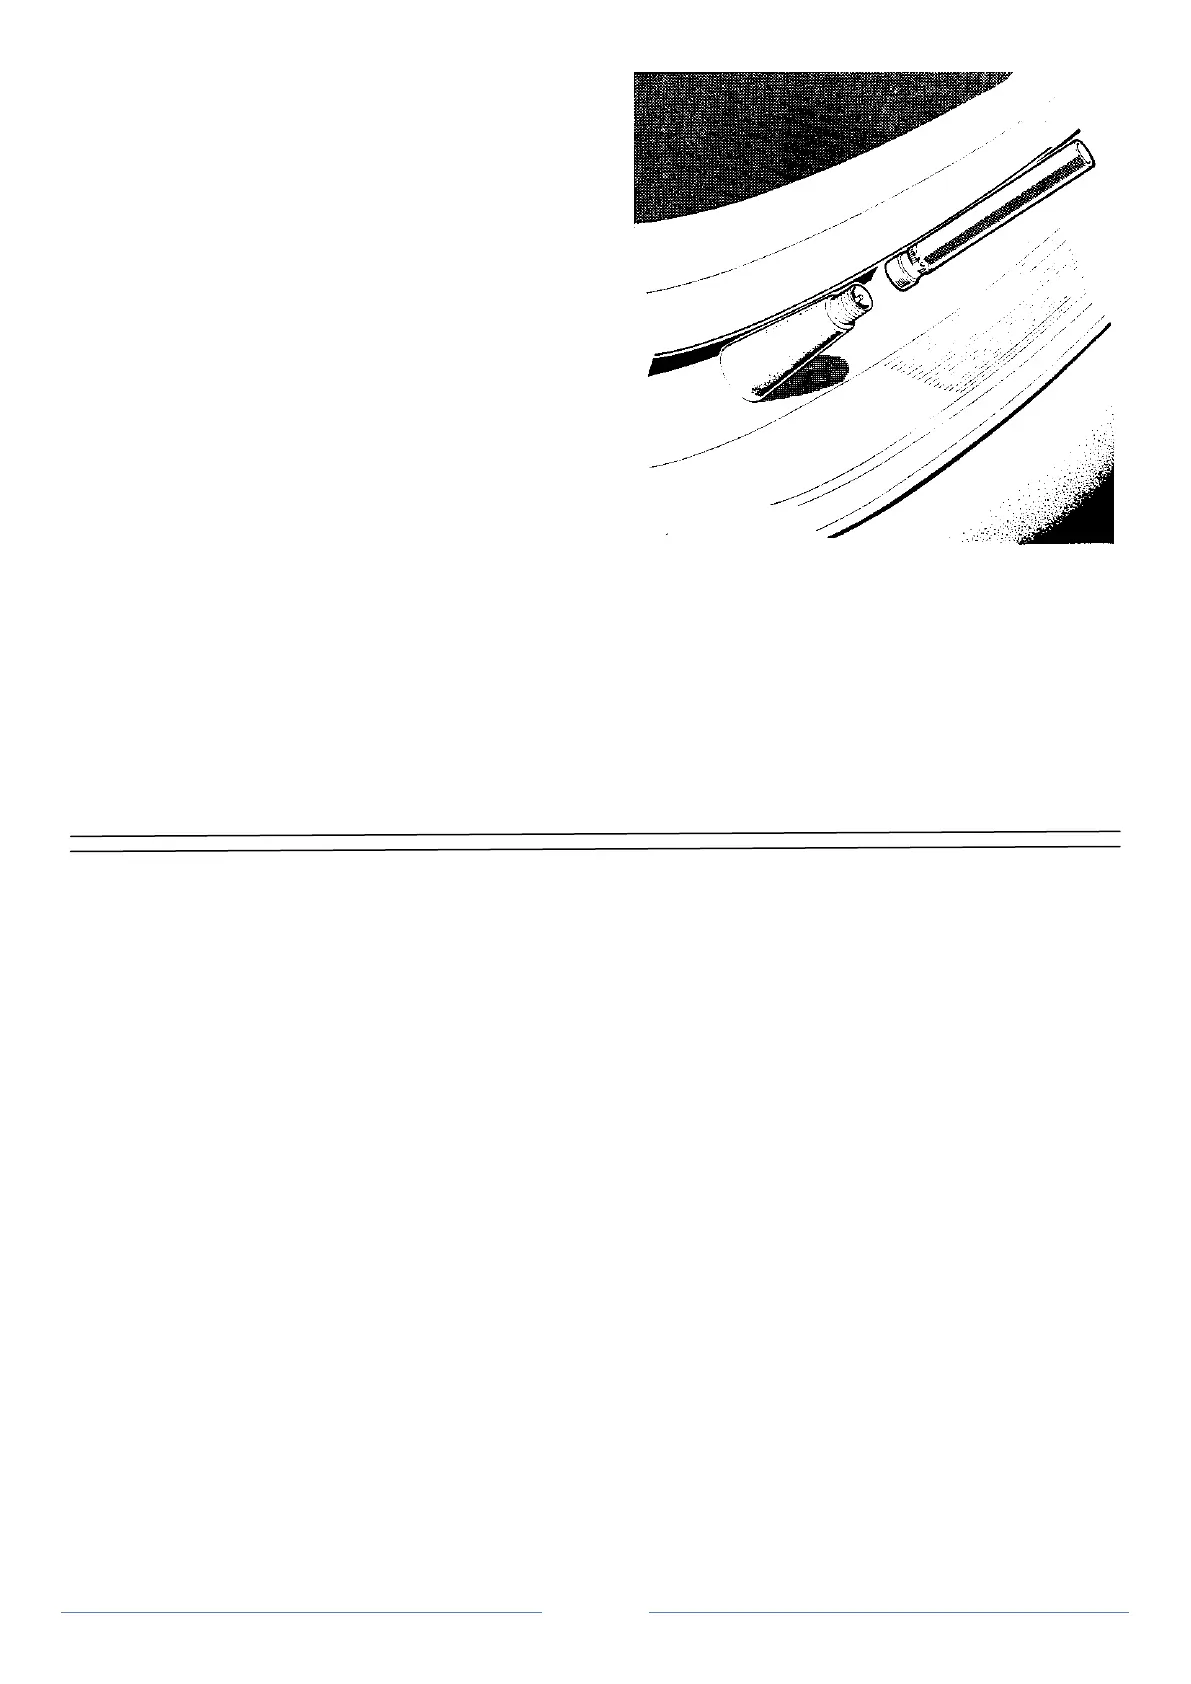
leakage should the valve fail. New valve cores can be fitted using a
valve coring tool (Figure 3).
When replacing a tyre, a new tubeless valve complete should also be
fitted.
Wheel and tyre balance
unbalance in wheel and tyre assemblies will be responsible for various
effects such as wheel wobble, abnormal war of tyres and suspension
components, vibration through the steering or, in extreme cases the
whole vehicle.
Figure 3 Valve fitting tool
Wheels should be balanced when new tyres are fitted. This can be
done statically but all tyre suppliers should have a dynamic balancing
machine. Failing to have the wheels balanced is false economy as the
tyre life will be noticeably better with the wheels balanced.