When the set timer is run out, the product will stop heating automatically, the control-
ler display will flash “0” in timer settings and the temperature will not be displayed. If
you wish to use again, press the “ ” button, the temperature, and timer setting will
be the same as the latest use.
05 06
WARNING: This product is equipped with a SAFETY SYSTEM. This sensor technology
prevents the blanket surface from getting overheated entirely and would automat-
ically switch off it when there is a malfunction. Please note that for safety, the
product could not be operated any longer aer the malfunction. If the overheat
protection is activated, please contact us.
1. Before cleaning, always remove the mains plug from the outlet first.
2. Then disconnect the controller from the product.
1. Soak the product for 15 minutes first in mild soap and cool water.
2. Machine wash on gentle cycle in water at 30℃ for 2 minutes or hand wash.
3. Rinse with fresh, cool water.
4. Machine dry on gentle, cool cycle or hang to dry. (Immediately aer washing, reshape
the product to its original dimensions and spread it out flat on a clothes horse or
clothesline.)
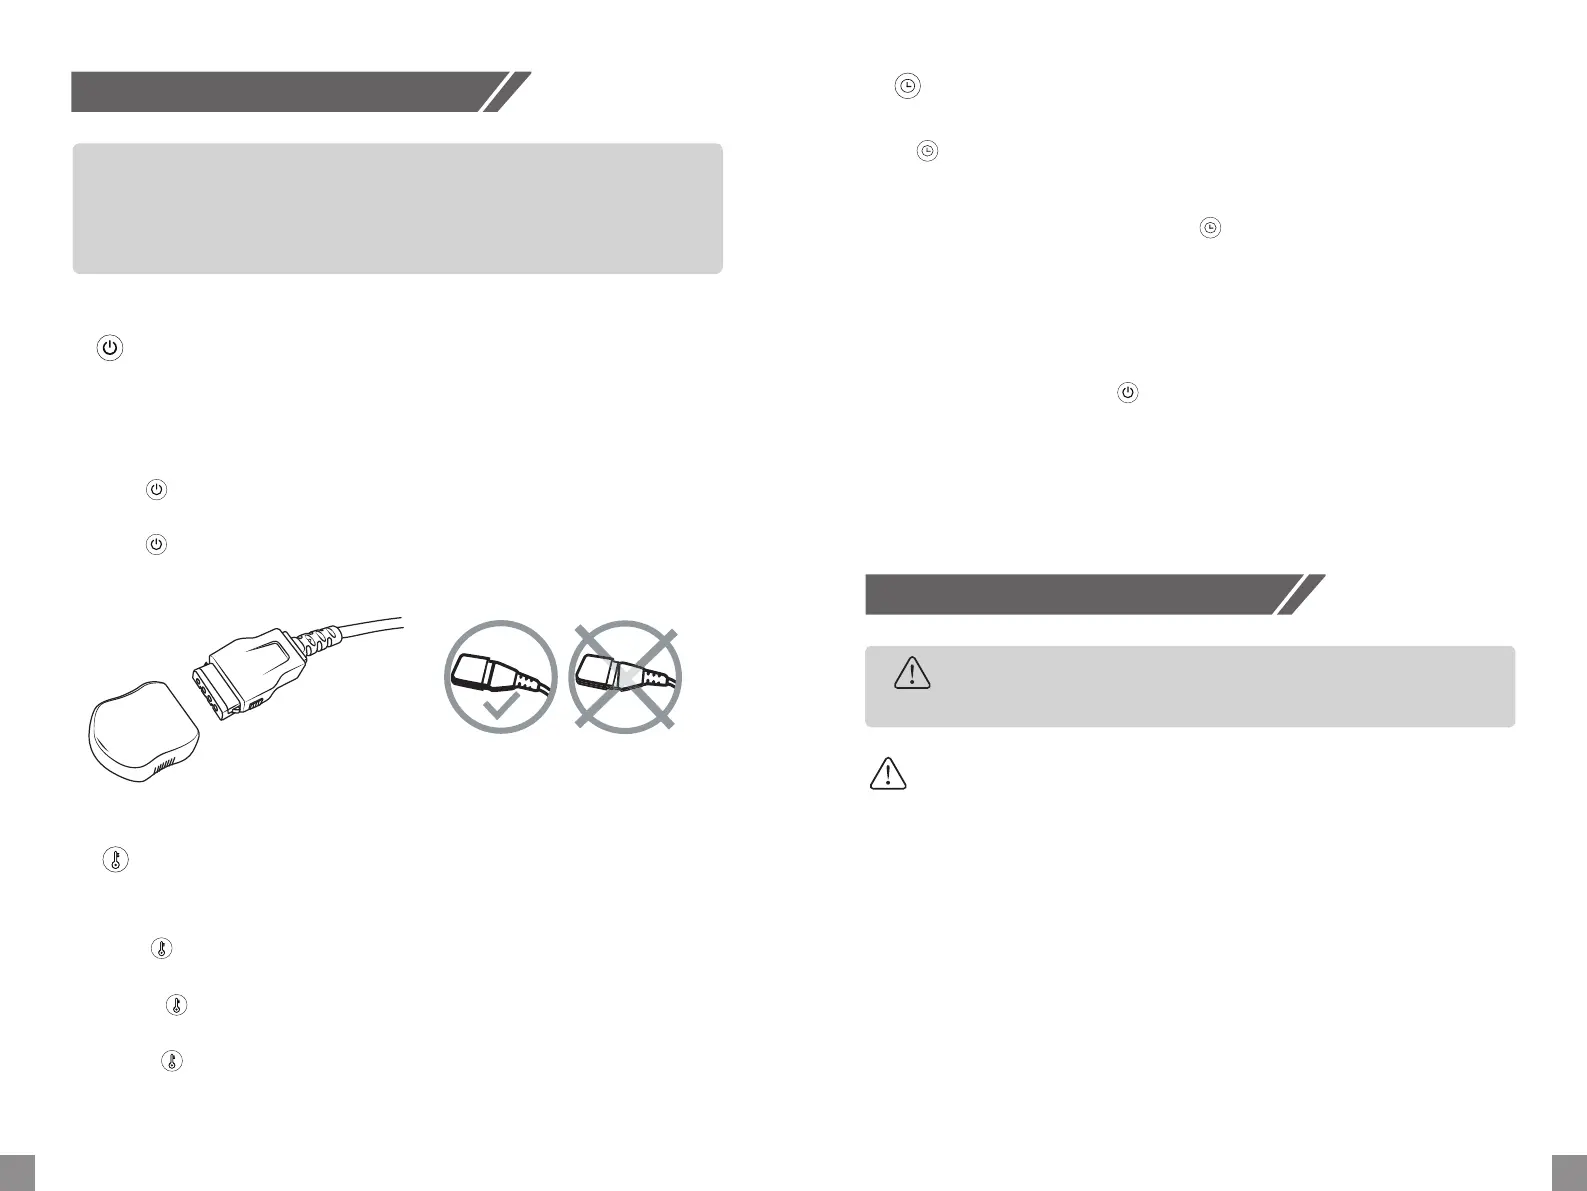
Important! Do not insert the main plug inside the outlet unless connecting the control-
ler to the heated blanket. Align the coupler with the coupler connector first, then gently
push to lock position ( as shown in the below images).
Then connect the controller to the power supply.
Press the , the default H heating mode and 4 hr timers are active. Then "H" will be
displayed, which disappear aer 1 second, with red dot appearing on the LED screen.
Press the , the product was turned off. Only the red dot is still displayed, which
means the product is standby.
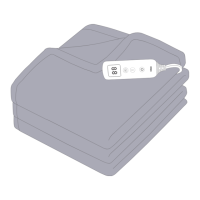
How to Use
Cleaning and Maintenance
1. On/Off
Cleaning
1. Store the product only aer it completely cools down and it’s completely dry.
2. Loop the cord loosely.
3. Store in an airy, dry environment.
Maintenance
Warning
When the product was turned on firstly, the default timer is 4 hr.
Press to set the working time mode among 1-2-3-4-1-2-3-4... circularly and the red
dot will be displayed during the timer setting. Your selection of time will be confirmed
aer the digit has flickered for 5 times on the screen.
If there is no timer setting aer pressing the , the timer setting mode will be quit
automatically aer the digit has flickered for 5 times on the screen.
3. Timer Adjustment
When the product is turned on, the heating level H (113 Fahrenheit) would be activated
by default.
Press the to choose the desired heating level among 10 different heating levels
( 77-113 Fahrenheit) .
Short press , you can choose the heating level step by step from 1-2-3-...8-9-H-1-2...
circularly.
Long press , you can got the H heating level directly from any heating level.
User Tips: The fastest way to preheat is to set the product at the highest heating level
aer turn it on.
2. Temperature Adjustment
4. Automatically OFF
 Loading...