Do you have a question about the Remootio 3 and is the answer not in the manual?
Lists all items included in the Remootio 3 kit.
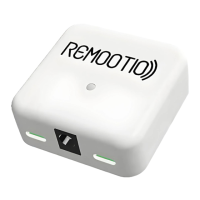
Explains the function of each terminal on the Remootio 3 unit.
Step-by-step guide to removing the unit's plastic cover.
Details wiring for gates needing one signal for open/stop/close.
Details wiring for gates needing separate signals for open and close.
Guidance on attaching the sensor to the gate or garage door.
How to connect a manual control button or doorbell.
Instructions for reassembling the unit after wiring.
Guidance on mounting the Remootio unit using adhesives.
Critical safety step to switch off the circuit breaker before powering.
Details on using the provided USB charger.
Instructions for powering via the gate's control board.
How to power the unit using solar or battery systems.
Using an external adapter for power when other options fail.
Instructions for downloading the mobile application.
Guide to initial setup and configuration using the app.
Explains the meaning of Remootio LED blinking patterns during setup.
Crucial safety guidelines for operating the gate/door with Remootio.
Requirement to use with gate openers featuring photoelectric sensors.
| Connectivity | Wi-Fi, Bluetooth |
|---|---|
| User Capacity | Unlimited users |
| IFTTT Integration | Yes |
| Operating Voltage | 12-24V DC |
| Power Supply | 12-24V DC |
| App Control | iOS and Android |
| Voice Control | Amazon Alexa, Google Assistant |
| Operating Temperature | -20°C to +50°C (-4°F to +122°F) |
| Relay Outputs | 2 relay outputs |
| Operating Range | Up to 100m (328ft) in open space for Bluetooth |