— 6 —
Step 1. Plan a Mounting Site
For optimal battery performance, it is recommended to install the battery in a clean, cool, and dry
location, free from any accumulation of water, oil, or dirt. Accumulation of such materials on the
battery can lead to current leakage, self-discharge, and even short-circuiting.
KEEP DRY FRAGILE VENTILATION
Charge: -4°F–131°F / -20°C–55°C
Discharge: -4°F–140°F / -20°C–60°C
10%–95%
Vent
Enclosed space
Air
cross-flow
Sufficient airflow must be provided to prevent excessive heat build-up and to minimize
temperature variation between the connected batteries.
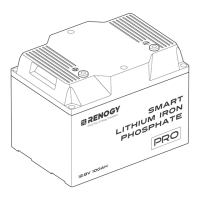
This user manual takes a battery as an example to illustrate how to install the battery.
Step 2. Wear Insulating Gloves
Insulating Gloves
Step 3. Check the Battery
Inspect the battery for any visible damage including cracks, dents, deformation, and other visible
abnormalities. All connector contacts shall be clean, free of dirt and corrosion, and dry.
Do not touch the exposed electrolyte or powder if the battery is damaged.
If uncovered electrolyte or powder contacts your skin or eyes, flush it out immediately with
plenty of clean water and seek medical attention.

 Loading...