General Introduction
The LED in Red (WiFi connection failed)
Blinking: Standby status
On: Working status
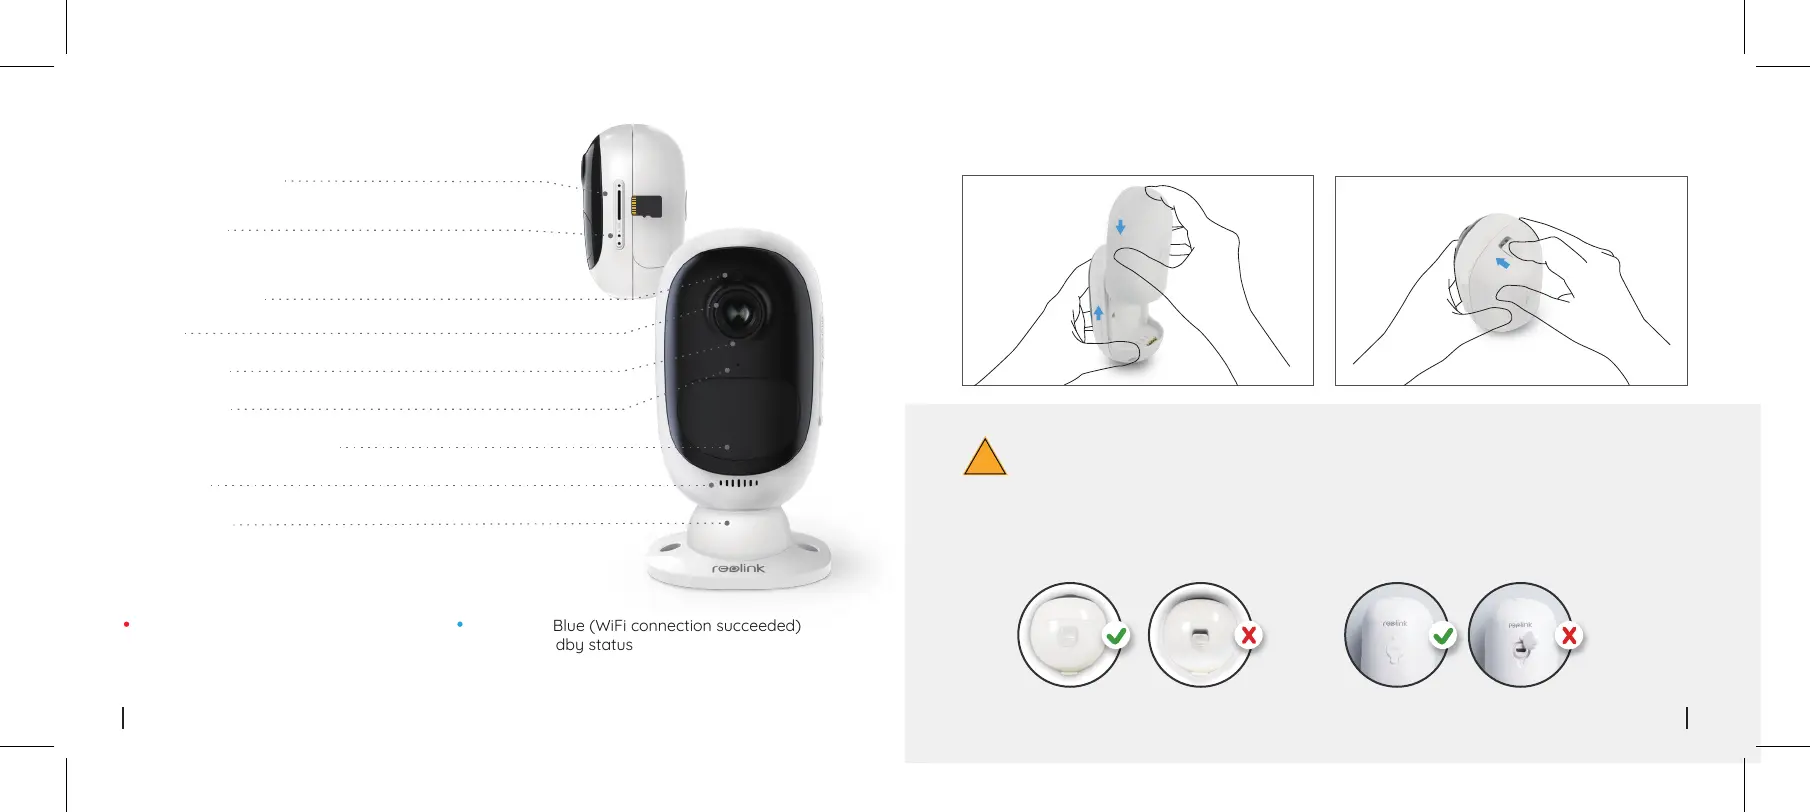
The LED in Blue (WiFi connection succeeded)
Blinking: Standby status
On: Working status
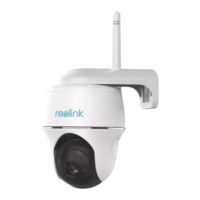
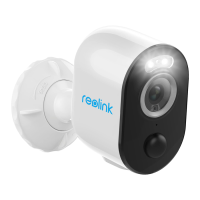
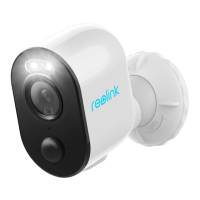
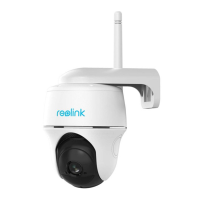
Micro SD Card Slot
Daylight Sensor
Lens
Status LED
Built-in Mic
Built-in PIR Motion Sensor
Speaker
Wall Mount
Reset Hole
Press the reset button with a
pin to restore factory settings.
Only for Argus 2
Install the Rechargeable Battery to the Camera
!
• Pleasepressthebutton(onthetopofthebackcasing),andslide thebackcasing
downwardtocloseit.Thebuttonalsoneeds to be closedfirmlyfor goodweatherproof
performance.
• For the weatherproof performance, always cover the USB charging port with the rubber
plug.
3English2 English
 Loading...