EasyManuals Logo

Reolink Duo 2 WiFi User Manual

Reolink Duo 2 WiFi
8 pages
To Next Page IconTo Next Page
To Previous Page IconTo Previous Page
Page #6 background imageLoading...
Page #6 background image
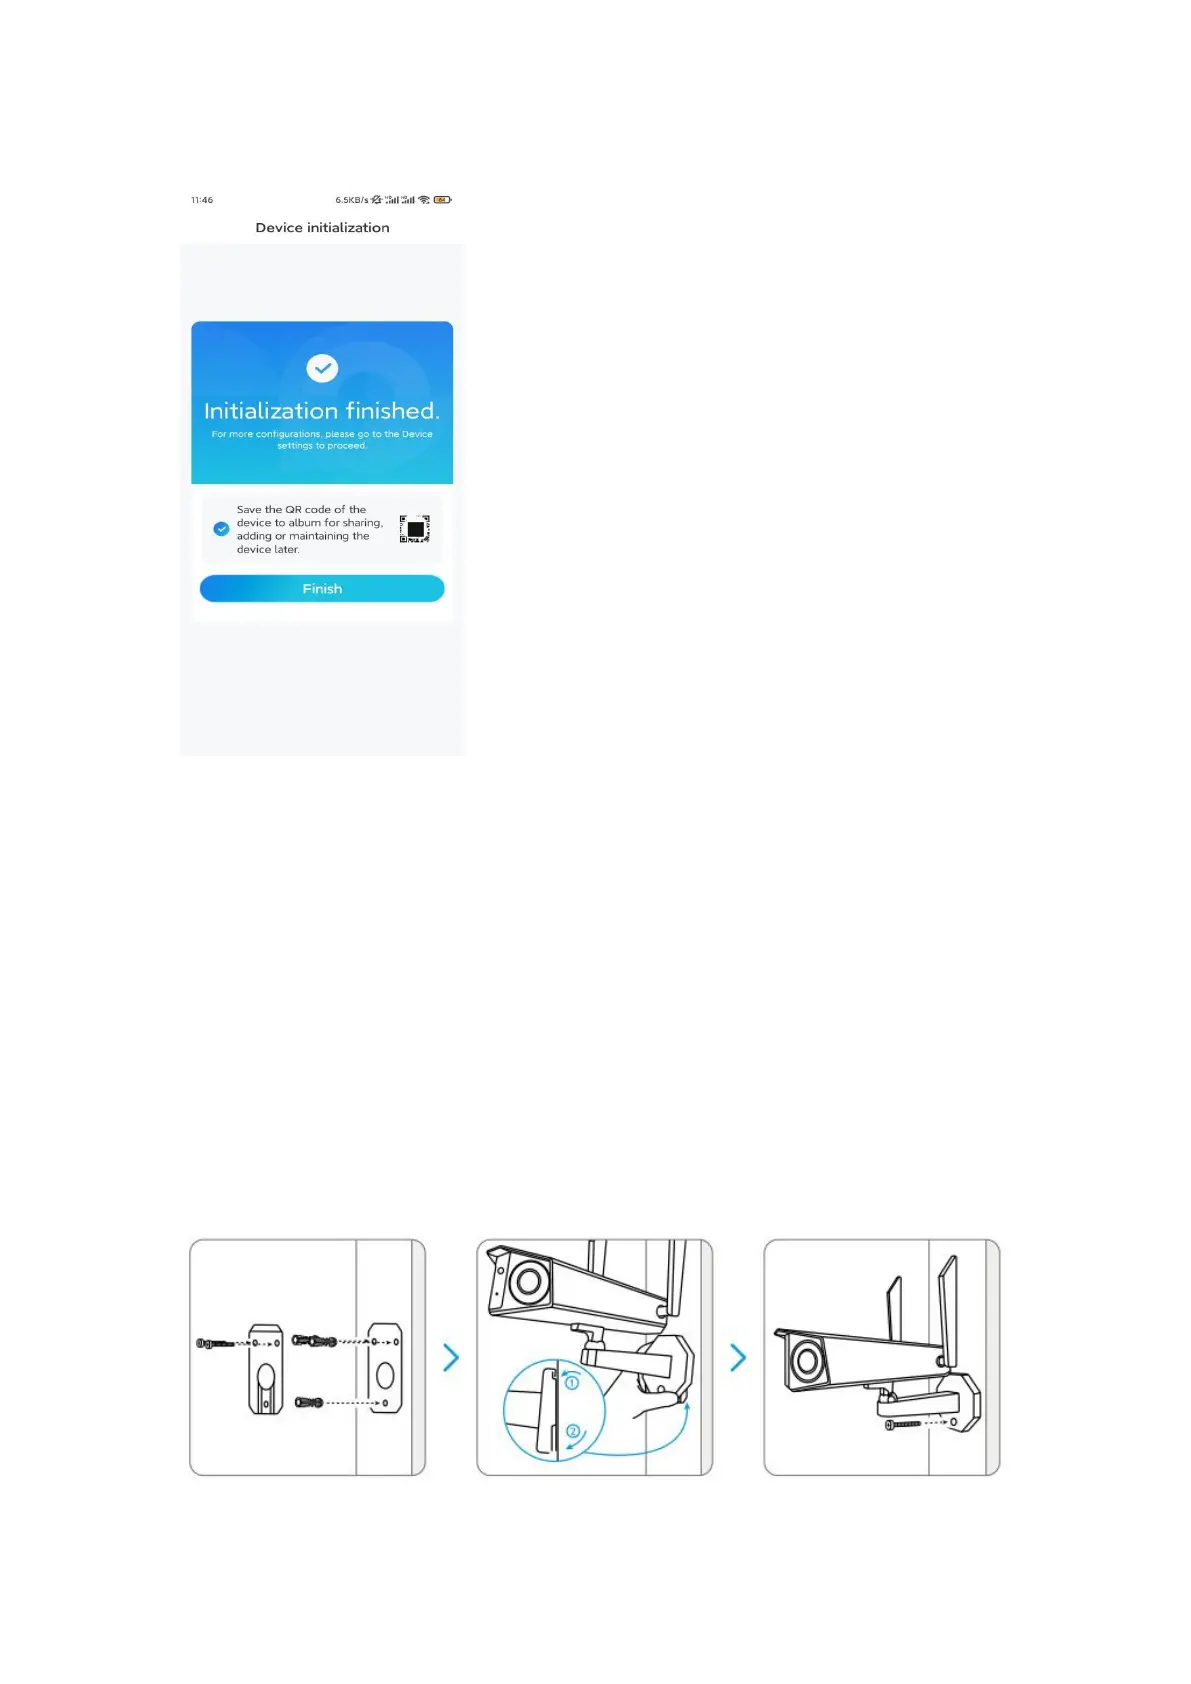
Step 6. Done! The initialization of your camera is finished.
Note: If this device can't connect to the WiFi after you remove the Ethernet cable,
you can connect it to the router again and see if it can pass the WiFi test.
Install the Camera
We offer you guides on different scenes in which the camera could be installed.
Check out them respectively.
Mount the Camera on the Wall
Step 1. Screw the camera onto the wall.
Drill holes in accordance with the mounting template.
Next, secure the mounting plate to the wall with the upper two screws and
hang the camera on it.
Then fix the camera in position with the lower screw.
Note: Use the drywall anchors included in the package if needed.

Questions and Answers:

Question and Answer IconNeed help?

Do you have a question about the Reolink Duo 2 WiFi and is the answer not in the manual?

Reolink Duo 2 WiFi Specifications

General IconGeneral
Field of View180°
Smart FeaturesMotion detection, Person/Vehicle detection
Weatherproof RatingIP66
Pan & TiltNo
Video CodecH.265
Operating Frequency2.4 GHz / 5 GHz
Wireless SecurityWPA-PSK/WPA2-PSK
ConnectivityWiFi
Night VisionInfrared and Color Night Vision
AudioTwo-way audio
Power SourceDC 12V/1A
Image Sensor1/2.7" CMOS
Video Resolution4K
Digital Zoom16x
Frame Rate25 fps
Wireless StandardIEEE 802.11 a/b/g/n
StorageMicroSD card (up to 256GB), Reolink Cloud

Related product manuals