!
Charge the Battery
Charging indicator:
Green LED: Fully charged
Please learn some useful ways to maximize the battery life in this post:
https://reolink.com/faq/extend-battery-life/
Ɋ ¦śĞóơĞŦŲƭĞƭľóƭƭľĞơŲśóƙƖóŦĞśŃơv¾ŃŦĐśƵėĞėŃŦƭľĞƖóĐŘóķĞɔäŲƵĐóŦďƵǔƭľĞơŲśóƙƖóŦĞśŲŦ©ĞŲśŃŦŘŲȆĐŃóśŲŦśŃŦĞ
store.
Reolink Go is not designed for 24/7 full capacity running or around-the-clock live streaming. It’s
designed to record motion events and remotely view live streaming only when you need it.
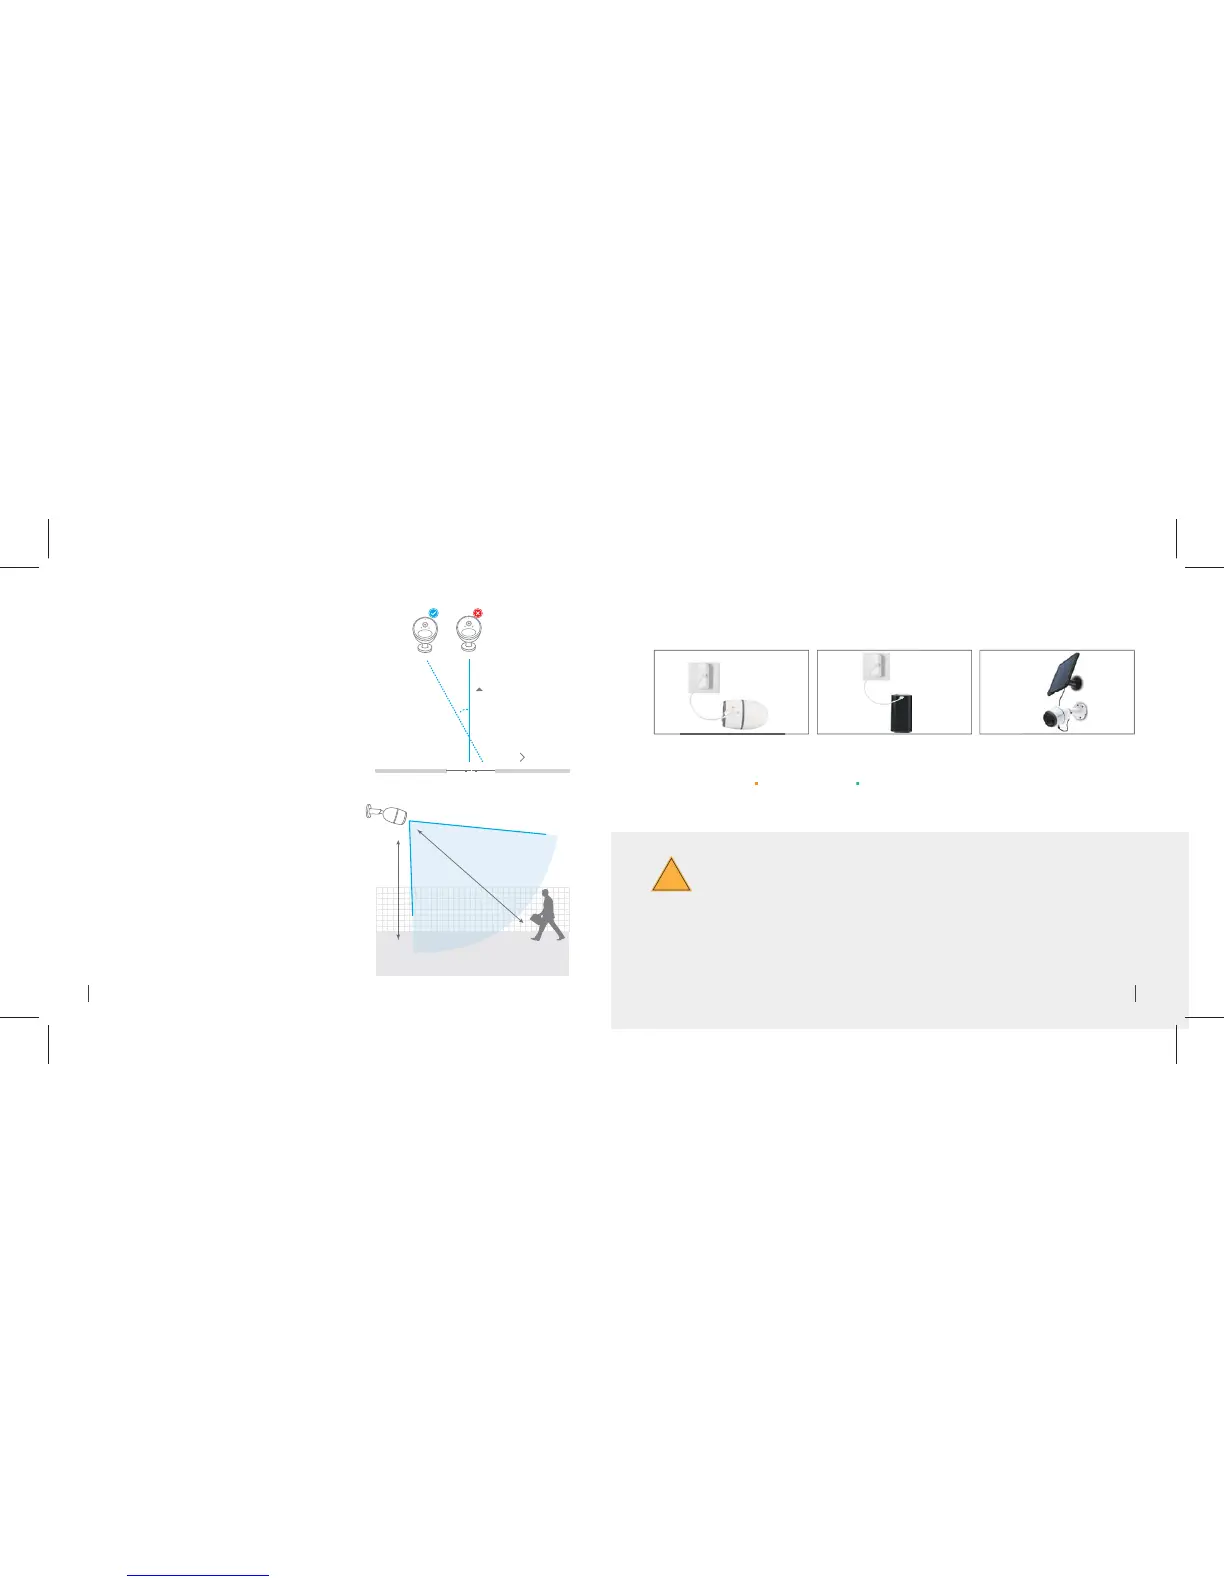
Important Safeguards on Rechargeable
Battery Use
1. Charge the battery when
it's installed to the camera.
2. Charge the battery separately. 3. Charge the battery with the
Reolink solar panel.
Orange LED: Charging
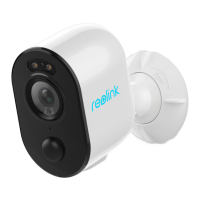
When installing the camera, please install the camera
angularly (the angle between the sensor and the detected
ŲďŕĞĐƭŃơśóƙķĞƙƭľóŦȐȏˆɧĶŲƙĞȅĞĐƭŃǍĞŤŲƭŃŲŦėĞƭĞĐƭŃŲŦɔUĶ
the moving object approaches the PIR sensor vertically,
the sensor may not detect the motion events.
The ideal viewing distance is 2-10 meters (7-33ft), which
enables you to recognize a human.
Entrance
Á
The path of the
moving object
FYI:
• The PIR sensor’s detecting distance: 23ft (in default)
• The PIR sensor’s detecting angle: 120° (H)
• Camera Ideal Viewing
Distance
• PIR Sensor Installation Angle
10°
Á
2-3 meters
Ideal Viewing Distance:
2-10 meters (7-33ft)
10 English 11English

 Loading...