English English7 8
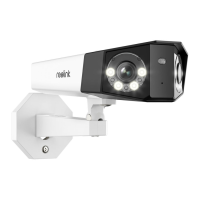
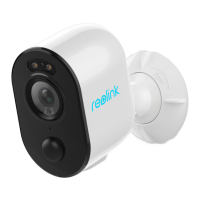
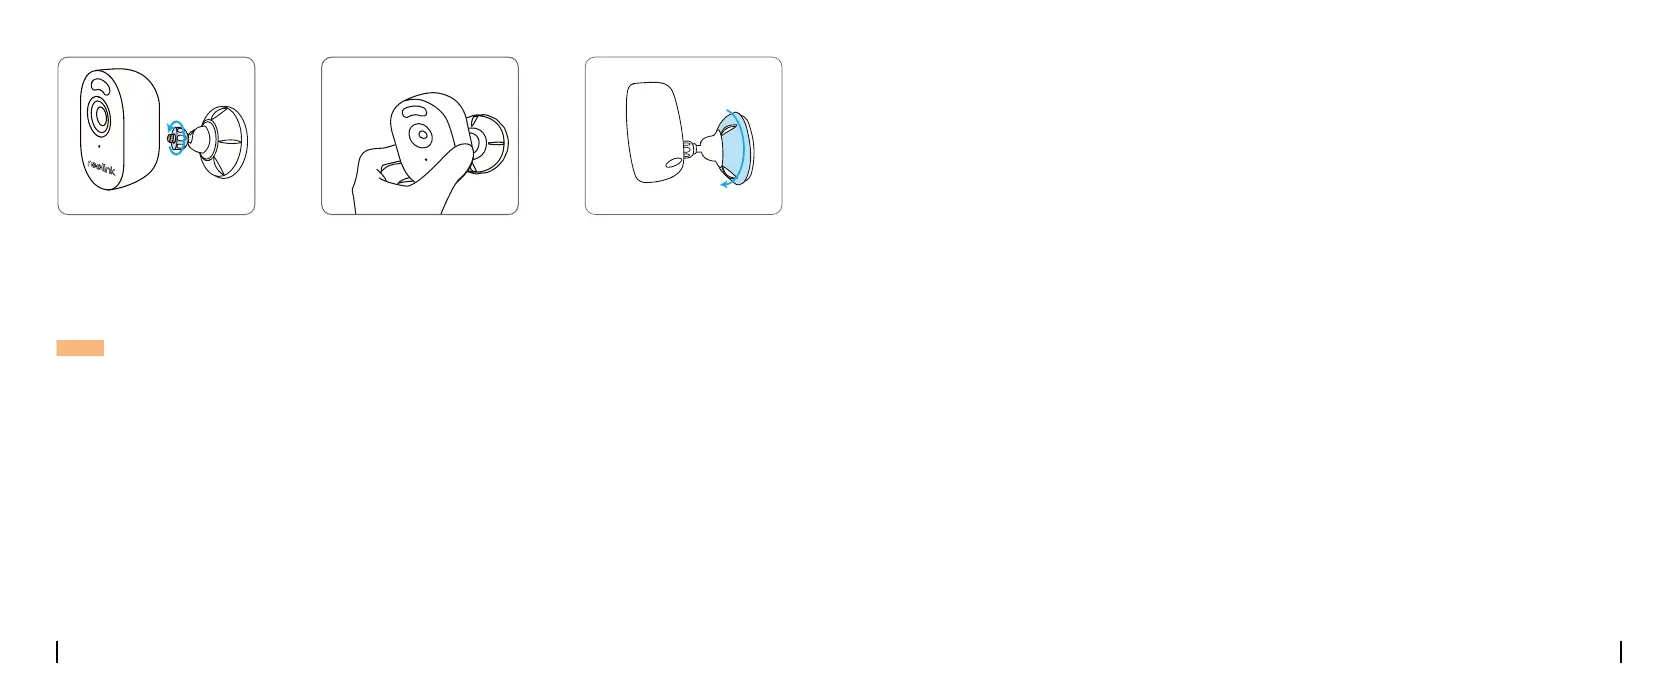
Fasten the camera to the
bracket by turning the
screw identied in the chart
anticlockwise.
Adjust the camera angle to
get the best eld of view.
Secure the camera by
turning the part on the
bracket identied in the
chart clockwise.
NOTE: To adjust the camera angle, please loosen the bracket by turning the upper part anticlockwise.
Troubleshooting
If the Infrared LEDs of your camera stop
working, please try the following solutions:
• Enable infrared lights on Device Settings
page via Reolink App/Client.
• Check if the Day/Night mode is enabled and
set up auto infrared lights at night on Live
View page via Reolink App/Client.
• Upgrade the rmware of your camera to the
latest version.
• Restore the camera to factory settings and
check out the infrared light settings again.
If these won’t work, contact Reolink Support
https://support.reolink.com/.
If you fail to scan the QR code on your smart-
phone, please try the following solutions:
• Check if the protective lm on the camera
has been removed.
• Face the camera towards the QR code and
keep a scan distance of about 20-30 cm.
• Make sure the QR code is well-lit.
Infrared LEDs Stop Working
Failed to Scan the QR code on the
Smartphone
If you fail to upgrade the rmware for the
camera, try the following solutions:
Failed to Upgrade the Firmware
• Check out the current camera rmware and
see if it is the latest one.
• Make sure that you download the correct
rmware from Download Center.
• Make sure that your PC is working on a sta-
ble network.
If these won’t work, contact Reolink Support
https://support.reolink.com/.
 Loading...