For Instructional Video, Please Visit: https://www.youtube.com/watch?v=awa4z2fFn7A
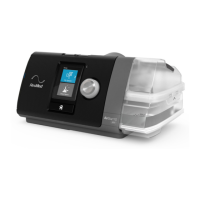
The ApneaLink Air system includes:
Disposable oximeter finger sensor (optional)
Reusable oximeter finger sensor (optional)
Oximeter belt clip (optional)
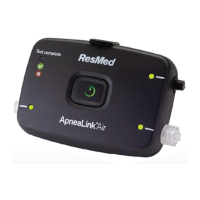
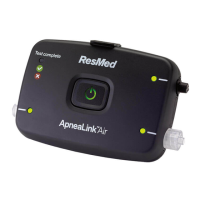
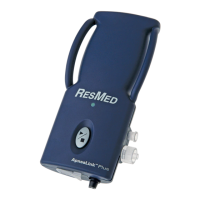
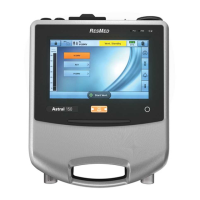
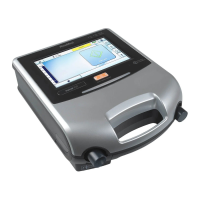
The ApneaLink Air device has the following lights, connectors and button:
Test complete indicator light
Oximeter connector and accessory light
Nasal cannula connector and
accessory light
Effort sensor connector and accessory light.
1
3
Putting the device on the belt
Thread one end of the belt through
the slots on the back of the device.
Check that the device is positioned
as shown.
Flip the device over. Thread
the end of the belt closest to
the device through one of
the slots on the effort
sensor.
Fasten the tab to the belt.
Slide the device into a
position that is close to the
effort sensor.
WARNING: Ensure that the oximeter clip is positioned on the same side of
the body as the finger sensor so as not to pose a strangulation risk.
To fit the reusable finger sensor, slip it over the index
finger on your non-dominant hand as shown.
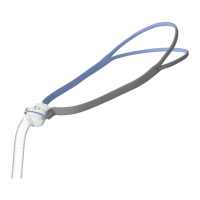
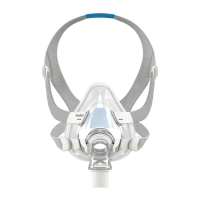
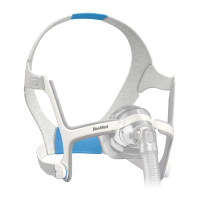
Connecting the nasal cannula
Unscrew and remove the protective cap and
insert the connector end of the nasal cannula
into the nasal cannula connector on the device.
Turn clockwise until the connector is secure.
Note: Retain the protective caps to use
at the completion of the test.
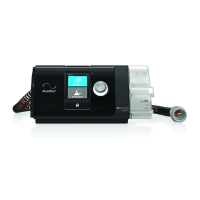
Connecting the effort sensor (if used)
Unscrew and remove the protective cap and
insert the connector end of the effort sensor
into the effort sensor connector on the device.
Turn clockwise until the connector is secure.
Connecting the oximeter (if used) NONIN
Attach the oximeter finger
sensor to the oximeter.
Attach the belt clip
to the oximeter.
Attach the oximeter to the
oximeter connector on the
device by pushing it on.
ApneaLink Home Sleep Test Instructions