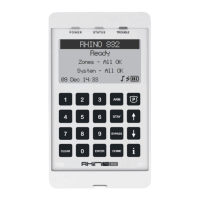
INSTALLATION SEQUENCE
Read this section before attempting to install the alarm system. Once you have an overall
understanding of the installation sequence, carefully work through each step.
1: Design the Layout
Make a sketch of the premises to get an idea of where all alarm detection devices, keypads and
other modules are to be located.
2: Mount the Panel
The control panel should be mounted in a dry area, out of sight, close to an AC power source.
3: Install the Keypads
Mount the remote keypads at locations that are easily accessible during entry and exit from the
protected area. Connect the remote keypads to the control panel.
4: Set up the Zones
Install all detection devices (including wireless) and connect the wired devices to the control
panel or expander. Note that the wireless devices can only be configured during programming
5: Other Wiring
Complete all other wiring including bells or strobe lights.
6: Apply Power to the Control Panel
Once steps 1 to 5 are completed, apply power to the control panel. First, connect the red battery
lead to the positive terminal and then the black lead to the negative terminal. Then, connect the
AC.
7: Program the System
The panel can be programmed using the keypad or the software supplied on the FSK DVD which
can be done via USB connection or remotely via the FSK Gateway.
8: Test the System
Test the system thoroughly and perform the zone commissioning procedure on page 40 for
wireless zones, to ensure all features and functions are operating as required.
Rhino 832 Installation Manual 7 |

 Loading...