EasyManuals Logo

Rice Lake 920i Installation Guide

Rice Lake 920i
6 pages
To Next Page IconTo Next Page
Page #1 background imageLoading...
Page #1 background image
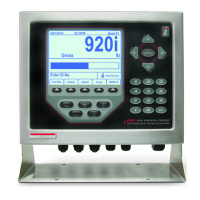
920i® Programmable HMI Indicator/Controller
Panel Mount Enclosure Installation
This document contains drawings, replacement parts lists and instructions for installing panel mount models of 920i indicators.
See the 920i Installation Manual, PN 67887, for general installation, configuration and calibration information.
WARNING
The 920i has no on/off switch. Before opening the unit, ensure the power cord is disconnected from the power
outlet.
Use a wrist strap for grounding and to protect components from electrostati
c discharge (ESD) when working
inside the indicator enclosure.
This unit uses double pole/neutral fusing which could c
reate an electric shock hazard. Procedures requiring
work inside the indicator must be performed by qualified service personnel only.
Figure 1. Panel Cutout for Panel Mount Enclosure
8.02"
9.16"
11.56"
10.51"
Illustration is not to scale, dimensions
are for reference only.
Interior Housing
(Dotted Line)
Panel Cutout
(Dashed Line)
Outer Perimeter of
Exterior Faceplate
(Solid Line)
PN 69988 Rev B
April 20, 2018

Other manuals for Rice Lake 920i

Questions and Answers:

Question and Answer IconNeed help?

Do you have a question about the Rice Lake 920i and is the answer not in the manual?

Rice Lake 920i Specifications

General IconGeneral
DisplayLCD
Processor32-bit microprocessor
Communication PortsRS-232, RS-485, Ethernet, USB
Power SupplyAC or DC
Input Voltage100-240V AC, 50/60Hz or 12-24V DC
Operating Temperature-10 °C to 40 °C (14 °F to 104 °F)
EnclosureNEMA 4X/IP66, stainless steel
Load Cell InputSupports up to 4 load cells
CertificationsNTEP, OIML, CE

Related product manuals