3. Press [New Program].
4. Press [Change] under "Name".
The name entry display appears.
5. Enter the name, and then press [OK].
6. Press [ Next].
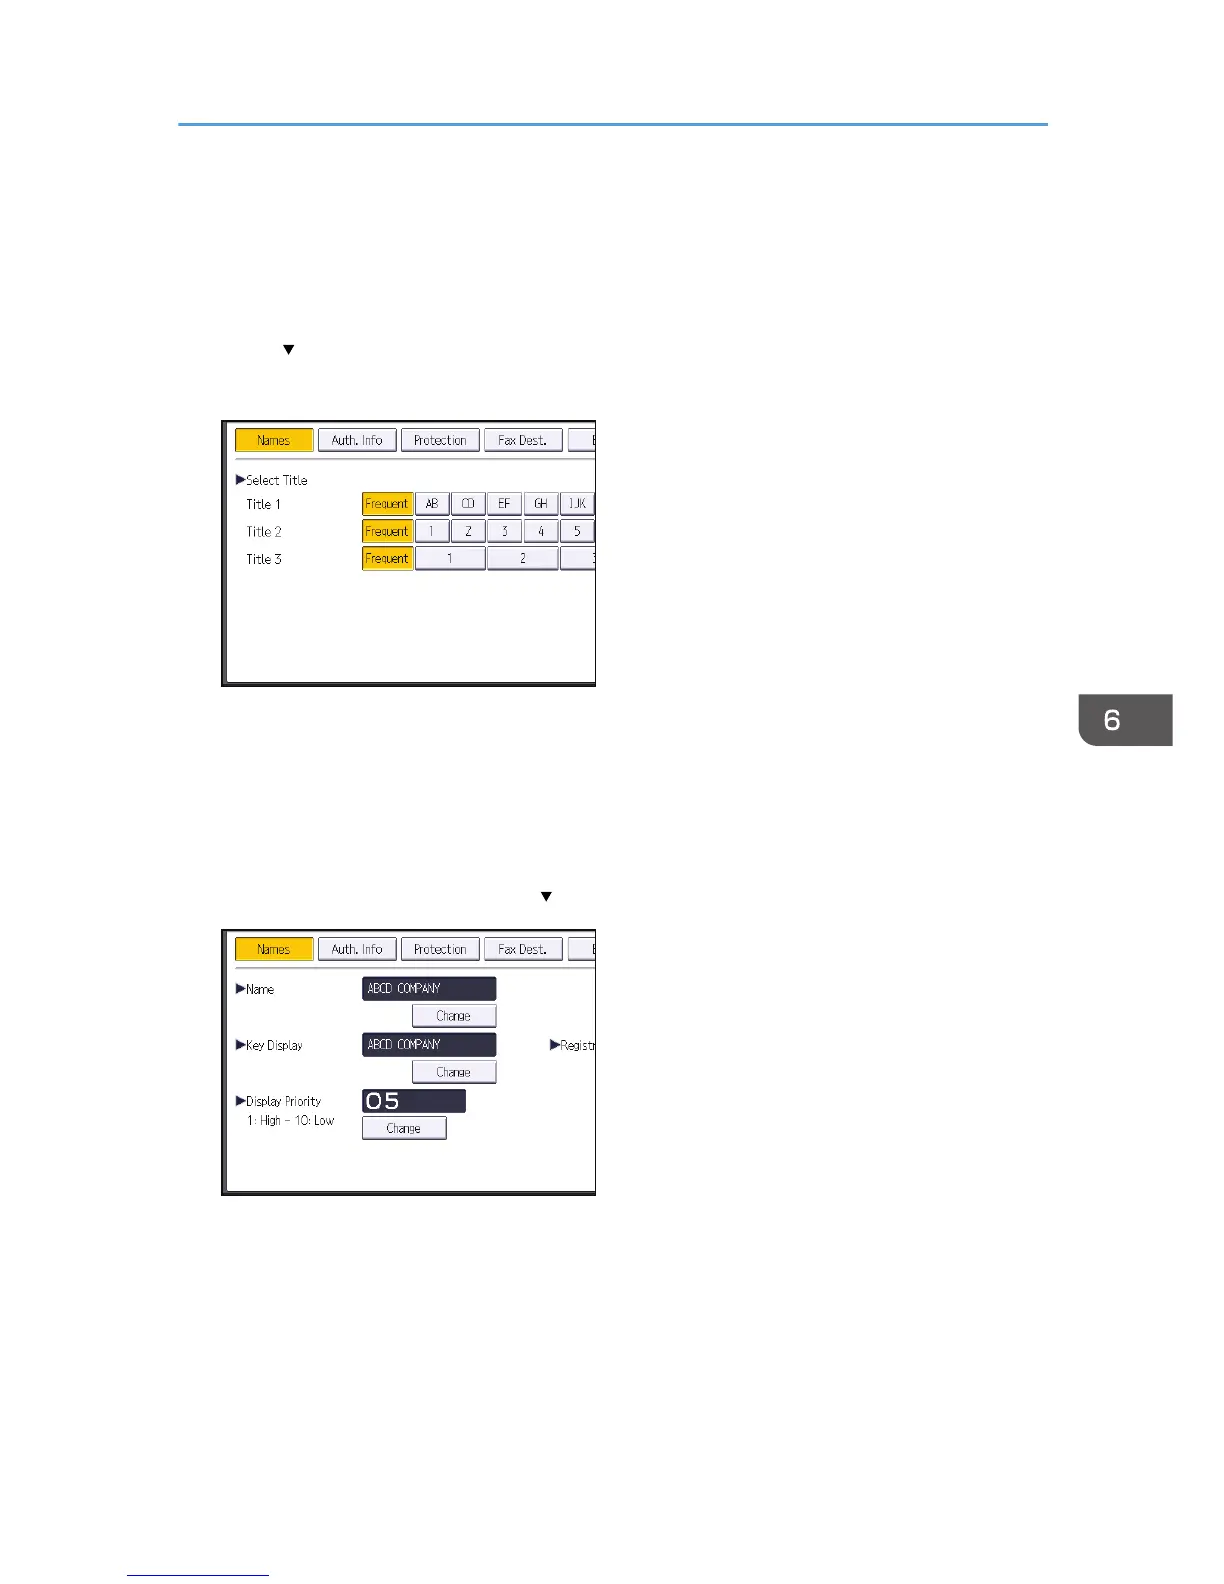
7. Press the key for the classification you want to use under "Select Title".
The keys you can select are as follows:
• [Frequent]: Added to the page that is displayed first.
• [AB], [CD], [EF], [GH], [IJK], [LMN], [OPQ], [RST], [UVW], [XYZ], [1] to [10]: Added to the
list of items in the selected title.
You can select [Frequent] and one more key for each title.
8. Press [Auth. Info], and then press [
Next].
9. Press [Specify Other Auth. Info] on the right side of "Folder Authentication".
When [Do not Specify] is selected, the SMB User Name and SMB Password that you have
specified in "Default User Name / Password (Send)" of File Transfer settings are applied.
10. Press [Change] under "Login User Name".
11. Enter the login user name of the destination computer, and then press [OK].
12. Press [Change] under "Login Password".
Basic Procedure When Using Scan to Folder
137
 Loading...