EasyManua.ls Logo

Ricoma RCM 1501 PT - User Manual

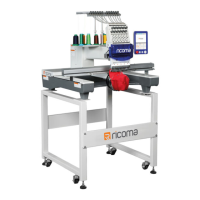
Ricoma RCM 1501 PT
42 pages
Print Icon
To Next Page IconTo Next Page
Loading...
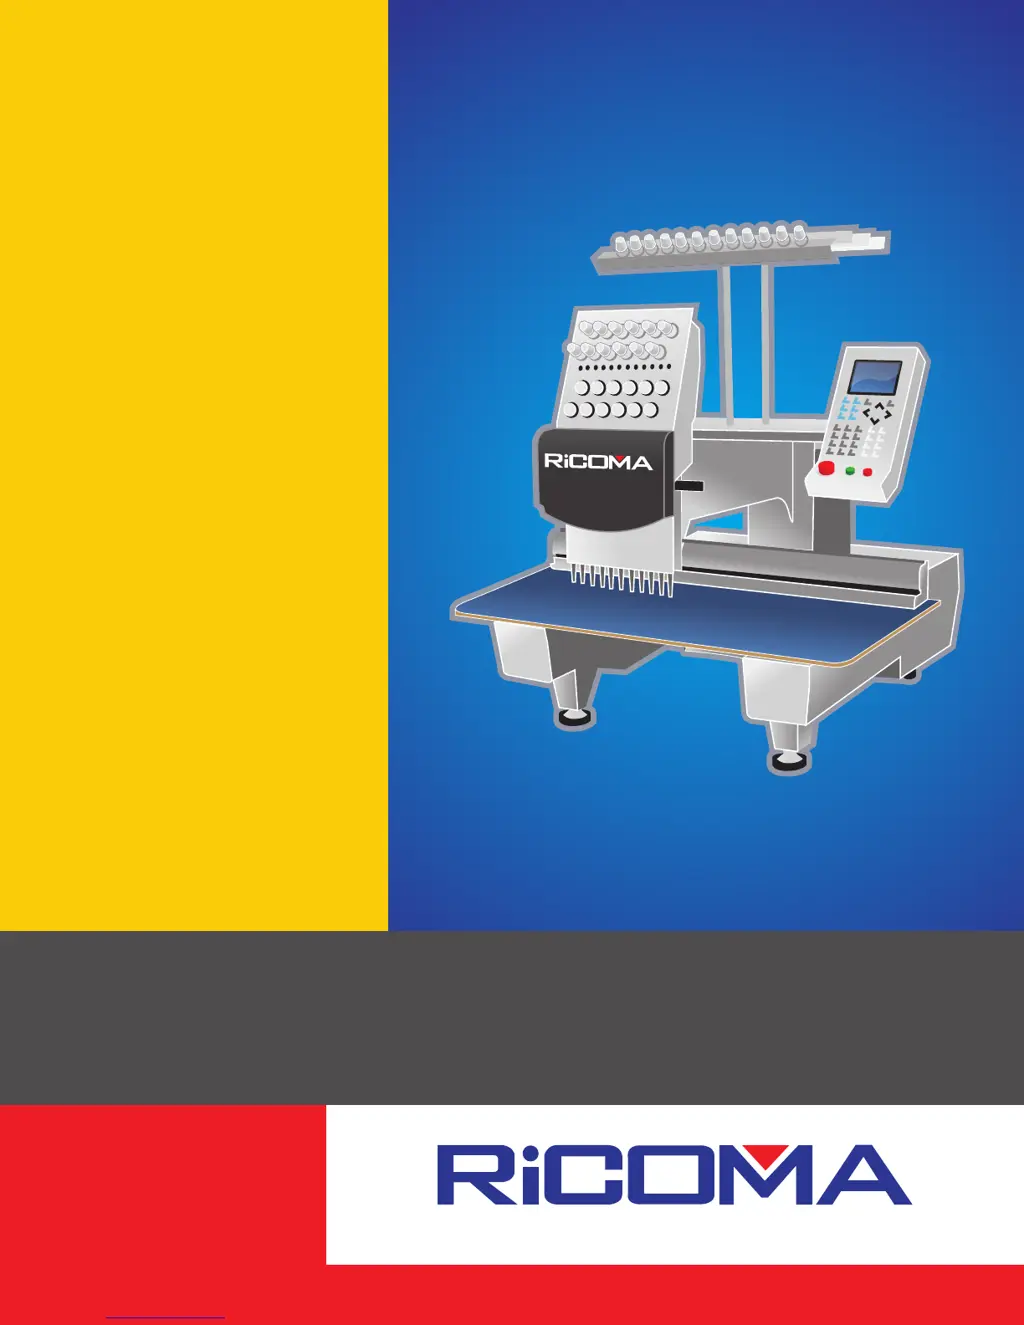
Owners Manual
RCM 1201 PT / RCM 1501 PT

Questions and Answers

  • M
    Michael ValdezAug 19, 2025
    What to do if Ricoma Sewing Machine displays 'MAIN MOTOR OVERTIME!' error?
    • E
      emily34Aug 20, 2025
      If your Ricoma Sewing Machine displays a 'MAIN MOTOR OVERTIME!' error, here are a few things you can try: * Measure the voltage of the input power supply with a voltmeter and repair the power supply. * Turn off the machine, check if the power supply is lacking a phase, and examine whether the motor is overloaded. Turn the machine back on after these checks. * Replace the fuse. * Repair or replace the main motor or the main shaft board. * Replace the board.
  • K
    kimberly63Aug 21, 2025
    What to do if my Ricoma Sewing Machine displays -----change color overlimit -----change color overtime. -----half return error!?
    • H
      Hannah HerreraAug 22, 2025
      If your Ricoma Sewing Machine displays a color change error, half return error, or overlimit error, you can try the following: * Replace the switching power supply. * Replace any damaged cables. * Repair the existing components. * Replace the needle location board or the main control board. * Repair or replace the power supply.
  • R
    rosssergioAug 23, 2025
    How to fix a Ricoma Sewing Machine that is stopping after 100 degrees?
    • E
      Elizabeth ClineAug 23, 2025
      If your Ricoma Sewing Machine stops after reaching 100 degrees, consider these solutions: 1. Adjust the potentiometer VR1 anticlockwise on the main shaft control board. 2. Replace the capacitor (C6 is a 2.2uF tantalum capacitor). 3. Tighten the screws after setting to 100 degrees. 4. Adjust the drive belt or the drive chain. 5. Replace the board or the brake pad. 6. Enter parameters via the keyboard and change the settings for "SET BREAK PARA." and "MAIN MOTOR PARA."
  • D
    Diana RodriguezAug 26, 2025
    What to do if my Ricoma Sewing Machine trimmer will not engage?
    • D
      Donna PowellAug 26, 2025
      If the trimmer on your Ricoma Sewing Machine will not engage, you can try the following: * Replace the power supply board. * Resolder or replace any damaged parts.
  • A
    Andrea DickersonAug 27, 2025
    What to do if the frame cannot be locked on Ricoma Sewing Machine?
    • M
      murphyfrancisAug 27, 2025
      If the frame on your Ricoma Sewing Machine cannot be locked, check the fuse of the stepping power supply and the fuse in the power supply board in the stepping motor driver.
  • D
    Dr. Stephanie WaltersAug 29, 2025
    What to do if my Ricoma Sewing Machine upper thread hook does not engage?
    • K
      kelly41Aug 30, 2025
      If the upper thread hook on your Ricoma Sewing Machine does not engage, check the power supply voltage and consider replacing the power supply board.
  • B
    Bradley BrownAug 31, 2025
    What to do if my Ricoma Sewing Machine floppy disk driver is lit all the time?
    • B
      Brian HallAug 31, 2025
      If the floppy disk driver on your Ricoma Sewing Machine is lit continuously after turning on the machine, ensure the signal cable is plugged in correctly, or replace the disk driver.
  • M
    Michele MorrisSep 2, 2025
    What to do if my Ricoma Sewing Machine cannot read the pattern from the floppy disk?
    • C
      Charles BennettSep 2, 2025
      If your Ricoma Sewing Machine cannot read the pattern from the floppy disk or reads it in error, you can try: * Replacing the floppy disk. * Replacing the signal cable or the power wire. * Replacing the floppy disk driver. * Replacing the board.
  • C
    carolinechangSep 4, 2025
    What to do if the frame on my Ricoma Sewing Machine doesn't move steady?
    • A
      Amber StephensonSep 4, 2025
      If the frame movement on your Ricoma Sewing Machine is not steady, or if there are pauses when the frame moves continuously, replace the damaged driver and motor.
  • L
    Lynn AyalaSep 6, 2025
    What to do if the system reports the error: "stepping motor error" on Ricoma Sewing Machine?
    • S
      smithrichardSep 6, 2025
      If your Ricoma Sewing Machine system reports a "stepping motor error" or the frame does not move when pressing the moving keys, remove any obstructions and consider replacing the driver board or CPU.

Summary

Needles and Thread Guides

Special Note on Thread Guides

Guidance on using the last thread guide on the needle clamp for optimal thread path.

Needle Selection Criteria

Importance of selecting the proper needle for embroidery material and thread type.

Selecting Thread and Needle

Needle and Thread Application Chart

Table detailing recommended thread sizes for various needle sizes and fabric types.

Needle Anatomy and Function

Explanation of needle parts like front groove and scarf for proper function.

Needle and Hook Alignment

Adjusting Needle and Hook Timing

Setting the correct timing (195°) and spacing (0.1-0.3mm) between needle and hook.

Control Panel and Operation

Design Loading Procedures

Step-by-step instructions for loading embroidery designs from disk.

Design Parameter Adjustments

Adjusting design size, rotation, and color sequence for embroidery.

Tracing and Setting the Design

Procedures for tracing the design path and preparing the machine for sewing.

Main Machine Adjustments

General Safety and Adjustment Guidelines

Safety precautions and general advice before performing machine adjustments.

Adjusting Needle Position

Procedure to ensure needles are correctly centered in the needle plate hole.

Presser Foot Height Adjustment

Adjusting presser foot height for optimal material contact and stitch quality.

Movable Trimmer Adjustment

Adjusting the movable knife position relative to the stationary knife for clean trims.

Adjusting the Hook

Setting the correct hook timing and position relative to the needle for stitch formation.

Adjusting Upper;Lower Dead Point

Setting the upper and lower dead points of the needle bar for correct timing.

Adjusting the Picker

Correcting the picker position to prevent trim-related thread issues.

Adjusting X-Belt Tension

Setting correct tension for the X-axis belt for smooth frame movement.

Adjusting Y-Belt Tension

Setting correct tension for the Y-axis belt for embroidery width accuracy.

Adjusting Take-Up Lever Position

Ensuring the take-up lever is correctly positioned for proper thread control.

Adjusting the Wiper

Correctly positioning the wiper and thread catcher for smooth operation.

Replacing Needle Bar Reciprocator

Step-by-step instructions for replacing the needle bar reciprocator assembly.

Trimmer Performance Issues

Movable Trimmer Angle and Position

Checking and adjusting the entry angle and position of the movable trimmer.

Movable Trimmer Assembly Status

Verifying correct assembly and alignment of the movable and fixed trimmer knives.

Trimmer Breakage

Checking for breakage in movable or fixed trimmer knives and replacement.

Machine Maintenance and Checkup

Periodic Checkpoint Guidelines

Importance of regular machine checks to prevent errors and ensure lifespan.

Oil Supply Schedule

Recommended schedule and points for oiling machine parts.

Grease Supply Schedule

Recommended schedule for applying grease to specific machine components.

Cleaning Procedures

Instructions for cleaning various machine parts and their recommended frequency.

Troubleshooting Common Errors

Main Motor Overtime Error

Troubleshooting steps for the 'MAIN MOTOR OVERTIME!' error message.

Slow Start Speed Errors

Addressing issues with slow start speed being too low or too high.

Stopping After 100 Error

Resolving errors where the machine stops after a specific operation or count.

Run Over Error

Troubleshooting the 'Run Over' error, possibly related to encoder or cables.

Color Change Error Troubleshooting

Resolving errors related to color changes, including overlimit and overtime.

Broken Thread Detection Errors

Diagnosing and fixing problems with the thread break detection system.

Thread Break Detection Issues

Troubleshooting irregular thread break detection and broken thread lamps.

Embroidery Head Engagement Errors

Resolving issues where embroidery heads do not engage or respond.

Stepping Motor Errors

Troubleshooting stepping motor errors, noise, and design distortion.

LCD Display Issues

Diagnosing and fixing problems with the LCD screen, including no display or errors.

Upper Thread Hook and UTH Errors

Troubleshooting issues with the upper thread hook and UTH not engaging or acting.

LCD Screen Display Problems

Resolving issues like screen stripes, no background light, or blinking LCD.

Frame Locking and Movement Issues

Troubleshooting problems with the embroidery frame not locking or moving continuously.

Design Out of Shape Troubleshooting

Addressing issues where the embroidery design appears distorted or out of shape.

Ricoma RCM 1501 PT Specifications

General IconGeneral
BrandRicoma
ModelRCM 1501 PT
CategorySewing Machine
LanguageEnglish

Related product manuals