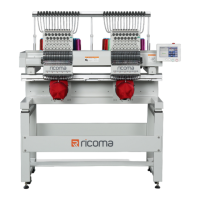
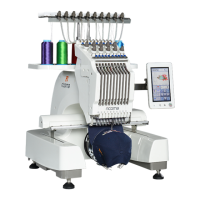
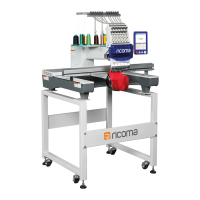
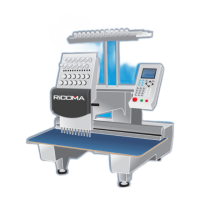
Do you have a question about the Ricoma MT-1502 and is the answer not in the manual?
How to lift and secure the thread rack to the highest position.
Guide to adjust the touch-screen panel for optimal visibility and clearance.
Locating and using the emergency stop button to halt the machine instantly.
Step-by-step guide for threading the machine using thread tubes.
Instructions for replacing empty thread spools with new ones.
Detailed steps for routing thread through eyelets, tension knobs, and rollers.
Identifying reasons for thread breaks and methods to prevent them.
How fabric type, obstructions, and design density cause thread breaks.
Understanding needle parts and choosing the correct needle type.
Signs indicating a needle needs replacement.
Reasons for needle breakage and the procedure for changing them.
Guide to needle sizes (e.g., 75/11) and point types (ballpoint, sharp).
Chart matching needle sizes with appropriate thread sizes.
Comparing bobbin fibers and identifying bobbin case parts.
How to adjust the main spring lever for overall needle tension.
Adjusting bobbin tension using the tension screw for optimal stitch quality.
Adjusting top thread tension using the tension knobs.
Understanding how thread type, color, and speed impact tension.
Comparing cotton, nylon, and polyester fibers for bobbin thread.
Overview of rayon, polyester, metallic, and cotton threads.
Factors for choosing backing: fabric stability, density, wash-ability.
Explains cut-away, tear-away, specialty backings, topping, and foam.
Recommended backing and needles for canvas, fleece, denim, leather, etc.
Instructions for connecting hoop brackets to the pantograph rail.
Steps to detach flat frame brackets for other operations.
Correct procedure for mounting hoops onto the machine brackets.
Steps for detaching hoops from the machine.
Basics of proper hooping and fabric stabilization.
Guidelines for accurately centering designs on garments.
Detailed steps for hooping polo shirts, hoodies, and jackets.
Specific placement guidelines for various items like towels, sheets, and robes.
Step-by-step guide for hooping the front or sides of a cap.
Instructions for hooping the back of a cap using a round hoop.
Procedures for attaching and detaching the cap driver accessory.
Attaching the extended table for larger embroidery areas.
Securing the large sash frame to the pantograph.
Speed recommendations for different embroidery types.
Overview of the control panel buttons and their uses.
Connecting the machine to a computer via the internet.
Steps to import embroidery designs from a USB drive.
Deleting and exporting designs from the machine's memory.
Changing the machine's operating mode (preparation vs. embroidery).
Accessing settings for hoops, size, rotation, and density.
Rotating designs and adjusting their size (scaling).
Repeating designs and modifying stitch density.
Performing a pre-sew trace to check for hoop interference.
Detailed tracing around the exact outline of a design.
Accessing and adjusting embroidery settings and comprehensive menus.
Using keys to reset hoop position or move to an offset point.
Understanding needle selection and machine alignment status.
Switching between automatic and manual color changing modes.
Using floating mode for compensation and precise needle positioning.
Monitoring and adjusting the machine's running speed.
Adding personalized text directly on the machine.
Performing manual thread trimming using the panel.
Initiating and halting the embroidery process.
Understanding the status indicated by machine head lights.
Leaving current status and choosing an embroidery design.
Choosing the correct hoop and setting the color sequence for the design.
Tracing the design area and starting the embroidery process.
Setting the machine for cap embroidery mode.
Choosing the right cap and framing it snugly in the hoop.
Tips on toppings, backings, and tension for cap sewing.
Digitizing techniques for cap designs.
When and where to lubricate the machine components.
Cleaning lint from the bobbin case.
Troubleshooting emergency stop, needle, and main axis errors.
Steps to fix thread breaks and bobbin run-outs.
| Needles | 15 |
|---|---|
| Thread Tension | Automatic |
| USB Connectivity | Yes |
| Thread Break Sensor | Yes |
| Color Touch Screen | Yes |
| USB Port | Yes |
| Built-in Designs | Yes |
| Hoops Included | Multiple sizes |
| Power Requirements | 220V |
| Max Embroidery Area | 360mm x 600mm |
| Embroidery Area | 360mm x 600mm |