Do you have a question about the Ricoma RCM-1201TC-7S and is the answer not in the manual?
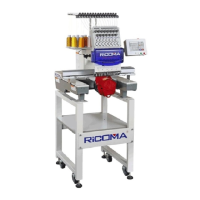
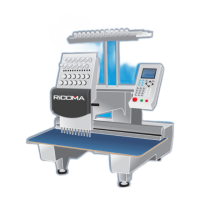
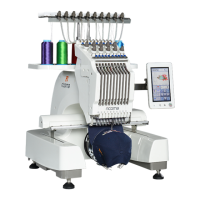
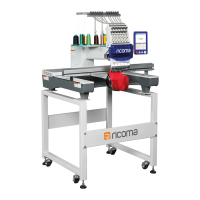
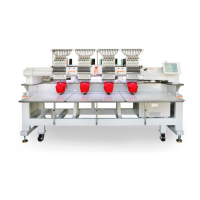
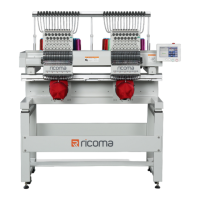
Provides a general overview of the machine system and manual.
Outlines critical safety warnings and prohibitions for operation and maintenance.
Specifies ideal environmental conditions for machine operation.
Details power requirements and essential grounding procedures for the electrical system.
Explains the functions of the operation panel, its keys, and icons.
Describes how to transfer embroidery designs from a USB drive into the machine's memory.
Explains the procedure for deleting embroidery designs from the management interface.
Guides the user on selecting a design from memory or USB for embroidery.
Details the process for removing a single embroidery design from the system.
Explains how to copy embroidery designs from the machine back to a USB drive.
Describes the two main operating states: preparation and operation.
Details operations available during the preparation status.
Guides on setting design parameters like magnification, rotation, and repetition.
Explains how to select and change the embroidery hoop size and type.
Outlines functions and operations performable during the active embroidery process.
Details how to set the starting point for the embroidery design.
Explains setting an offset point for material drawing or appliqué.
Describes returning the hoop to the design's origin point.
Covers returning to the offset point during embroidery.
Explains how to return the hoop to the last stopping position.
Details how to configure color changes and needle bar sequences.
Guides on setting the sequence of needle bar changes for colors.
Covers appliqué offset, low speed embroidery, and needle bar replacement.
Explains settings for sequin embroidery operations.
Describes switching between different color sequence modes.
Explains how to switch embroidery modes for skipping sections or specific movements.
Details how to trace the embroidery design's path.
Guides on recovering the origin point after a power interruption.
Describes status and speed adjustments during embroidery operation.
Explains how to start, stop, and backstitch embroidery.
Details switch controls and indicators for sequin embroidery.
Explains how to manually set the hoop's origin point on the machine.
Details the automatic process for finding the hoop's absolute origin position.
Guides on setting software-defined boundaries for hoop movement.
Explains how to remove system restrictions by entering a password.
Details the procedure for testing input signals and components of the system.
Guides on testing output signals and functions of various machine parts.
Explains how to perform tests on the main axis motor and rotation.
Covers testing the machine head for proper operation and breakage detection.
Describes how to check the system's identification number and software version.
Guides on updating the machine's control system software.
Presents a table detailing various machine parameters and their functions.
Lists common system errors, their causes, and recommended countermeasures.
| Type | Commercial Embroidery Machine |
|---|---|
| Display | Touch Screen |
| Connectivity | USB |
| Number of Heads | 1 |
| Automatic Thread Trimmer | Yes |
| Automatic Color Change | Yes |
| Thread Break Detection | Yes |
| Commercial Embroidery Machine | Yes |
| Stitch Speed | Up to 1200 stitches per minute |
| Maximum Embroidery Area | 12" x 8" |
| Maximum Speed | 1200 stitches per minute |
| Power Supply | 110V/60Hz or 220V/50Hz |
| Stitches Per Minute | 1200 |
| Embroidery Area | 12" x 8" |
| Voltage | 110V |