L
Laura BrewerJul 27, 2025
What to do if pipe slips in jaws of RIDGID Tools?
- KKendra MillerJul 27, 2025
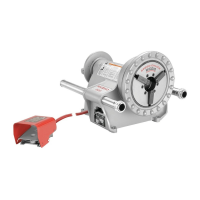
If the pipe slips in the jaws of your RIDGID Tools, it could be due to several reasons. First, the jaw inserts might be loaded with debris; try cleaning them with a wire brush. Second, the jaw inserts may be worn out, requiring replacement. Also, ensure the pipe is centered in the jaw inserts using the rear centering device. Finally, make sure the chuck is tight on the pipe by using repeated and forceful spins of the hammer wheel to tighten the speed chuck.