100763_M18
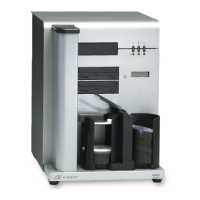
Rimage 2000i™ User Guide
• If you use hub-printable discs without a stacking ring:
a. Measure the inner diameter of the printable surface.
Tip: Most discs like the one shown above have the following
printable areas:
• Outer Diameter 118 mm
• Inner Diameter 24 mm
b. In the eld, change the Outer Diameter and Inner
Diameter settings to the value measured in step a before changing any
other diameter settings.
c. In the eld, change the Inner Diameter to the
same value used in step b.
4. Select Apply to use your changes.
5. Select OK. The Preferences window closes.
Align the Ink Cartridges
For optimal print quality and maximum printing speed, use the following procedure to align the ink cartridges.
1. Access Printing Preferences. Refer to page 15.
2. Load a disc (Qty. 1) in the printer.
a. Press . The printer tray opens.
b. Place a 120 mm white disc (Qty. 1) on the tray.
3. Check the ink cartridge alignment.
a. From the Preferences window, select the tab.
b. Select Service ToolBox. The Service ToolBox dialog box opens.
c. Select Align Cartridges. The Align Cartridges for Disc Color Printer 480i dialog box opens.
d. Follow the onscreen prompts to complete the alignment.
e. When the alignment is complete, select OK. The Align Cartridges for Disc Color Printer 480i dialog box closes.
4. Select OK. The Preferences window closes.
5. Press . The printer tray closes.
Disc without Stacking Ring
EnglishEnglish