Rimage Desktop Family™ Operator
2000558_B © 2007, Rimage Corporation 1
Replace the Printer Platform on a Rimage 2000i or Standalone 480i Printer
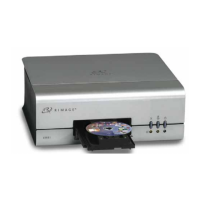
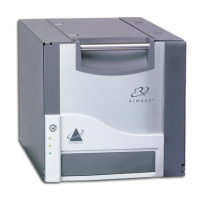
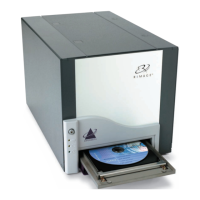
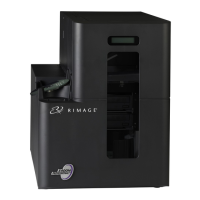
Use this procedure to replace the printer platform on a Rimage 2000i™ or Standalone 480i™ Printer.
Rimage approved parts must be used for this process. The product warranty may become void if parts not approved by Rimage are
used; equipment or parts are tampered with, misused, neglected, or modified in any respect without the written consent of Rimage.
Note: Your system may not look exactly like the system pictured.
Before you begin
1. Stop or pause all jobs.
2. If the printer is on an autoloader, power off the
autoloader.
3. Disconnect the power cord from the power outlet.
# Required tools:
• Torx T10 screwdriver
Remove the Printer Platform
1. Disconnect the cables.
n Caution! Some cables in this system are latched. Equipment damage may occur if cables are not
disconnected appropriately.
ble (if present, 2000i only) • FireWire ca
• USB cable
• Power cord
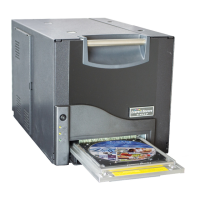
2000i
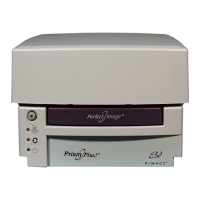
Standalone 480i Printer
USB Cable
Printer
Service
Door
Printer
Service
Door
USB Cable
2. Open the printer service door.
Tip: Press the tab to free the printer service
door from the frame.
3. Remove the rear Torx T10 screws (Qty. 2) from
the printer platform.
Note: The printer platform is the metal plate
on top of the sliding printer tray.
Printer
e
Servic
Door
Powe
Cord
r
FireWire
Cable
(if present)
Power
Cord
Tab
Printer
Platform
Printer
Tray