Adjust the Print Head on a Rimage® 480i Printer
Rimage Corporation © 2010 February 17, 2010 1
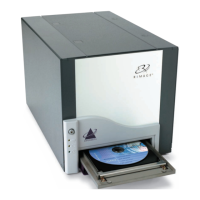
Adjust a Print Head on a Rimage® 480i Printer
This document explains how to adjust a print head on a 480i printer in a Rimage 2000i autoloader.
Before you begin:
1. Stop or pause all jobs.
2. Power off the external control center (PC).
3. Power off the Rimage 2000i.
4. Disconnect the power cord from the 2000i.
5. Disconnect the power cord from the power outlet.
Required tools:
• Screwdriver
• One disc
1. Access the internal hardware of the 480i printer.
a. Open the printer service door on the top of
the Rimage 2000i.
b. Locate the adjustment knobs (Qty. 2).
Note: The knob on the left adjusts the
black ink cartridge, the knob on the right
adjusts the color ink cartridge.
2. Adjust the print head.
a. Turn the adjustment knob to the left to raise
the print head.
b. Turn the adjustment knob to the right to lower
the print head.
Tip: Place a screwdriver in the center of
the adjustment knob to turn it in the
desired direction.