
M
mary26Aug 7, 2025
What to do if the burner on my Rinnai ES11 Furnace doesn’t ignite?
- MMatthew OwenAug 7, 2025
If the burner on your Rinnai Furnace doesn’t ignite, you should schedule a service call.
What to do if the burner on my Rinnai ES11 Furnace doesn’t ignite?
If the burner on your Rinnai Furnace doesn’t ignite, you should schedule a service call.
What to do if gas is turned off to my Rinnai ES11 Furnace?
If the gas is turned off at the meter, tank, or valve for your Rinnai Furnace, turn the gas on.
What to do if my Rinnai ES11 Furnace smells like gas?
If you smell gas coming from your Rinnai Furnace, you should schedule a service call immediately.
How to fix a Rinnai Furnace with no ON indicator?
If there is no ON indicator displayed on your Rinnai Furnace, make sure the unit is plugged in.
What to do if combustion stops during Rinnai ES11 operation?
If combustion stops during the operation of your Rinnai Furnace, clear any obstructions.
Explains safety alert symbols like DANGER, WARNING, CAUTION.
Lists critical safety rules for operation and environment.
Details automatic shutdown features like Overheat, Flame Failure, Power Failure.
Lists technical data such as gas type, BTU, electrical requirements, and weight.
Highlights key features like auto-restart, economy mode, and quiet operation.
Details available flue manifold sizes and their kit numbers for installation.
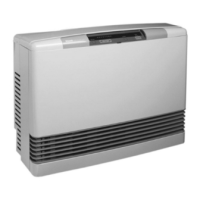
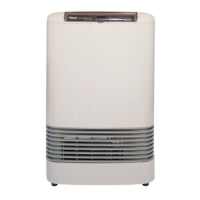
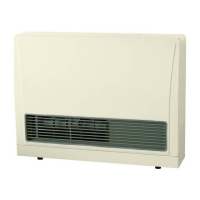
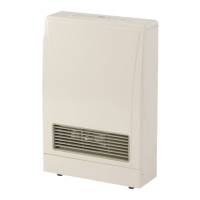
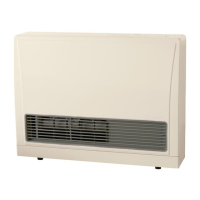
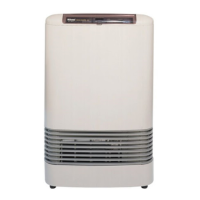
Provides a visual overview of the appliance's main components and their locations.
Explains the function of each button and indicator lamp on the control panel.
Covers turning the heater ON/OFF, adjusting temperature, and economy mode settings.
Explains how to activate and deactivate the child lock feature to prevent unintended operation.
Details the procedure for filling the humidifier tray with water for operation.
Describes how to adjust the vertical louvers to change the direction of warm air output.
Explains how the appliance automatically adjusts heating capacity for room comfort.
Outlines general maintenance procedures, cleaning, and annual inspection requirements.
Explains the importance of filters, how to clean them, and the indicator lamp for dirty filters.
Guides on how to visually inspect the burner flame for normal operation and potential issues.
Provides instructions for cleaning the exterior surfaces of the appliance.
Advises on keeping the flue terminal clear of snow and ice for proper function.
Lists checks to perform when the heater does not operate during ignition.
Addresses issues like noise, unit not heating, and ignition problems during combustion.
Explains the fan operation after the unit is turned off.
Covers steam discharge and unit cutting off unexpectedly or due to power failure.
Lists specific fault codes displayed on the panel and their corresponding remedies.
Explains the appliance's auto-restart attempts after ignition failure or combustion interruption.
Covers critical safety warnings, codes, grounding, and general installation guidelines.
Details requirements for gas supply lines, shut-off valves, and leak testing.
Specifies required distances from the appliance to combustible materials.
Lists the items included with the appliance for installation, such as vent kits and hardware.
Provides instructions and dimensions for drilling the wall opening for the flue.
Shows detailed measurements and diagrams of the appliance's physical size and connection points.
Illustrates required clearances for the flue terminal based on various environmental factors.
Guides on assembling and installing the flue manifold components.
Details how to install extension kits for the vent and air intake hoses.
Covers clearances, clamps, exhaust line, and air intake hose installation.
Lists the specific parts and quantities included in various extension kits.
Details the steps to connect the flue manifold, air inlet hose, and wall bracket.
Emphasizes safety reads, gas checks, and handling precautions before operating.
Guides on the correct sequence for turning the appliance ON and OFF.
Provides a detailed exploded view of the appliance's internal components.
Presents the electrical wiring schematic for the appliance.
Shows the control logic and circuit flow in a ladder diagram format.
Illustrates the flow of gas, combustion air, and convection air through the appliance.
Displays an exploded view of the appliance with numbered parts for identification.
Shows a breakdown of internal components with numbered parts.
Details parts related to the heat exchanger and burner assembly.
Illustrates parts related to the venting system and air intake.
Shows various electrical components and wiring harnesses used in the appliance.
Lists part numbers, names, and quantities for major appliance components.
Lists part numbers, names, and quantities for various components.
Lists part numbers, names, and quantities for labels, manuals, and conversion kits.
Lists part numbers, names, and quantities for various screws and fasteners.
Provides details on product registration, purchase proof, and warranty coverage.
Outlines what is covered, duration, and Rinnai's responsibilities under the warranty.
Continues warranty terms, allowances for heat exchanger failure, and service contact information.
Lists conditions and scenarios that are not covered by the product warranty.
Explains limitations on implied warranties and liability for damages.