Do you have a question about the Rinnai REU-A2626WG-ZK and is the answer not in the manual?
| Category | Water Heater |
|---|---|
| Brand | Rinnai |
| Model | REU-A2626WG-ZK |
| Type | Tankless |
| Gas Type | Natural Gas |
| Ignition Type | Electronic |
| Venting | Direct Vent |
| Maximum Input | 199, 000 BTU/hr |
| Flow Rate | 26 L/min |
| Dimensions | 600 x 350 x 200 mm |
| Warranty | 12 years |
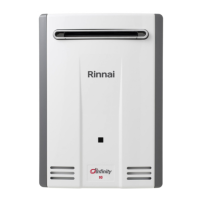
Details requirements for placing the water heater outdoors and ensuring adequate ventilation and accessibility for maintenance.
Specifies minimum horizontal clearance requirements around the flue terminal to prevent flue gas recirculation.
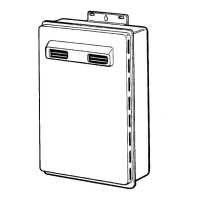
Guidance on securely mounting the appliance to the wall structure using appropriate fixings as per standards.
Information on correct gas and water pipe sizing, referencing AS/NZS standards for optimal performance and efficiency.
Details on connecting to the water mains, pressure limitations, and water quality considerations for reliable operation.
Explains temperature limitations for personal hygiene areas and the need for Temperature Limiting Devices (TLDs).
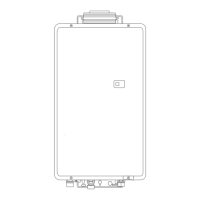
Details on required isolation valves, purging lines, and fitting specifications for gas, hot, and cold water connections.
A step-by-step guide covering flushing, connections, purging, testing, and final checks for proper appliance operation.
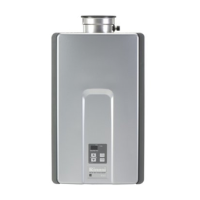
Instructions on navigating the PCB interface to adjust settings like temperature and gas pressure using the control buttons.
Procedure for terminating and connecting up to two communication cables to the water heater using spade terminals.
Guidance on pairing and terminating three or four communication cables for water controllers, ensuring correct connection.