Do you have a question about the Rinnai RX199iN and is the answer not in the manual?
Mandatory rules and best practices for installing the common venting system safely and effectively.
Diagrams and explanations for 3-inch common venting using direct vent or room air for combustion.
Diagrams and guidance for installing the common vent system in a back-to-back configuration.
Diagrams and guidance for installing the common vent system in an inline configuration.
| Fuel Type | Natural Gas |
|---|---|
| Energy Star Qualified | Yes |
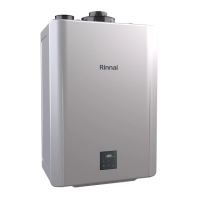
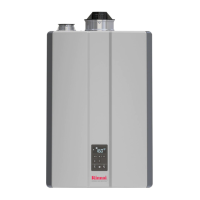
| Heating Capacity | 199, 000 BTU/h |
| Maximum BTU Input | 199, 000 BTU/h |
| Minimum BTU Input | 15, 000 BTU/h |
| Dimensions (H x W x D) | 34.5 x 19.5 x 13.5 inches |
| Vent Type | PVC/CPVC |
| Vent Diameter | 2-3 inches |
| Water Connection | 3/4" NPT |
| Electrical Requirements | 120 VAC |
| Warranty | 12 years heat exchanger, 5 years parts, 1 year labor |