17
STEP 5
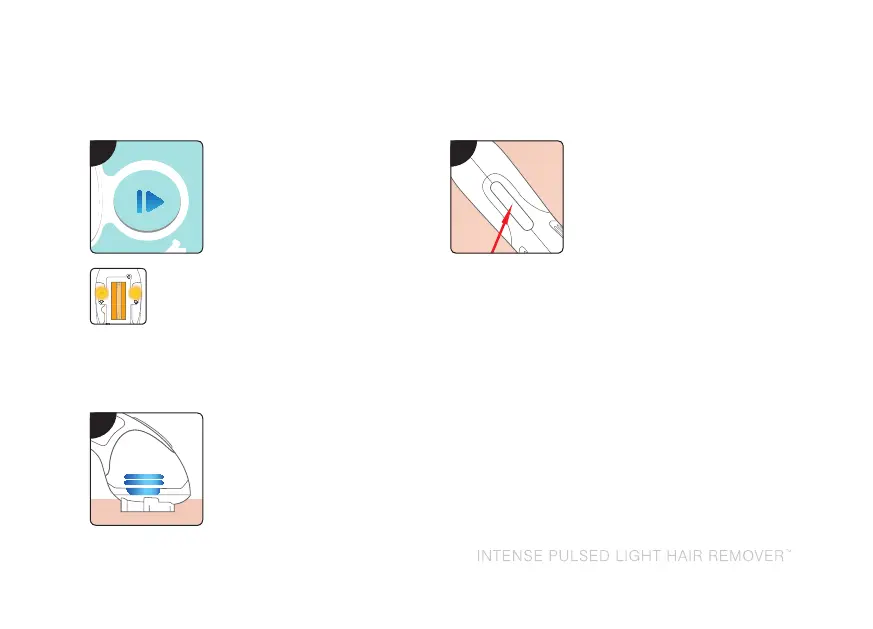
Press the enable button
once. The enable button
will stop flashing.
The orange lights on the
wand will illuminate.
Note: Each time the
power setting is adjusted,
you will need to press
the enable button to
continue.
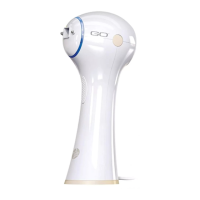
STEP 6
Place the wand over the
area you wish to treat.
Ensure all 4 skin sensors
are in contact with the
skin (you may need to
apply gentle pressure).
The blue ‘ready’ lights will
illuminate.
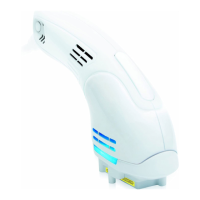
STEP 7
Press and HOLD the
treatment button on the
wand. This initiates the
treatment flash. You may
feel a slight warming
of the area. During the
treatment, the flash will
emit a sound similar to a
camera shutter.
Notes:
• DoNOTmovethewandduringtreatment.
• Thewandmaybecomewarmduringuse
which is quite normal.
• Ifcontactislostbetweentheskinsensors
and skin during treatment, the wand’s
blue lights will go off. Return to step 6.
INSTRUCTIONS FOR USE
5
6
7
 Loading...