6
Step 4: Registering the Detector into the System
The detector must identify itself to the system receiver in a device allocation (enrollment) process,
which can be performed by either RF sequence registering or entering the detector’s 11-digit serial
number into the system or using RF mode panel quick key programming Sequence:
From the panel: 2) Radio Devices > 1) Allocation > 1) By RF or 2) By Code.
Enrolling using RF communication:
1. Set the receiver to Learn mode.
2. Insert the batteries (see Step 5), connect the detector to the mounting bracket and wait for at least 3
seconds. The Beyond DT will send a WRITE message. Successful learning will be indicated by:
(A) The system will sound a confirmation message and indicate the detector allocation in the system.
(B) The green LED will blink.
Enrolling through the Configuration Software:
Click Radio Device Allocation > Enter Serial Code: [11 digits]; Indexed: Automatic or manually
designated 1-32; Accessory Type: 2-Way Detector (displayed). Then click Allocate: RF Allocation is
performed.
For more information refer to the System Installer Manual.
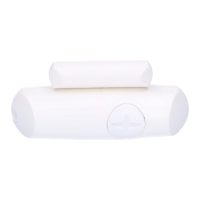
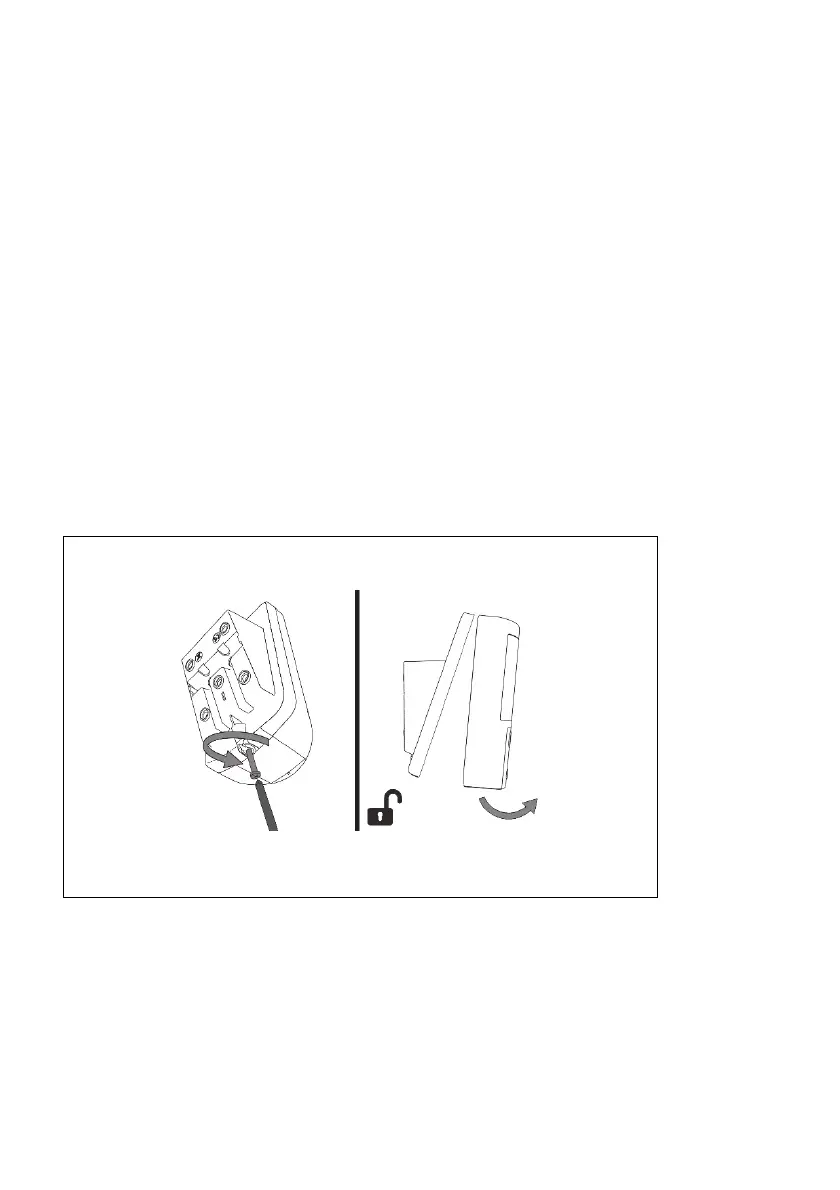
Step 5: Mount the Detector on the Wall Bracket
1
Figure 5
Unscrew and separate detector from mounting bracket.