Page 3
Or
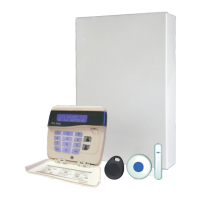
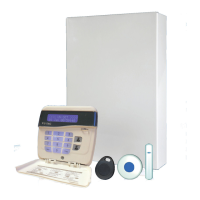
Present your G-Tag to the Reader The display will show:-
7)
Press NO until the Code Type you require is displayed then press YES.
Display will show:- (See full user Instructions for Code Types)
Some examples below:
Set Only Only Allows for the setting of the system.
Main Allows Setting, Part Setting, Area Setting, Zone Remove, System Test, Unsetting.
Master Allows Setting, Part Setting, Area Setting, Zone Remove, System Test, Viewing the Log,
Chime On/Off, Program User Codes, Set Time/Date, Unsetting.
8)
Code Groups are only used in conjunction with controlling outputs. This is dealt with in the
Advanced Code Programming section (See full user Instructions) of this manual, Press YES to
accept None.
9)
The display will show:-
This determines if using this user code to Set or Unset the system will trigger the Vo-Comm.
(For more details on Vo-Comm please refer to the Vo-Comm section). Press NO until the setting you
require is displayed (YES or NO). Then press Yes.
Note: The Vo-Comm will need to be programmed for this option to work (please refer to the Vo-
Comm section in the full user manual).
10)
The display will show, for example:-
11)
If you wish to accept the Username shown press YES and jump to step 15
Or
If you wish to change the Username shown press NO, the display will show:-
12)
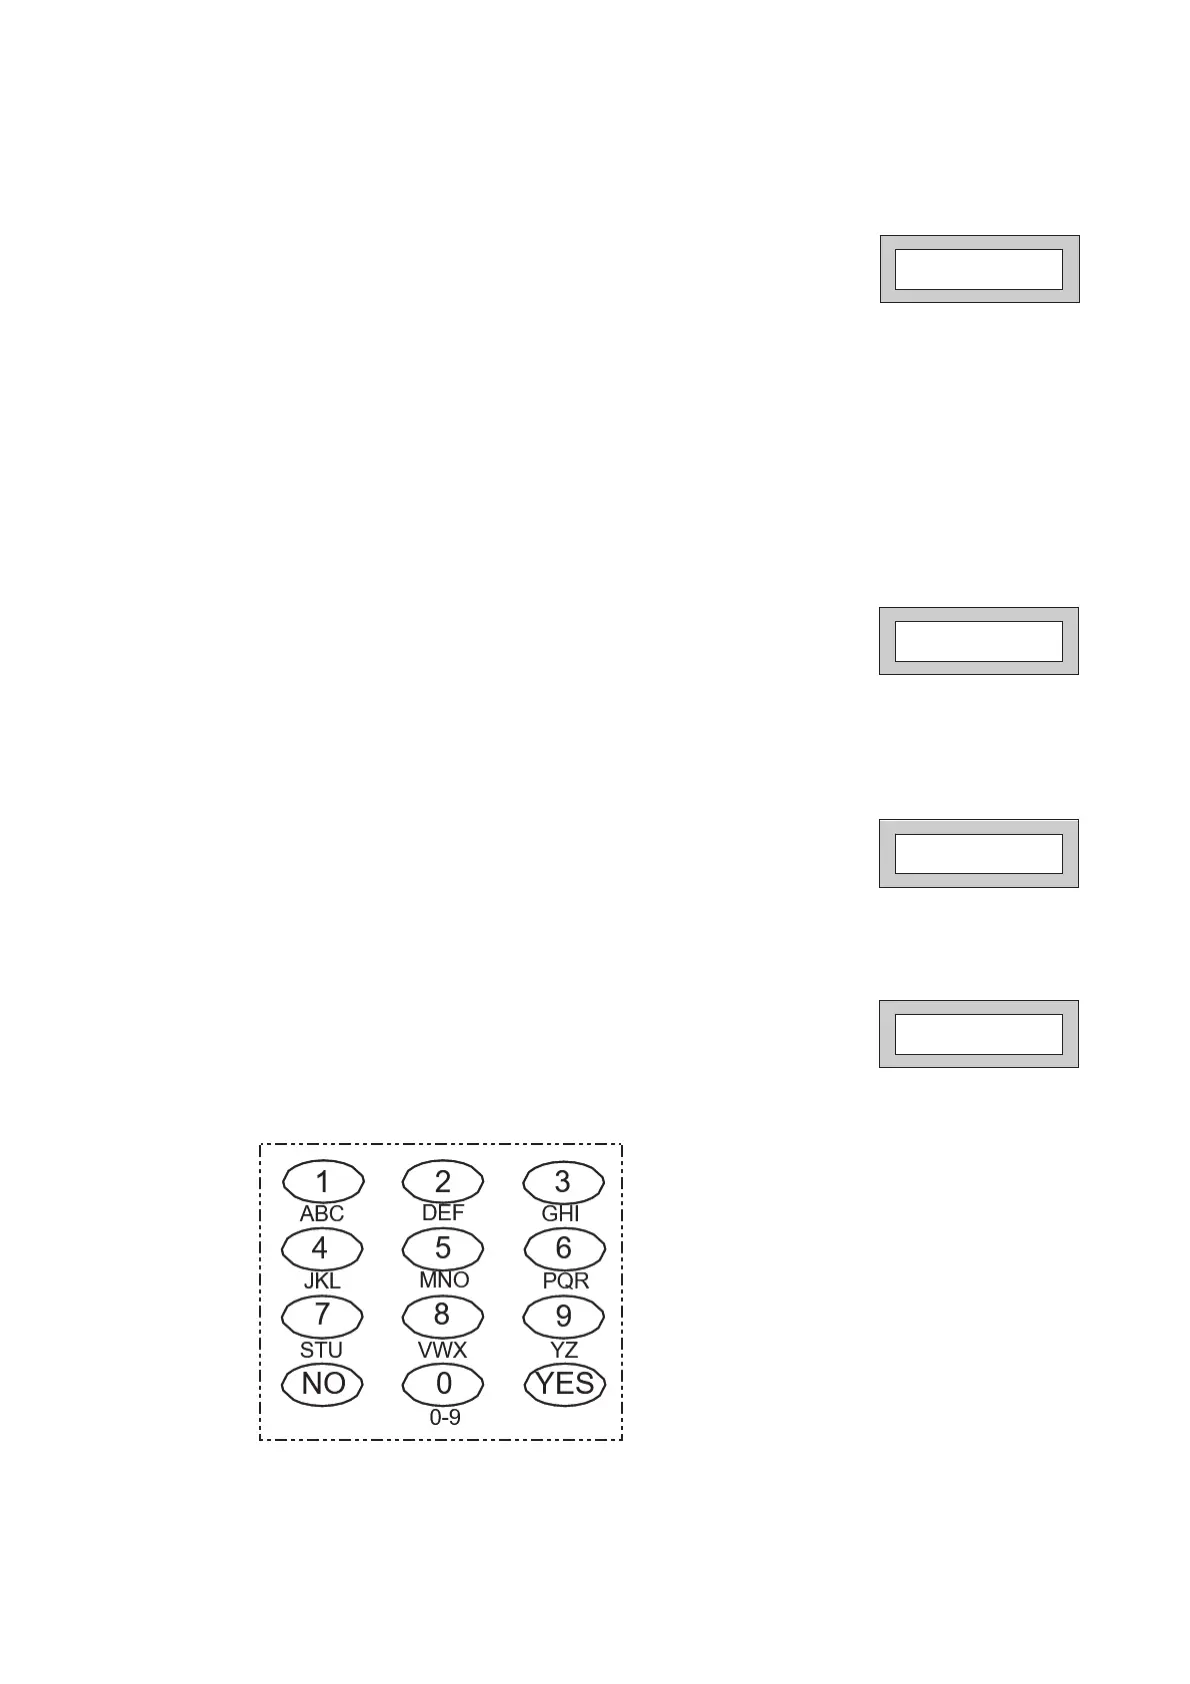
You may now enter up to nine characters for the username using the layout shown below for the
allocation of characters.
User31 Name
=User31
User 1 Name
>
Code Group
= None ok ?
VoComm Trigger
= On Ok ?
 Loading...