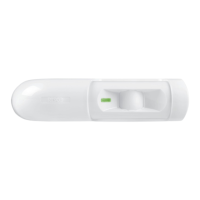
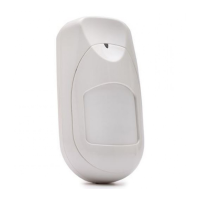
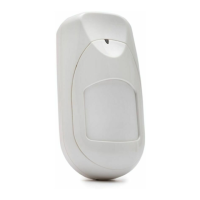
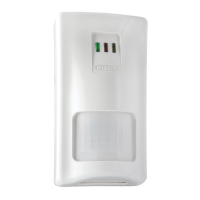
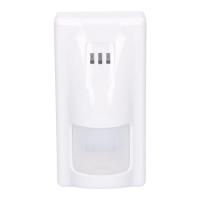
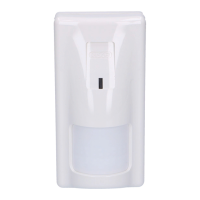
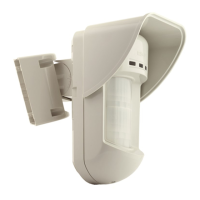
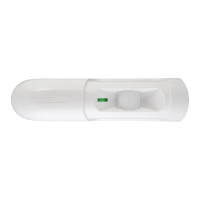
The RISCO iREX and iREX Plus are intelligent request-to-exit (REX) and request-to-enter (REN) PIR detectors designed for access control applications. These detectors incorporate an IQ feature, which allows for remote enabling or disabling of the iREX. They can operate as standalone units or integrate with Access Control systems, offering flexible mounting options on both walls and ceilings to suit specific security needs.
Function Description:
The iREX detectors utilize Passive Infrared (PIR) technology to detect motion within a specified area. When motion is detected, the detector can trigger an exit request, allowing a door to unlock or an access control system to grant passage. The IQ feature enables remote control over the detector's operational status, allowing it to be remotely enabled or disabled. This is particularly useful in scenarios where temporary access control adjustments are needed without physical intervention.
The device offers various DIP switch settings to customize its operation:
- LED Operation (DIP Switch 1):
- ON: LED is activated when motion is detected.
- OFF: LED is always off.
- Timer Reset Mode (DIP Switch 2):
- ON: Timer resets when motion is detected during the relay operation time.
- OFF: Timer does not reset when motion is detected during the relay time.
- Relay Mode (DIP Switch 3):
- ON: This defines the relay's operation when power is removed from the iREX. The relay will remain locked when power is removed, and the door will remain locked against opening. This mode should be authorized by your local authority.
- OFF: Fail-safe mode. When power is removed from the iREX, a door will unlock and can be opened.
- Relay Timer (DIP Switches 4, 5, 6): Configures the duration the relay remains active after detection, with options ranging from 1 second to 64 seconds.
- Signal Processing (DIP Switches 7, 8, 9, 10): Adjusts the detector's sensitivity to movement. Options include:
- High PIR sensitivity.
- Low PIR sensitivity.
- Normal PIR sensitivity (default).
- Remote IQ Enable/Disable.
- Door Secure Mode.
Important Technical Specifications:
- Power: 12-30 VDC or AC.
- Current Consumption: 18mA (standby), 24mA (max) (12VDC).
- Relay Output Rating: 1A, 30VDC (resistive load).
- Buzzer Output Rating: 100mA, 30VDC (resistive load).
- Detection System: PIR.
- Detection Range: 2.3m - 4.6m (7.5ft - 15ft).
- Detection Area: From 5.0m (16.4ft) to 6.8m (22.3ft).
- Mounting Height: 2.3m (7.5ft) to 4.6m (15ft).
- Dimensions: 107mm x 60mm x 45mm.
- Weight: 100g.
- Operating Temperature: -10°C to 40°C (14°F to 104°F).
- Storage Temperature: -20°C to 60°C (-4°F to 140°F).
Usage Features:
- Mounting: The iREX can be wall-mounted or ceiling-mounted. The installation instructions provide detailed diagrams for various mounting positions (2.3m and 4.6m, Position 0, A, B) and their corresponding detection patterns (Front View, Top View, Side View).
- When facing the iREX, the rounded side of the detector should always point to the left.
- Avoid mounting the detector in direct sunlight or near heated sources and metal objects to prevent false alarms or reduced performance.
- Wiring: The device supports various wiring configurations:
- "NC-C-NO" Contact Output Wiring: For fail-secure and fail-safe applications.
- Basic Connection: Magnetic Lock Only: For basic motion detection and door control.
- Spike Protection: For adding a diode bridge rectifier for locks that are not spike protected.
- Wiring to an Access Control System: For integration with access control panels.
- "IQ" Input Terminal Wiring: For connecting to an Access Control system or a remote control device to utilize the IQ feature.
- Remote Buzzer Control: For controlling the internal buzzer via an external device.
- Wiring the Remote Buzzer to an Access Control System: For integrating buzzer control with an access control system.
- "IQ" Input Terminal Wiring (iREX Plus): For iREX Plus models, enabling remote IQ functionality via an Access Control system or a remote switch.
- Door Secure Mode: When enabled, the relay remains closed after detection until the door is opened and then closed, providing enhanced security.
- Tamper Switch Wiring: For connecting the tamper switch to an alarm panel, which triggers an alarm when the cover is opened.
- Adjusting Buzzer Volume: A potentiometer on the device allows for adjustment of the buzzer volume.
- Masking: Masking wedges can be inserted or removed to precisely define the detection area, preventing unwanted detections.
- Intelligent Queuing (IQ) Feature: The IQ feature allows for remote enabling or disabling of the iREX. This can be controlled via an Access Control system or a remote switch. When enabled, the iREX functions normally. When disabled, the iREX will not detect motion or activate the relay, effectively bypassing its operation. This is useful for temporary access control adjustments or during maintenance.
Maintenance Features:
- The device is designed for reliable operation with minimal maintenance.
- Regular checks of the wiring connections and power supply are recommended to ensure continuous functionality.
- The masking wedges can be adjusted as needed to optimize detection coverage.
- The device should be kept clean and free from obstructions that could interfere with its PIR sensor.
- In case of malfunction, refer to the troubleshooting guide or contact technical support. RISCO Group provides a limited warranty for its products, covering defects in materials and workmanship for 24 months from the date of production. The warranty does not cover damage caused by improper installation, misuse, or external factors.