5
In-line strainers/lters are only recommended for pumps tted with Minipress. Regular
maintenance is required to keep them clean and provide maximum pump pressure.
7. Discharge
The length and diameter of the discharge hoses/pipes will affect the pressure and ow
rate at which your pump operates. Pressure ratings of all components must exceed
the maximum pressure of the pump by an appropriate safety factor. All pipe work
should be supported independently of the pump.
Connect the tting at the top of the pressure controller (1”BSP Male) to the household
plumbing or garden taps*.
*If you want to test that the pump is operating correctly prior to having the plumbing
connected, attach a hose with a trigger nozzle to the top of the pressure controller.
8. Pump Priming
Ensure that there is at least 200mm of water in your tank, (i.e. that the tank outlet is
covered, and the pump will not draw any air into the system). Open the gate valve on
the tank. Check for any leaks, and repair these if necessary.
If no leaks are present, remove the priming plug to open the priming port on the top
of the pump case.
If your tank is below the level of the pump (diagram A - page 4), you will need to ll
the pump body and suction line. Remove the priming plug and ll the pump body and
suction line using a funnel.
If the tank is above the level of the pump (diagram B - page 4), water will start to run
out of this port. Replace the priming plug carefully. Your pump is now ready to run.
(Note: If a check valve is installed in the suction line, water may not ll the pump. It
may be necessary to ll the suction line/pump casing with water using a funnel.
9. Electrical Installation
The pump is supplied with an IEC interconnection appliance coupler. Connection
to the power supply is a matter of inserting the plug into the suitable socket outlet.
Connect the pump using the IEC interconnector to the Minipress before plugging the
power supply cord into the socket outlet. Ensuring there are no water traces on the
connectors push them rmly into each other to ensure intended splash (water) proof
protection. This connection shall be separated again only for service purpose and only
after the power supply is removed by unplugging the cord from the socket outlet.
The socket outlet shall be in a dry and ood free location; preferably do not use
extension cords for this very reason and because they can cause voltage drop.
Supply voltage outside limits specied in Model Data
can cause motor overheat leading to overload tripping,
reduced component life or seriously damage pump and
voids warranty.
We recommend, for additional protection, the pump to
be supplied from socket outlet protected by a residual
current device – RCD (also known as an Earth Leakage
Circuit breaker – ELCB) with a maximum rated residual
current of 30mA.
6
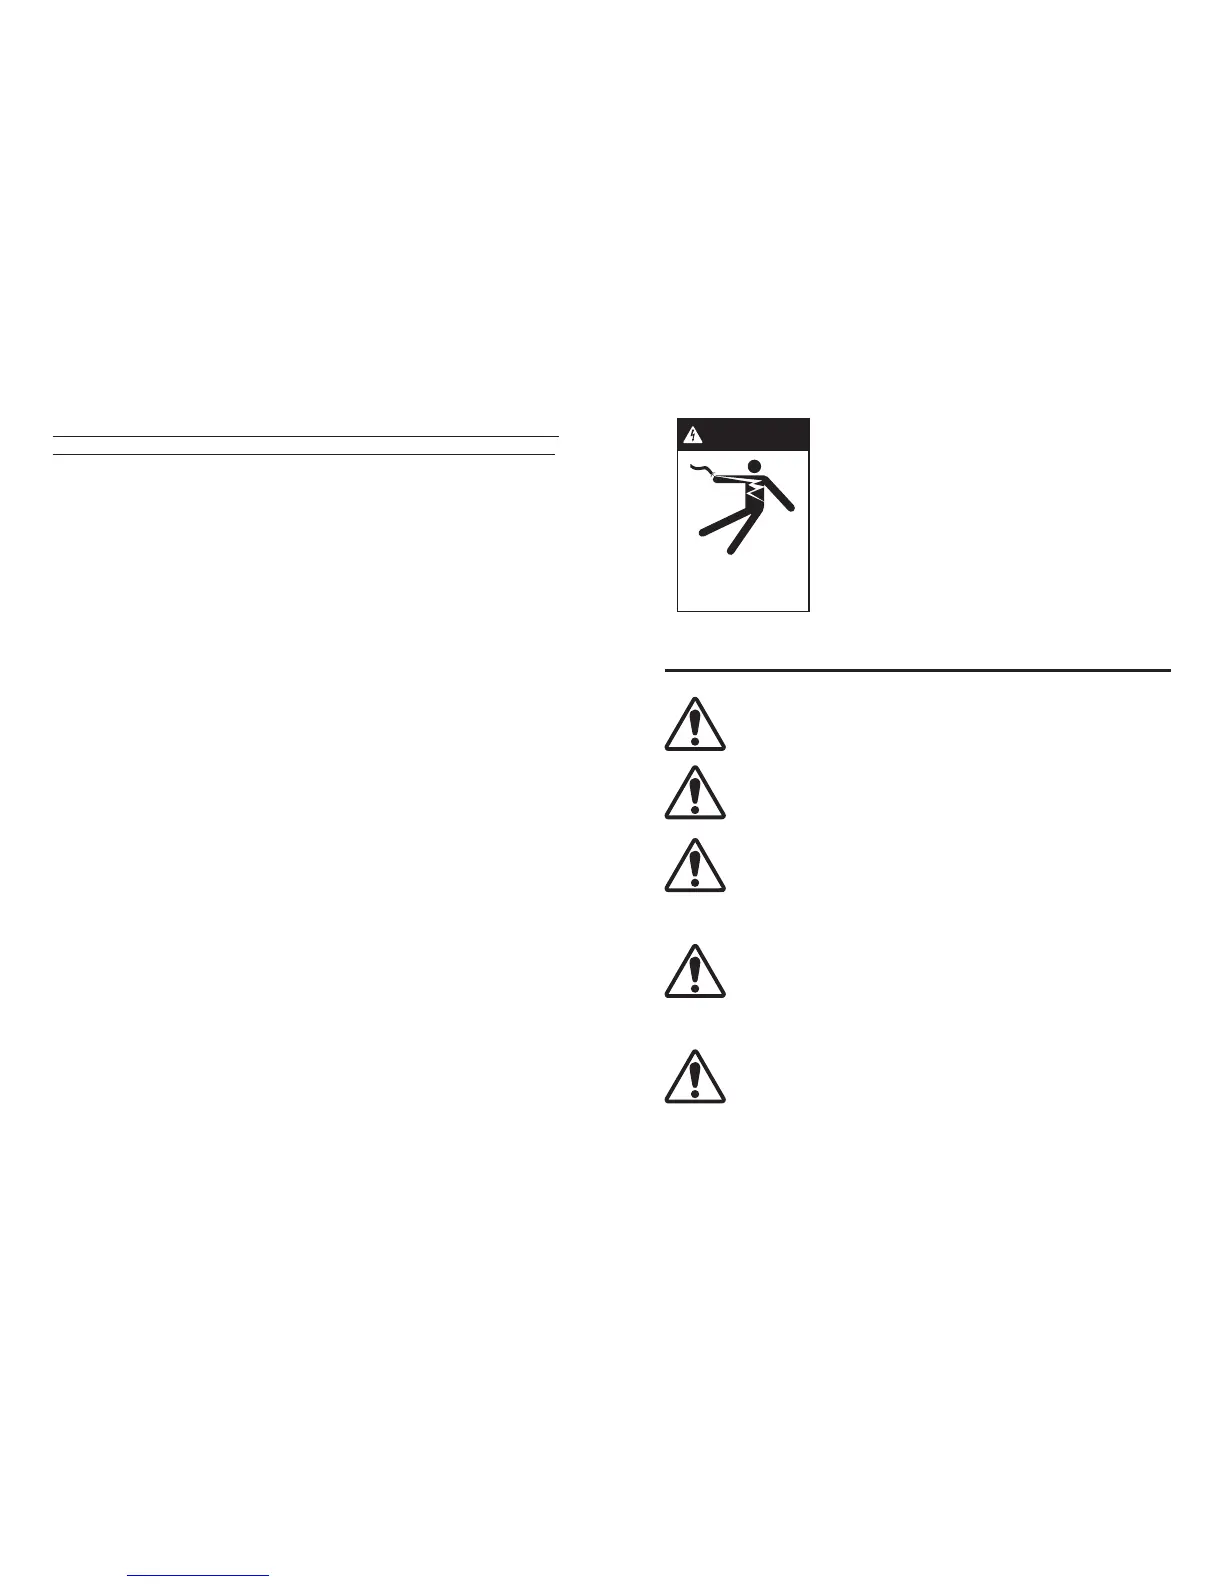
WARNING
Hazardous voltage.
Can shock, burn, or
cause death.
Operation
The pump operator or owner must be provided with this owner’s
manual. This must be read before operation, and followed during
operation.
Ensure that your pump is lled with water before operating.
The pump is designed to be used with clean water in a residential
application. Do not use it with alternative uids, specically
abrasive, corrosive or explosive uids. Do not install or operate
your pump in an explosive enviroment or near combustible
matter.
Fire and burn hazard. Modern motors run at high temperatures.
To reduce risk of re, do not allow leaves, debris, or foreign
matter to collect around the pump motor. To avoid burns when
handling the motor, let it cool for at least 20 minutes before trying
to work on it. A thermal overload switch protects the motor for
heat damage during operation.
DO NOT RUN PUMP DRY
Ensure that your pump is lled with water before operating
 Loading...