Starting Up the Beacon 200 Gas Monitor • 27
Starting Up the Beacon 200 Gas
Monitor
WARNING: Only authorized and properly trained personnel should
perform any startup procedures.
Perform the following procedure to place the Beacon 200 into normal
operation.
1. Complete the mounting and wiring procedures described earlier in this
chapter.
2. Complete all installation procedures described in the detector head or
user supplied 4 - 20 mA transmitter instruction manual.
3. Verify that all wiring connections are correct and secure and that the
Beacon 200’s power switch is in the OFF position.
4. Turn on or connect mains power to the Beacon 200.
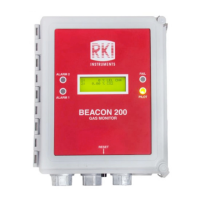
5. Place the Beacon 200’s power switch in the ON position. RKI
INSTRUMENTS BEACON 200 appears on the display for a few
seconds, then WARMING UP appears for each active channel. The
warm-up period will last for one minute.
NOTE: To prevent unwanted alarms during warm up, the alarm circuits
are not active while the WARMING UP message is displayed.
6. Verify that the PILOT light is on. If the PILOT light is not on, see the
troubleshooting guide in Chapter 5, Maintenance.
7. Perform the start-up procedure for each detector head or user supplied
4 - 20 mA transmitter as described in the detector head or transmitter
instruction manual