EasyManua.ls Logo

RM Italy KL503 HD User Manual

RM Italy KL503 HD
6 pages
To Next Page IconTo Next Page
Page #1 background imageLoading...
Page #1 background image
KL503 HD
HF 2530 MHz Linear Amplifier
Specifications:
Operation Frequency: 2530 MHz (10m Amateur HF Band)
Modulation Types: SSB,CW,AM, FM, data etc (All narrowband modes)
Transistor: 8x RM 3 MOSFET + 1x RM 4 MOSFET Driver
Max I/P Current: 30A
Power Supply: 13VDC+/- 1V 40A
Input Fuse (Internal): 3x10A (5x20mm Fast)
Input RF Power: 1-35W max (All modes)
Output RF Power: 300W max
Maximum bypass power (Amplifier off): 50W max
Input VSWR: 1.11.5:1
Output VSWR Maximum: 2.5:1
Harmonic Output: >-50dBc 25-30MHz
WARNING: Before using this product please read carefully all of
the information in this manual or at least the quick start guide!!! To avoid dam-
age or incorrect operation this is extremely important!!!
Ver 1.0 May 2018
2
Quick Start Guide:
A more complete guide to the installation is featured later
1. Connect the RTX input connector to transceiver with
50 Ohm patch cable
2. Connect the ANT Output of the Amplifier to SWR
Bridge / Wattmeter (If required), and then the Antenna
(50 Ohm load Impedance)
3. Connect the Amplifier DC power Cable to a suitable
13VDC (± 1V) Power Supply or Auto Battery. Pay at-
tention to the correct polarity
4. Make sure that the amplifier is switched off
5. Adjust the Transceivers RF output power to 25W
(35W max) if it is capable of more than 25W output
6. Switch on the Amplifier and start operating
7. Check that the antenna VSWR is acceptable with the
amplifier in use. Any large increase in VSWR indi-
cates that the Antenna is not suitable for the power
being used. Operation should be halted immediately
to avoid damage to the Amplifier / Radio / ATU etc.
Question and Answer IconNeed help?

Do you have a question about the RM Italy KL503 HD and is the answer not in the manual?

RM Italy KL503 HD Specifications

General IconGeneral
BrandRM Italy
ModelKL503 HD
CategoryAmplifier
LanguageEnglish

Summary

Quick Start Guide

Connect RTX Input

Connect the transceiver's input to the amplifier using a 50 Ohm patch cable.

Connect ANT Output

Connect the amplifier's ANT output to an SWR bridge/Wattmeter and then to the antenna.

Connect DC Power Cable

Connect the amplifier's DC power cable to a 13VDC power supply or battery, ensuring correct polarity.

Ensure Amplifier is Off

Verify that the amplifier is switched off before proceeding.

Set Transceiver Output Power

Adjust the transceiver's RF output power to 25W (35W max) if it exceeds 25W.

Switch On Amplifier

Switch on the amplifier to begin operation.

Check Antenna VSWR

Verify acceptable antenna VSWR; halt operation if it increases significantly.

Specifications

Front / Rear Panel Description

Front Panel Controls

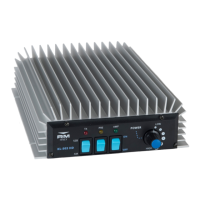
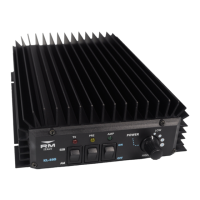
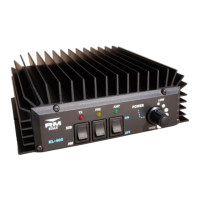
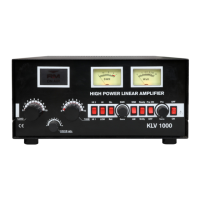
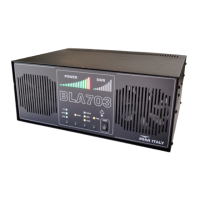
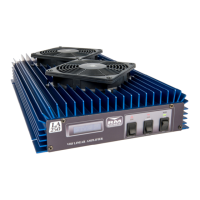
Details the controls and indicators found on the front panel of the amplifier.

Rear Panel Connectors

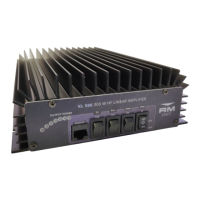
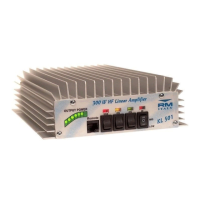
Describes the RF input, DC power input, and RF output connectors on the rear panel.

Installation

Mounting and Ventilation

Guidance on installing the amplifier in a location with good ventilation and support.

RF Connections

Instructions for connecting the amplifier's input and output to the radio and antenna.

Power Supply Requirements

Details the voltage, current rating, and cable gauge for the DC power supply connection.

Operation Modes

SSB/AM/FM Mode Switch

Explanation of the SSB delay setting for different transmission modes.

Transmit Time Warnings

Cautionary advice on transmission duration for high duty cycle modes to prevent overheating.

Performance and Tuning

Input Drive and Power Output

Information on required input power for full output and input attenuator usage.

Maximum Output Considerations

Guidance on operating below saturation for cleaner output and amplifier longevity.

Technical Diagrams

Typical Harmonic Output

Graphical representation of the amplifier's harmonic output levels.

Schematic Diagram

Detailed circuit schematic of the KL503 amplifier.

Important Information

Usage Regulations

Notes that linear amplifier use is governed by local laws, with user responsibility.

Warranty Terms

Details the 24-month warranty period and conditions, excluding cosmetic damage.

Related product manuals