30
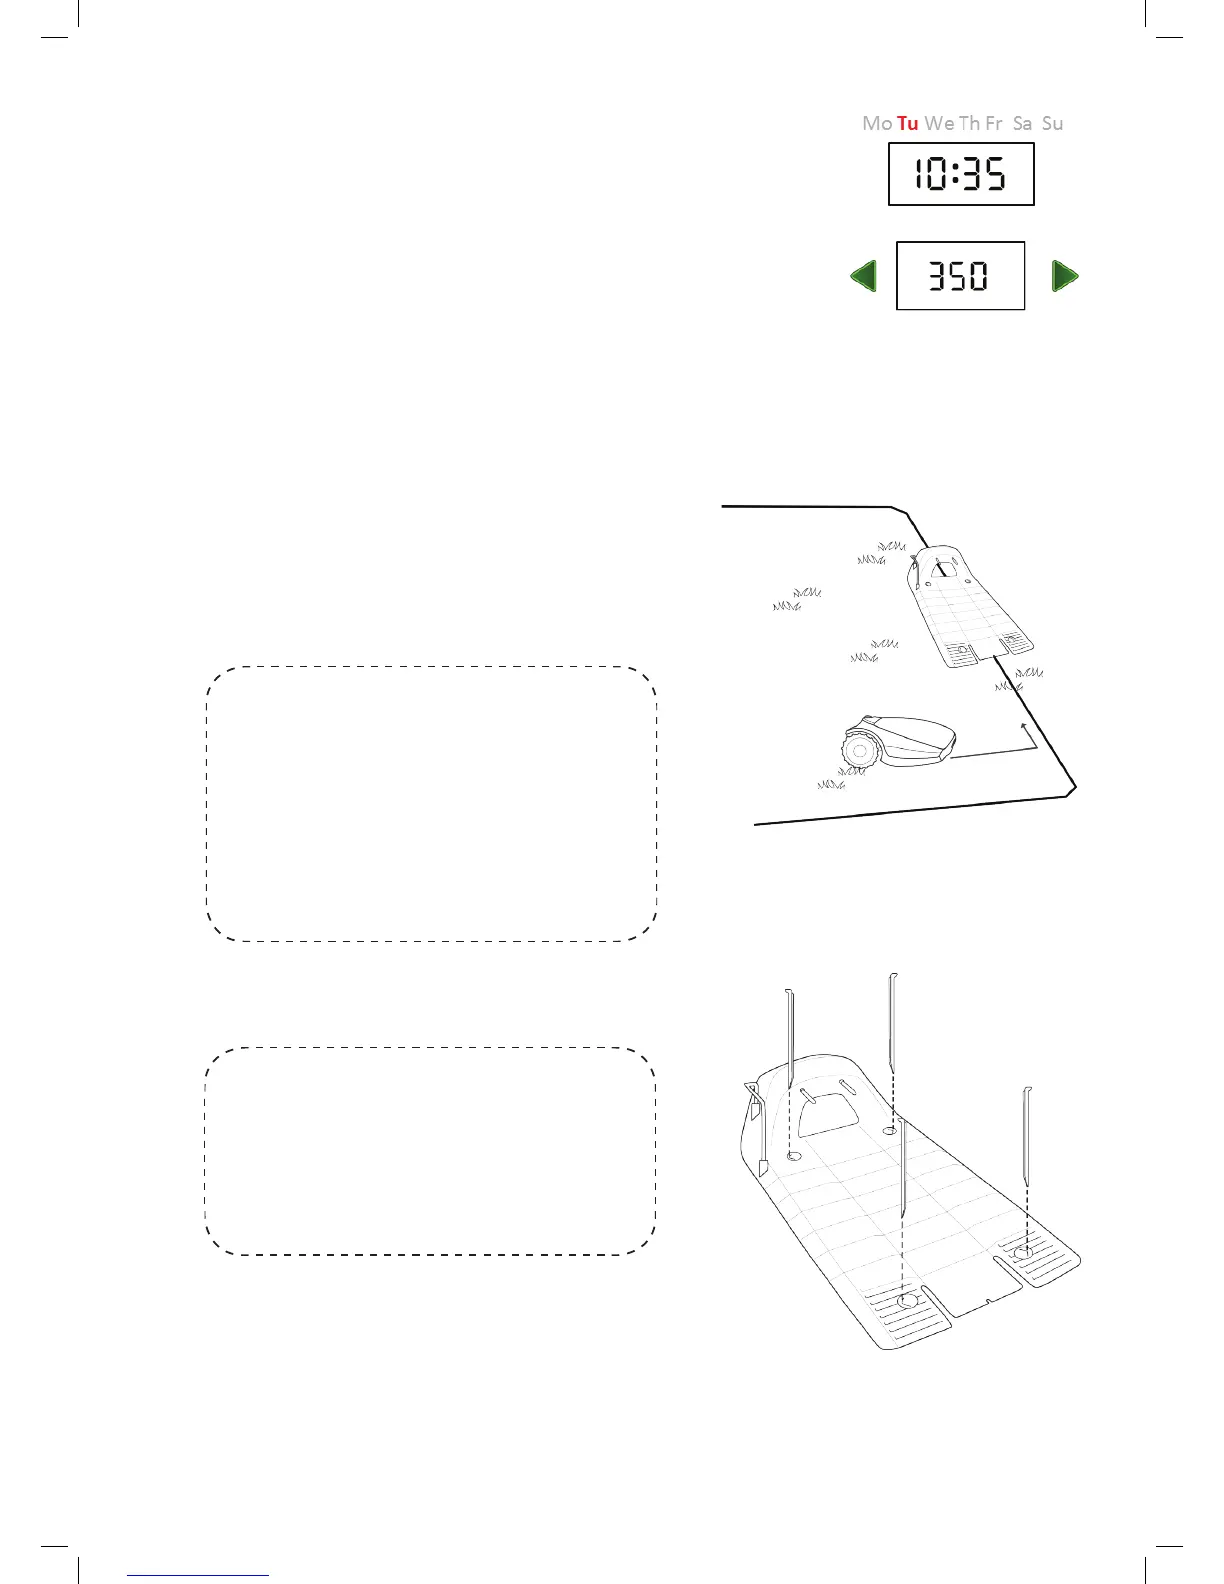
5.2.3 Set Day and Time
• Scroll to set the Day and press OK to conrm.
• Scroll to set the Time and press OK to conrm.
5.2.4 Main Zone Area
• Scroll to select an approximate area (EU- m² / US- ft²) for the Main Zone,
where the Base Station is installed.
If an additional zone (Sub-Zone or Separated Zone) exists, do not include it in
main zone’s area (it will be set separately).
Note – It is necessary to complete the above settings (5.2.2 – 5.2.3) in order to operate the mower. Every
press on the STOP button will change the screen one step back in the process.
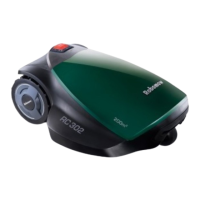
5.2.5 Test Base Station
Position
• After setting the area, U001 (Test Base Station Position) is
displayed.
• Place Robomow inside the lawn, approximately 3 m (10 ft.) in
front of the Base Station, facing the Perimeter Wire and press
OK to start the test.
• Robomow drives towards the Base Station:
If the mower does not start the test, then one of
the following messages will be displayed:
E3 (
No Wire Signal
)
– Conrm that the Power
Box is connected to the power outlet and that
the Extension Cable is connected at both ends,
from the Power Box to the Base Station.
U029 (
Swap wires in plot connector
)
– The
Perimeter Wire has been connected in the
opposite direction. Swap the wires at the plot
connector.
• Robomow will enter the Base Station, drive back, wait in front of
the Base Station, and display
U002
(
Peg Base).
If
U051
(Reposion Base Staon)
message is
displayed:
• Move the Base Station slightly to align it with
the Perimeter Wire.
• Check for any obstacles that may interfere
with the mower’s entrance to the Base
Station.
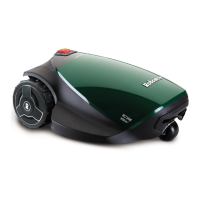
• While ‘U002’ (Peg Base) is displayed, insert the remaining Stakes
of the Base Station to secure it to the ground and press OK.