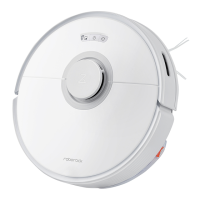
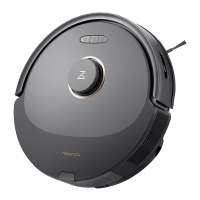
07
1. Tidy cables and loose items from the
ground and move any unstable, fragile,
precious, or dangerous items to prevent
personal injury or property damage due
to items becoming tangled in, struck by, or
knocked over by the robot.
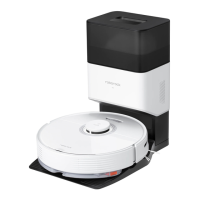
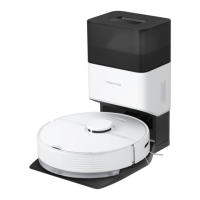
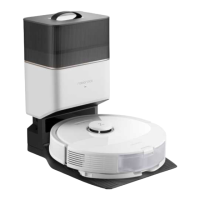
Select a at oor surface to place the dock
and wipe it with a dry cloth. Then, place the
dock on the selected surface against the
wall. Use the double-sided tape to secure
the dock better.
Notes:
•
Use of the double-sided tape to secure the charging dock is
optional.
•
When necessary, remove the double-sided tape slowly to
reduce residue glue.
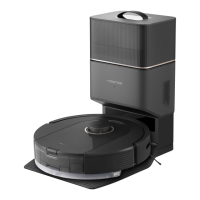
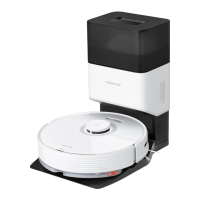
B2
Secure the dock
The robot may not turn on when the battery is low. In
this case, place the robot directly onto the dock to charge.
Note:
2. When using the robot in a raised area,
always use a secure physical barrier to
prevent accidental falls that may result in
personal injury or property damage.
Note: When using the robot for the rst time, follow it
throughout its whole cleaning route and watch for potential
problems. The robot will be able to clean by itself in future
uses.
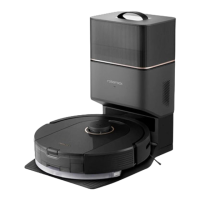
Keep the dock on a level surface, at against
a wall. Connect it to a power supply.
B1-1 More than 0.5m (1.6ft)
B1-2 More than 1.5m (4.9ft)
B1
Place the dock
After the dock is secured, use a dry cloth to
wipe the surface on which the moisture-proof
mat is to be placed. Tear o the double-sided
tape at the bottom of the moisture-proof mat,
and stick the mat on the oor.
Press and hold the
button to power
on the robot. Wait until the power light is
steady, and then place the robot on the
dock to charge. The robot is equipped with
high-performance lithium-ion rechargeable
battery pack. To maintain battery
performance, keep the robot charged
during normal use.
Notes:
•
Alway place the moisture-proof mat on wooden oors.
•
The moisture-proof mat attaches better to smooth surfaces.
B3
Secure the Moisture-Proof Mat
Powering on & Charging
B4
•
Allow more than 0.5 m (1.6 ft) of clearance on each side, and
1.5 m (4.9 ft) in front of the dock.
•
If the power cable hangs vertical to the ground, it may
be caught by the robot, causing the dock to be moved or
disconnected.
•
The dock indicator is on when the dock is powered on, and
o when the robot is charging.
•
Keep the dock away from direct sunlight or anything that
may block the dock location beacon; otherwise, the robot
may fail to return to the dock.
•
To ensure a better user experience of the mobile app, place
the dock in an area with good WiFi coverage.
Notes:
B2-1—Double-Sided Tape
B5
Using the mopping module
Slide the switch down to increase the water
ow and up to decrease the water ow.
B5-1—Adjust the water ow
Remove the water tank stopper, ll it with
water, and close it.
B5-2—Fill the water tank
Dampen the mop cloth and wring it until
it stops dripping. Insert it into the bottom
along the attachment slot and stick it rmly
in place.
B5-3—Install the mop cloth
Slide the mopping module along the back
of the robot as indicated by the arrow. A
click indicates that it is locked in place.
B5-4—Install the mopping module
Notes:
•
To prevent excessive dirt buildup during rst-time use, oors
should be vacuumed at least three times before mopping.
•
If carpets are present, draw No-Go Zones or Invisible Wall to
prevent the robot going on them, or roll them up.
•
To avoid water tank corrosion, do not use cleaning uid or
disinfectant.
•
The mop cloth should be cleaned after 60 minutes of
mopping to ensure water ow and cleaning performance.
Notes:
•
Wash the mop cloth after each use, and regularly empty the
water tank of unused water to prevent odor.
•
Remove the mopping module when not mopping.
B6
Remove the mopping module
When the robot returns to the dock after
cleaning, press the latches on both sides,
and slide the mopping module backwards
to remove it.