8. Operation
Switching the unit on
Press and hold the POWER button located in the middle of the control unit to switch on. All the buttons on the drum kit
will light up as a test. The unit will enter Bluetooth mode and connect to the previously connected device if available.
Volume control
Press the VOLUME button to enter volume selection mode. Press the + or – buttons to adjust the volume between 0
(OFF) and 15. Press and hold the + or – buttons to cycle through quickly. The default setting at power up is level 10.
Drum kit selection
Press the KIT button to enter drum kit selection mode. Cycle through the 16 different drum kits using the + or - buttons.
Press and hold the + or – buttons to cycle through quickly. Hit the drums to test out the sounds available until you find the
kit that you like. The default setting at power up is KIT 01.
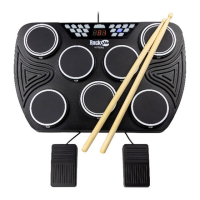
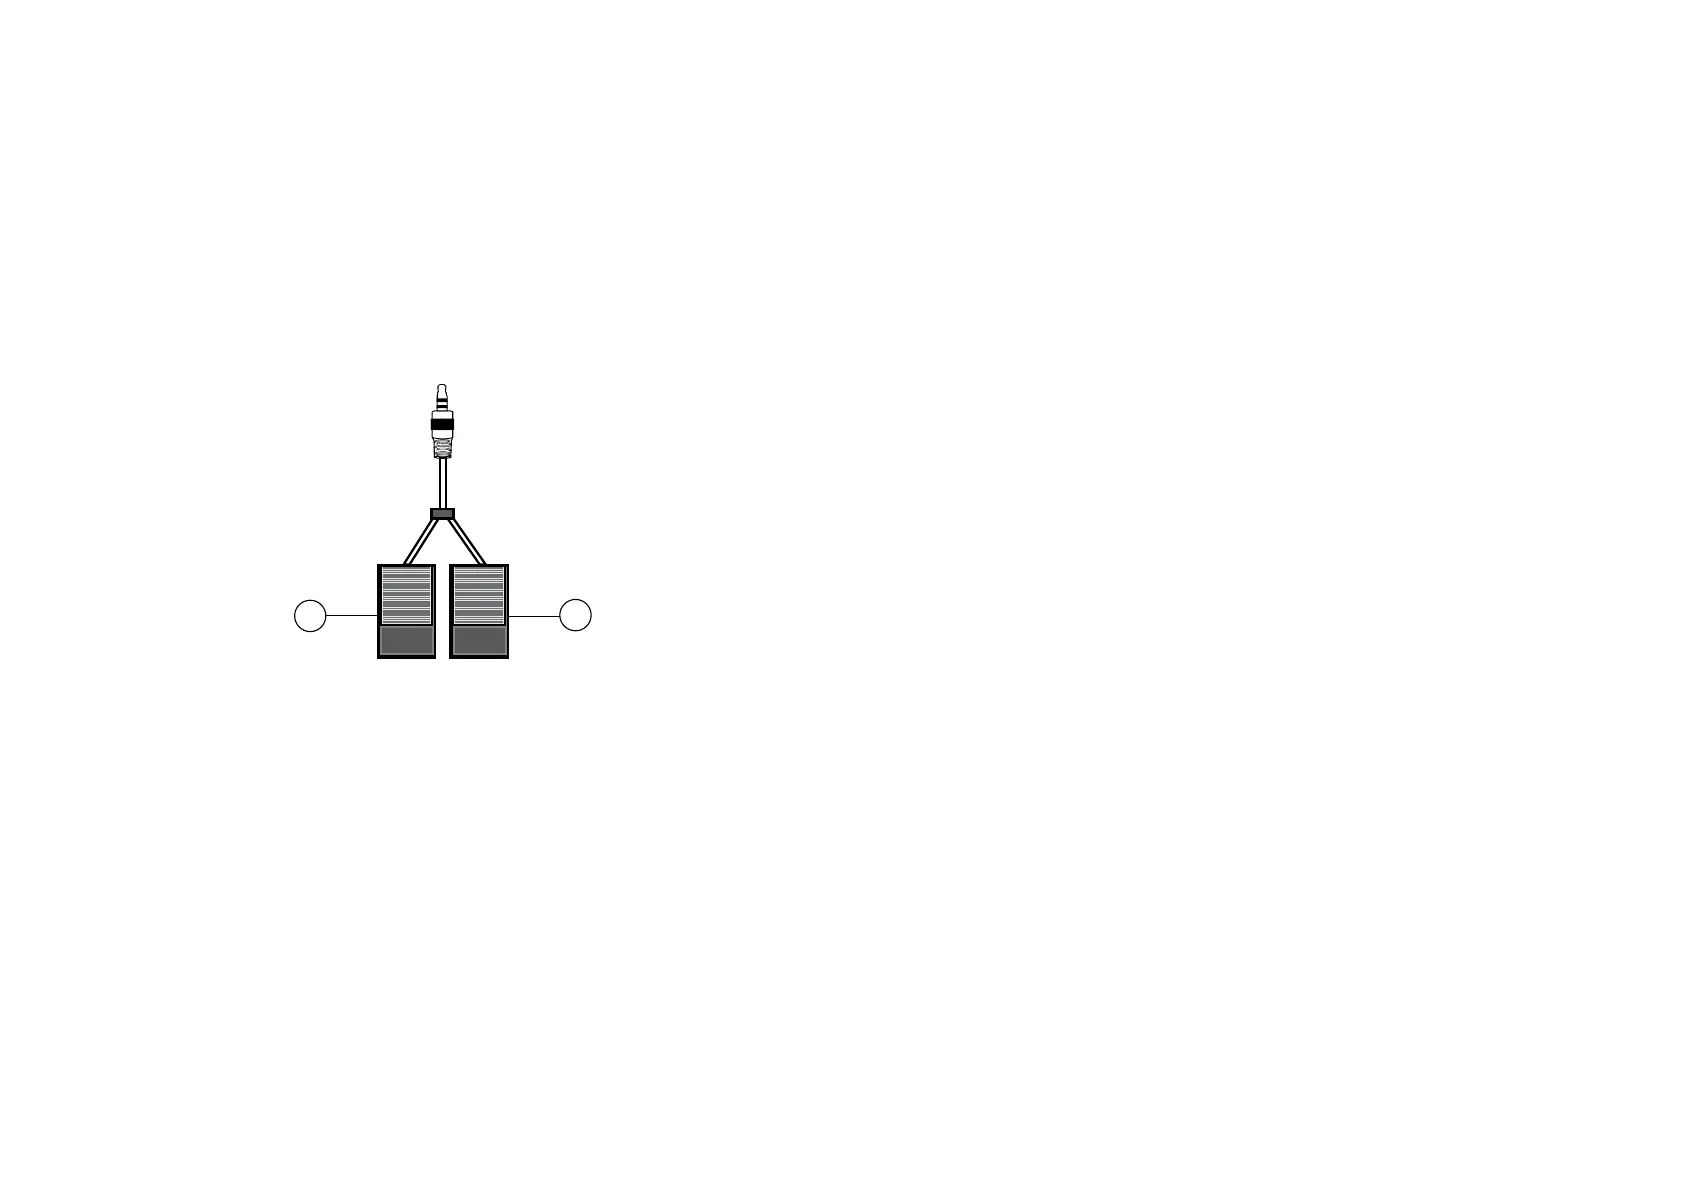
Pedal operation
Press the pedals 1 and 2 for Bass drum and Open/Close Hi-hat
Hi-hat function – Without Pedal plugged in – OPEN Hi-Hat
Hi-hat function – With pedal pressed – CLOSED Hi-hat
Hi-hat function – With pedal not pressed – OPEN Hi-hat
Demo songs
Press the DEMO button to start and stop the demo song. Press the + or – buttons to cycle through the available songs.
Press and hold the + or – buttons to cycle through quickly. There are 30 different demo songs to choose from. The
default setting at power up is Demo song 01.
Song button
Press the SONG button during demo song playback The DRUM, PERC, BASS and CHORD buttons will all illuminate. By
pressing those four buttons the drum, percussion, bass and chord tracks of the demo song can be muted as required.
Play along to the demo track as desired.
Tempo control
Press the TEMPO button to enter tempo selection mode. Press the + or – buttons to adjust the tempo between 30 and
250 bpm. Press and hold the + or – buttons to cycle through quickly. The default setting at power up is setting 120 bpm.
Hand percussion mode
Press the HAND PERC button to quickly select drum kit number 15 (African Drum Style). Use hands on the pads to play.
Press the HAND PERC button again to exit.
Lamp control
Press the LAMP button to switch the LED lights at the front of each pad on or off. The LED lights will illuminate when a
pad is hit or during DEMO song playback.
Reverb control
Press the REVERB button to enter reverb selection mode. Press the + or – buttons to adjust the reverb between 0 (OFF)
and 30. Press and hold the + or – buttons to cycle through quickly. The default setting at power up is level 0.
Recording and playback
Press the SAVE/REC button to enter the recording mode; the REC LED will light green. Play the drums normally and the
beats will be recorded. Press the SAVE/REC button to stop recording. Press the PLAY/STOP button at any time to play
back the recorded beats. The recorded beats can be deleted by pressing the SAVE/REC button twice. The playback of
the recorded beats is affected by the tempo setting.
Metronome
Press the CLICK button to enter metronome selection mode. The metronome will start. Press the + or – buttons to adjust
the metronome mode. Modes available 2-4, 3-4, 4-4, 3-8, 6-8. Press the CLICK button to stop the metronome.
Voice
Press the VOICE button to enter VOICE selection mode. The timbre of each drum pad can be selected individually so
you can build a custom drum kit. Note that the sound for the three TOM drums must be from the same kit, they cannot be
set individually. The custom drum kit will revert to the pre-programmed kit if the drum kit is changed or if the power is
turned off and on.
Switching the unit off
Press the POWER button located in the middle of the control unit to switch off.
9. Playing along to your iPhone, iPod, MP3 player etc.
Bluetooth
After switching on the drum kit, you can connect your Bluetooth device. From your mobile device search for “RockJam
Drum” and connect. If asked for a pairing code, enter ‘2803’. When your device is successfully connected you will hear
a voice prompt, “Connected”.
Aux Input
You can also listen to the sound of a connected external audio device such as an iPhone, iPod or MP3 player through
your drum kit. Connect one end of the 3.5 mm jack cable supplied to the LINE IN socket located on the rear panel of the
drum kit, and the other end to your audio equipment (iPhone, iPod, MP3, PC, CD player, etc.). This feature is great for
practice and allows you to play along to a favourite music track.
NOTE: For Bluetooth and Aux Input, use the volume control of the connected device to adjust the playback volume of the
music track. The music volume cannot be adjusted by the + and - keys of the drum kit.
10. Connecting headphones or external speakers
Headphone, Earphones or external amplified speakers can be connected to the PHONES socket on the rear of the drum
kit; this is great for private practice.
WARNING! The headphone output can be very loud. When using headphones please lower the
volume to minimum before striking the drum pads and then adjust to a suitable level.
 Loading...