3
Jig Setup
We strongly recommend that you familiarize yourself with the
jig and setup process before attempting to rout mortises in your
finished project. You can do this by positioning the jig and making
practice cuts on scrap boards clamped to a workbench or table or
on a test box and lid.
1. Assemble the jig as shown in the exploded view. Do not
overtighten screws used to attach the Front and Rear Spacers.
Leave the Socket Head Caps Screws in Fence loose.
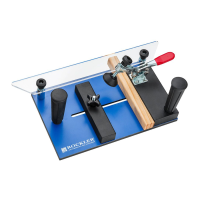
2. Orient your box and lid as if in the fully open position.
Make appropriately sized spacer blocks and/or use Bench
Cookie
®
Plus Work Grippers (46902, sold separately) under
the lid to bring it level with the box. On both lid and box,
mark a centerline along the top edge of the side where the
hinge will be installed. Fig. 1.
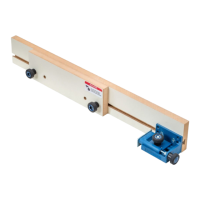
3. Position the jig on the box and the lid with the Front Spacer
in the middle to ensure that they’re the correct distance
apart. Make sure that the sides of the box and lid are aligned
and ensure the the box and lid are flush vertically against the
underside of the Jig Base. Clamp the fence to the lid and box.
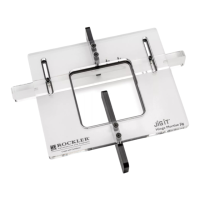
4. Slide the jig Base to line up the etched marks at its edges with
the centerlines on the box and lid. Fig. 2. Double-check the
alignment, then use the included hex wrench to tighten (but
not overtighten) the Socket Head Cap Screws to lock in the
Base and Fence. Clamp the box and lid at the Front Spacer,
and add another clamp across both assemblies to ensure the
Front Spacer is tightly sandwiched between the box and lid.
Fig. 3. Double-check the alignment to be sure everything
is square.
Note: If the alignment is off, the hinges will not be parallel
to the sides and might not function properly. Once the jig is
set correctly, it can be used on any box made from the same
thickness of stock.
Jig Use
Detailed instructions for individual Templates are available
at Rockler.com
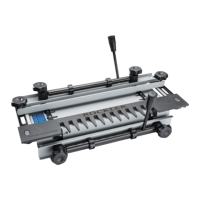
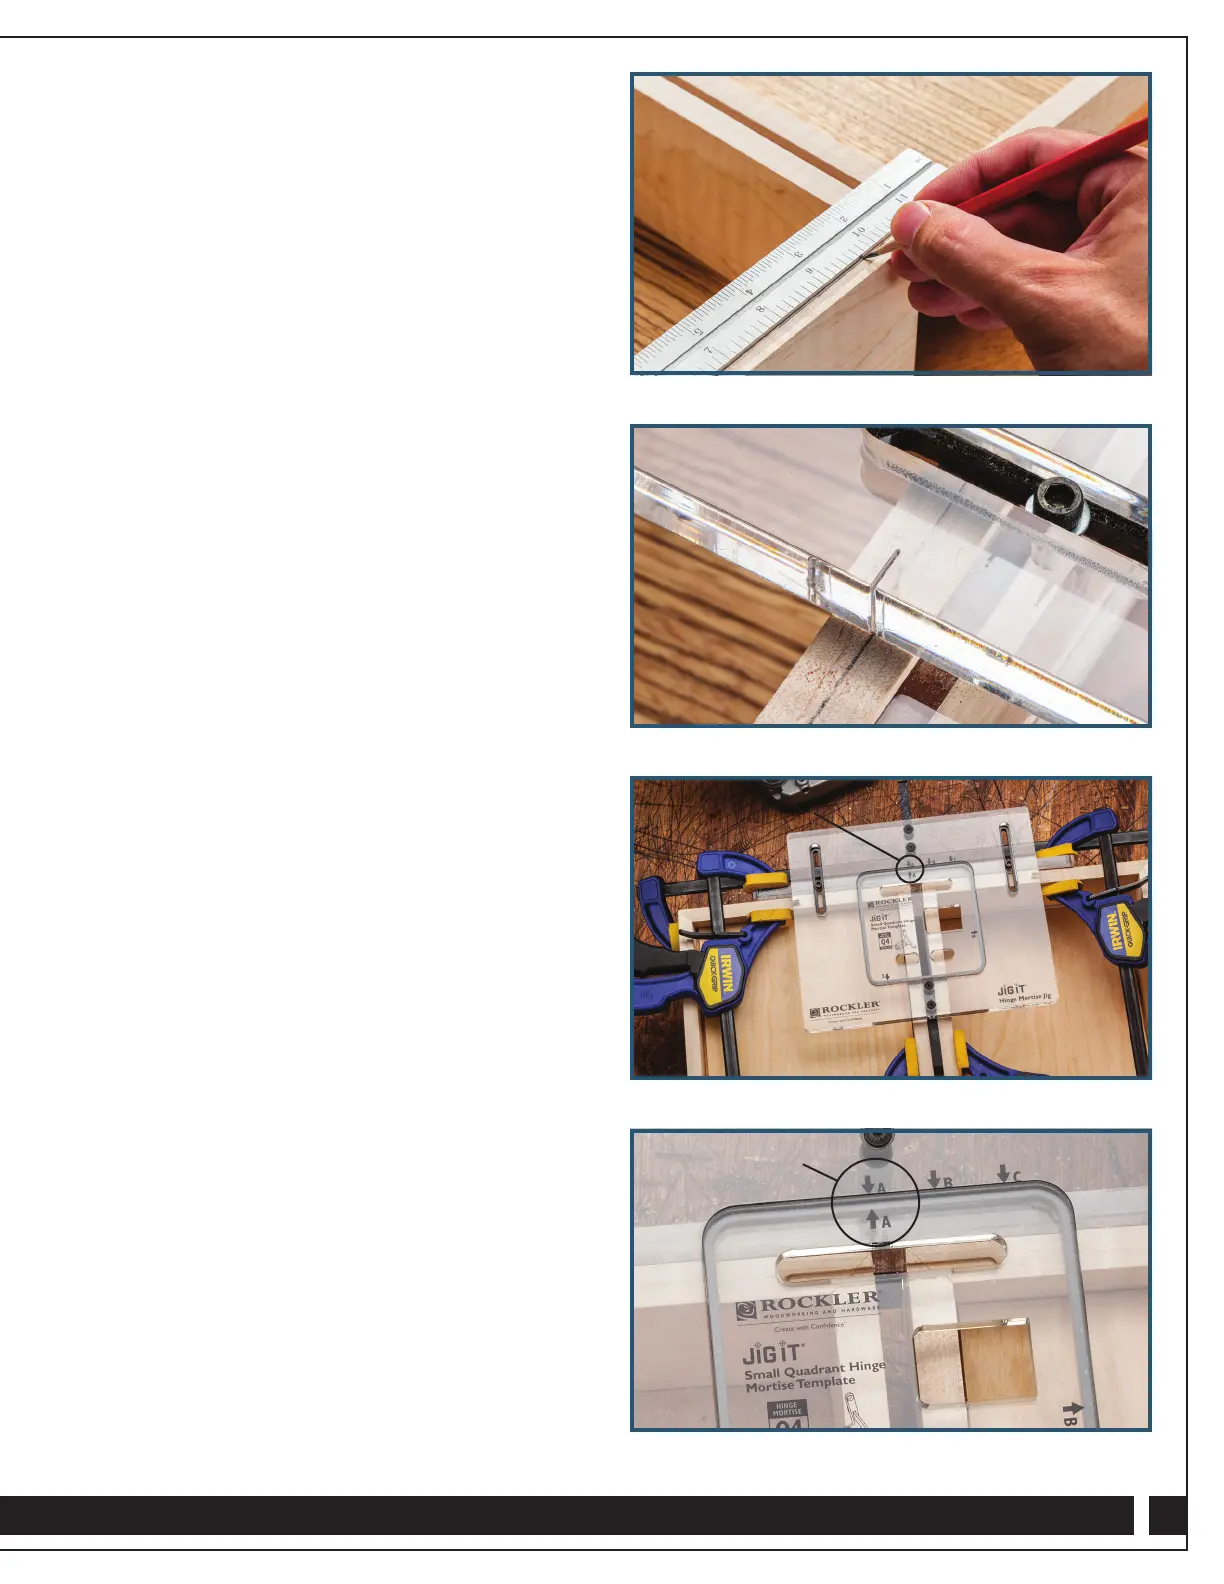
1. Choose the appropriate Template (sold separately) for the
hinge you are installing and insert it in the opening in the Jig
Base, making sure to align the letter “A” on the Template
with the “A” on the jig. Fig. 3.
2. Install a 3/16" straight router bit (90000, sold separately) and
a 3/8" O.D. guide bushing and locking nut (43877 and 63107,
sold separately) in a plunge router.
3. Set the cutting depth to a hair less than the hinge thickness.
To do this, place the router on the jig with the bushing in the
“A” cutout and — with the router off — slowly plunge until
the bit just makes contact with your box. Engage the plunge
lock. Place a leaf of your hinge under the router’s depth stop
and lower the stop until it contacts the hinge.
Note: Make test cuts on scrap to verify the depth setting. The
hinge needs to sit flush or slightly proud, or the box lid might
not close properly.
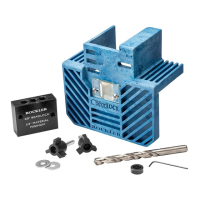
4. Double-check that the Template is positioned correctly on the
jig, then make the plunge cut in “A.” Use the bushing to follow
the edges of the cutout, and rout away any material left in the
middle. When finished with the cut, release the plunge
mechanism and allow the bit to stop spinning before lifting
the router from the jig. If your Template has no other labeled
cutouts, you are done on this side of your box. Fig. 4.
Fig. 4
Fig. 3
Fig. 2
Fig. 1
Align “A” letters
“A” letters aligned
 Loading...