7
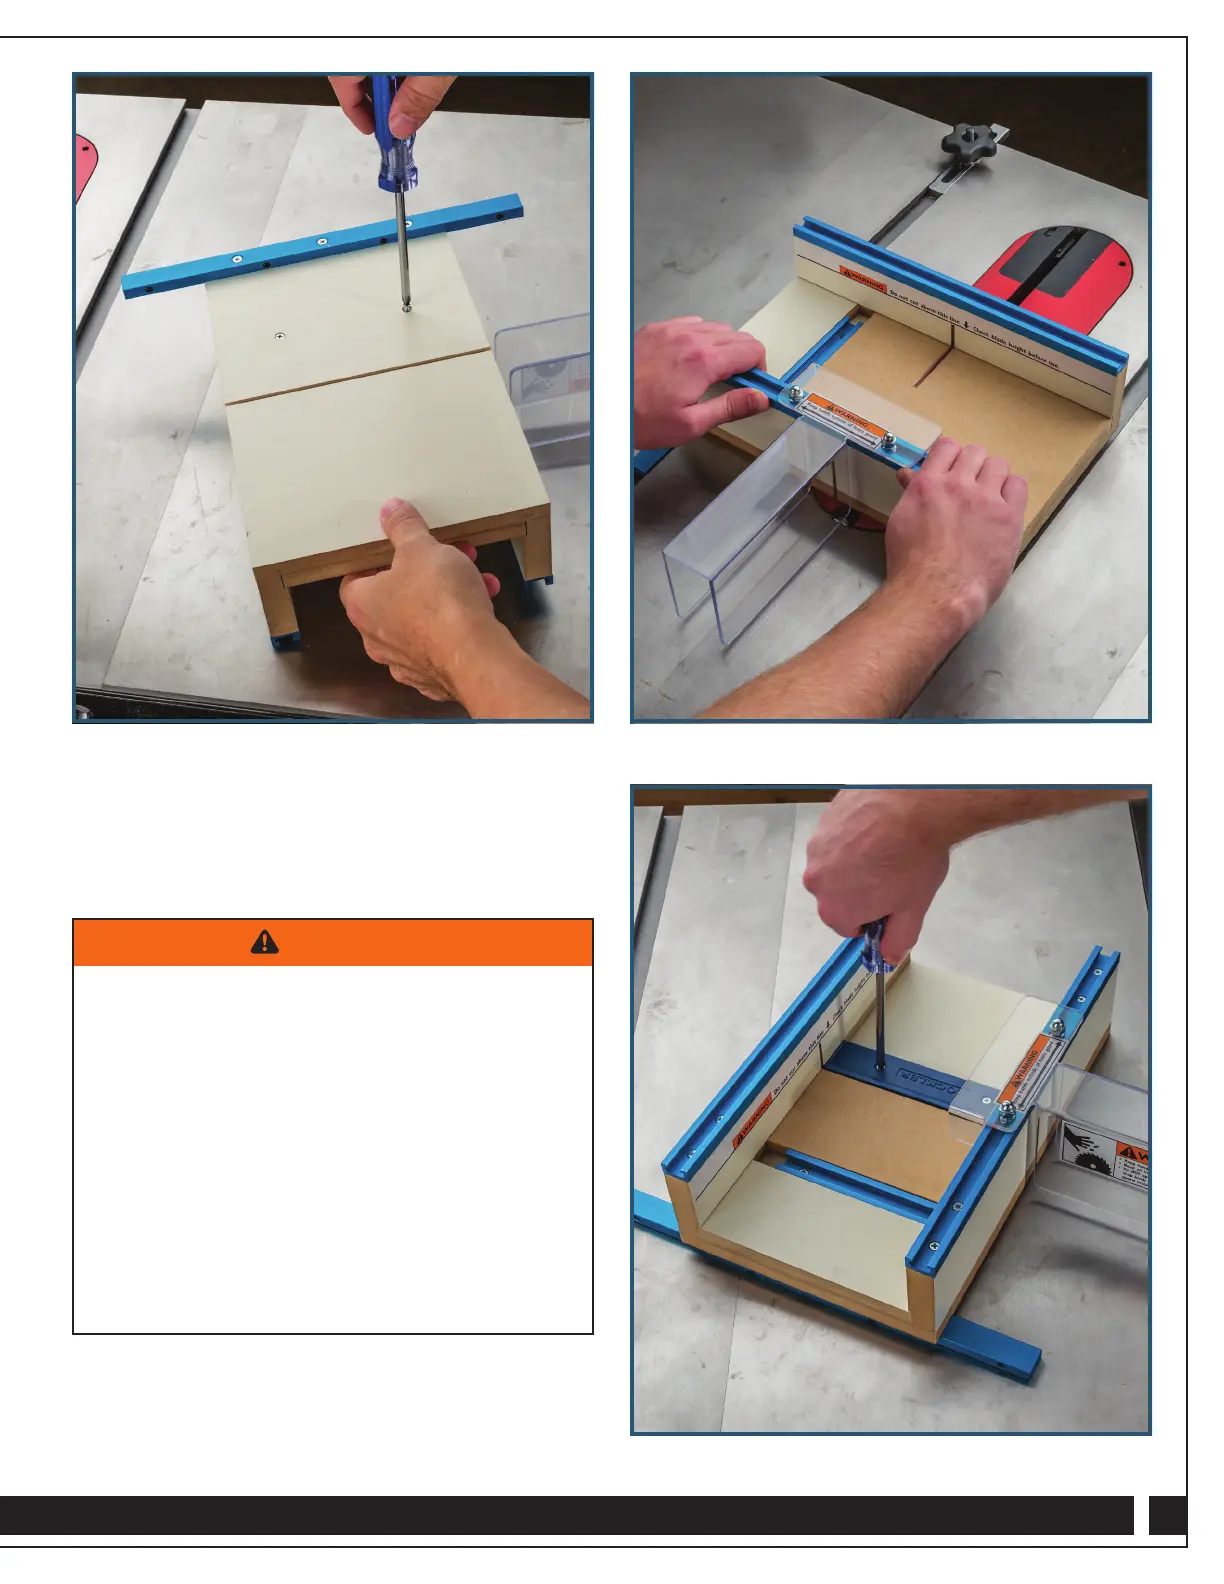
edge aligned with the kerf made by the saw blade. Drill pilot
holes, if desired, and secure the Drop-Off Ramp (3) in place
with the two 8-32 x 1/2" Flat-Head Screws (4). Fig. 9.
Instructions for Use
> DonotoperatesledwithoutSafetyMiterStop(9)inplace
withknobtightened.Seepage6,step10(andFig.5)
for proper positioning.
> Do not operate sled without plastic Blade
Guard(6)installed.
> KeephandsandfingersoutsideBladeGuard(6)and
awayfromrotatingbladetoavoidriskofseriousinjury.
> Tablesawmitertrackmustbe3/4"x3/8".Ifthetrack
is a different size, do not use with this product, or
serious injury could occur.
> Failure to maintain downward pressure could allow
thesledtoliftoutoftrack,resultinginkickbackand
serious injury.
WARNING
Important: The sled’s maximum cutting capacity is no more that
1" thick and 5
1
⁄2" wide.
1. Remove riving knife and blade guard from your table saw.
Fig. 7
Fig. 9
Fig. 8
 Loading...