Do you have a question about the RODE Microphones VideoMic Pro and is the answer not in the manual?
Describes the microphone's control features, including filters and indicators.
Explains the 9V battery requirement and expected performance for optimal battery life.
Step-by-step guide on how to open the cover and insert the battery correctly.
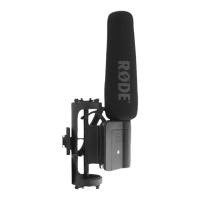
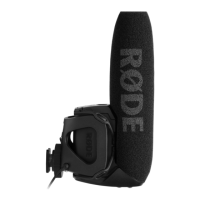
Explains the integrated camera shoe mount and 3/8" thread for mounting options.
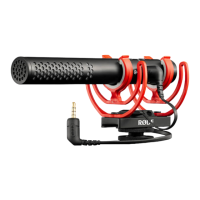
Explains connecting the mini jack to the camera's audio-in socket.
Explains the function of the HPF for reducing low-frequency noise and how to activate it.
Details the three-position switch (-10dB, 0dB, +20dB) for controlling signal output.
Explains the HPF's role in reducing noise and how to engage it via the power switch.
Lists safety guidelines for storage, battery removal, and avoiding moisture.
| Type | Shotgun Microphone |
|---|---|
| Polar Pattern | Supercardioid |
| Frequency Range | 40Hz - 20kHz |
| Output Impedance | 200Ω |
| Equivalent Noise Level | 14dBA |
| Signal to Noise Ratio | 80dB |
| Output Connection | 3.5mm TRS |
| Sensitivity | -32dB re 1 Volt/Pascal (20.0mV @ 94 dB SPL) +/- 2 dB @ 1kHz |
| Maximum SPL | 134dB SPL |
| Power Requirements | 9V Battery |
| Battery Life | 70 hours |
| Weight | 85g |