AX-7
Nov, 2001
7
Press EXIT to leave.
Press EXIT again to go back to the main menu.
T
ouch controller
Once you have pressed button 2, the display visualizes:
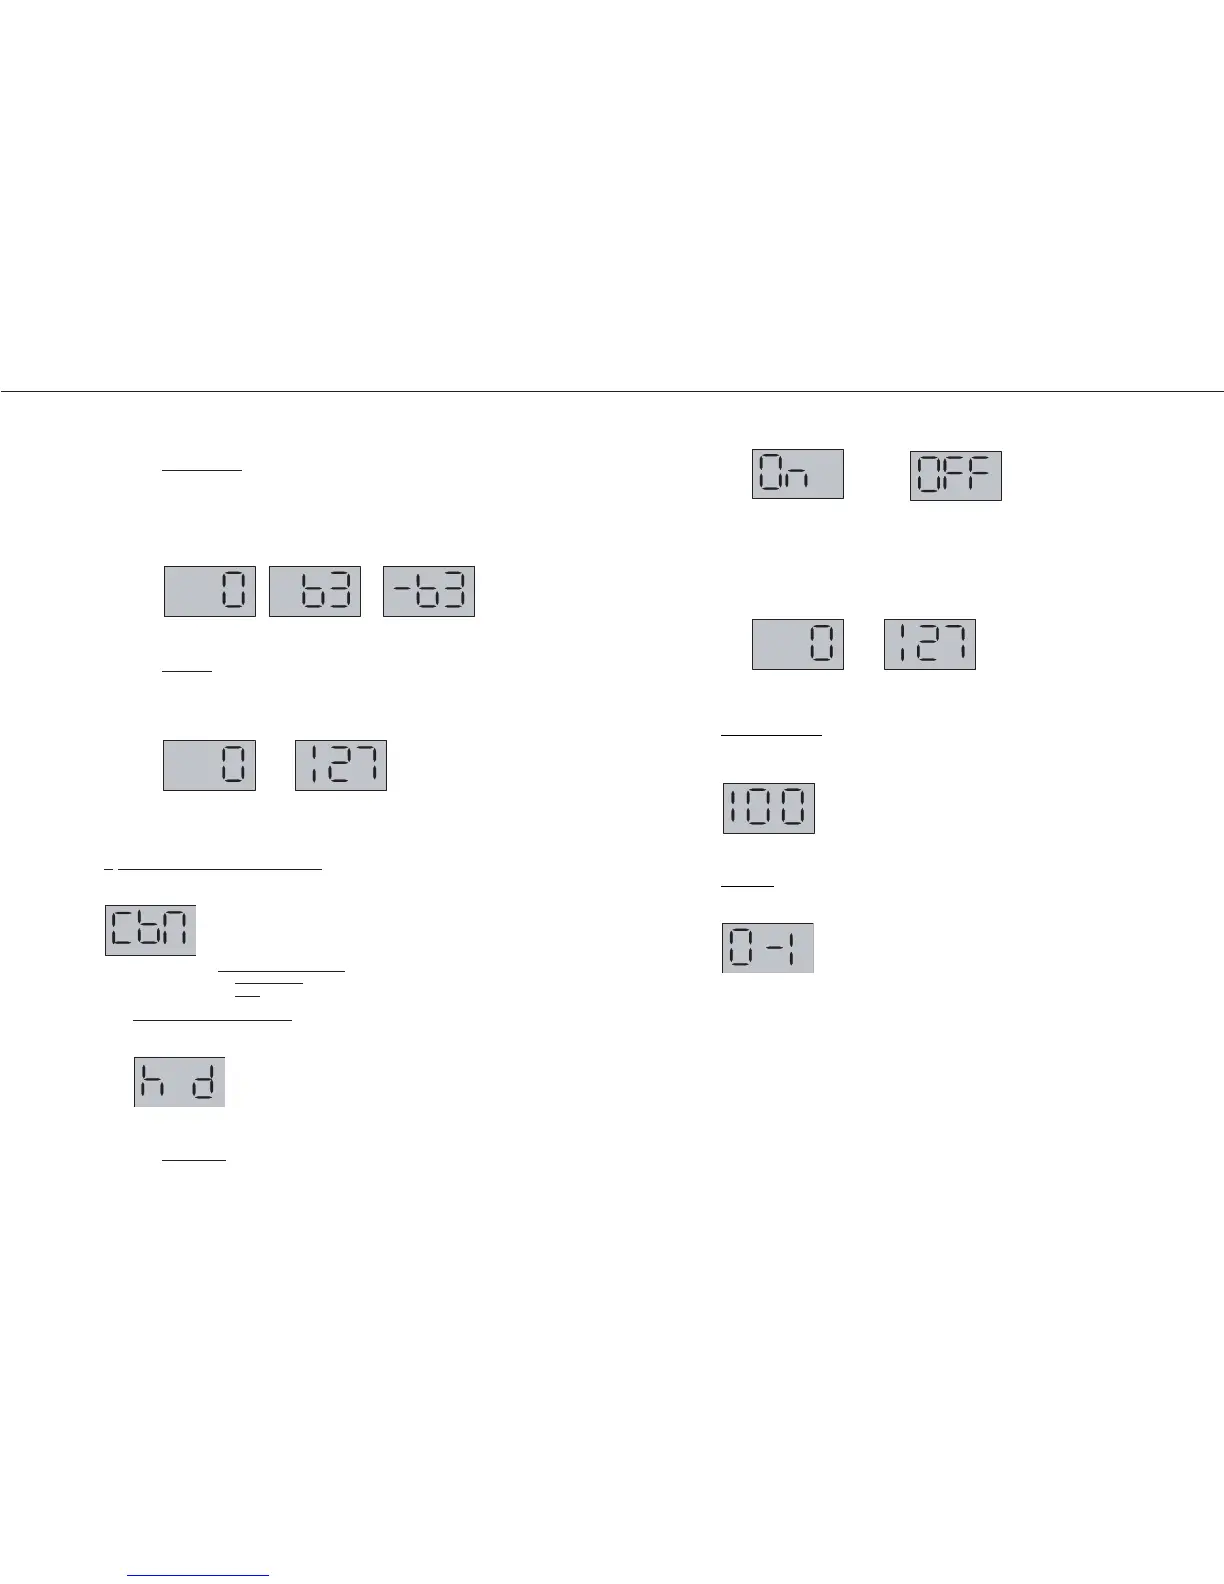
Pict. A (Value 0), if you don't touch the touch controller or if you touch it in the middle (please
see the reference sign on the touch controller);
Pict. B (Value 63), if you press the touch controller from the middle rightwards;
Pict. C (Value - 63), if you press the touch controller from the middle leftwards.
Press EXIT to leave.
Press EXIT again to go back to the main menu.
Data entr
y
Once you have pressed button 3, the display visualizes:
Pict. A (value 0) if the potentiometer slider is in low position;
Pict. B (value 127) if the potentiometer slider is in high position.
Press EXIT to leave.
Press EXIT again to go back to the main menu.
b) Rear panel (HOLD, D-Beam, Battery, MIDI)
Once you have entered the rear panel test mode rear panel, press button 2.
The display visualizes:
Press button 1, to check HOLD s
witch and D-Beam.
Press button 2, to check the Power battery.
Press button 3, to check the MIDI.
HOLD switch and D-Beam check
Once you have entered the rear panel test mode, press button 1.
The display visualizes:
Press button 1, to check the HOLD switch.
Press button 2, to check the D-Beam.
HOLD s
witch
If you press the HOLD switch, the display visualzes the status ON (Pict. A); when you release
the HOLD switch, the display visualizes its new status OFF (Pict. B).
Press EXIT to leave.
Press EXIT again to go back to the main menu.
D-Beam
Make sure that the value of the D-Beam controller ranges from 0 (Pict. A) to 127 (Pict. B)
depending on the vertical distance of your hand from the infrared LEDs of the D-Beam.
When standing still, the value shown must be 0.
Press EXIT to leave.
Press EXIT again to go back to the main menu.
P
ower Battery check
Once you have entered the rear panel test mode, press button 2.
The display visualizes a value representing the power battery charge level, expressed in % value
(i.e.: 100 = 100 %).
Press EXIT to leave.
Press EXIT again to go back to the main menu.
Midi c
heck
Once you have entered in the rear panel test mode, press button 3.
The display visualizes:
Connect MIDI IN and MIDI OUTsockets by a Midi cable.
In case of correct data transmission and reception, the display visualizes the writing "go".
In case of failure, the display visualizes "0 - 1".
Press EXIT to leave.
Press EXIT again to go back to the main menu.
 Loading...