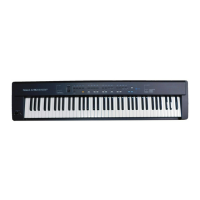
AX-7
Nov, 2001
6
a) Front Panel check (Controls)
Once you have entered the control panel check, press button 1:
The display visualizes:
If you press the button 1, you check the b
uttons.
If you press the button 2, you check the LEDs
.
If you press the button 3, you check the Controls (Expression bar, Touch controller, Data entry).
Buttons check
Once you have entered the front panel test mode, press button 1.
The display visualizes pict. A:
If you press the buttons of the control panel one after the other, the display will visualize their name.
When you release the button, the display will visualize: OFF (See pict. B).
Press EXIT and WRITE at the same time to exit.
The test procedure automatically goes back to the previous menu.
Note: It is not possible to go on to the following step if this test is not carried out correctly.
If you exit the test before checking all the buttons, the display indicates the name of the untested
buttons.
Press EXIT to go back to the main menu.
LED c
heck
Once you have entered the control panel check, press button 2.
The control panel LEDs and the display segments will light in sequence.
Press EXIT to leave this test.
Press EXIT again to go back to the main menu.
Contr
ol check (Expression bar, Touch controller, Data entry).
Once you have entered the control panel check, press button 3.
The display visualizes:
Pressing the button 1, you check the Expression bar
.
Pressing the button 2, you check the T
ouch controller.
Pressing the button 3, you check the Data entry potentiometer.
Expression bar
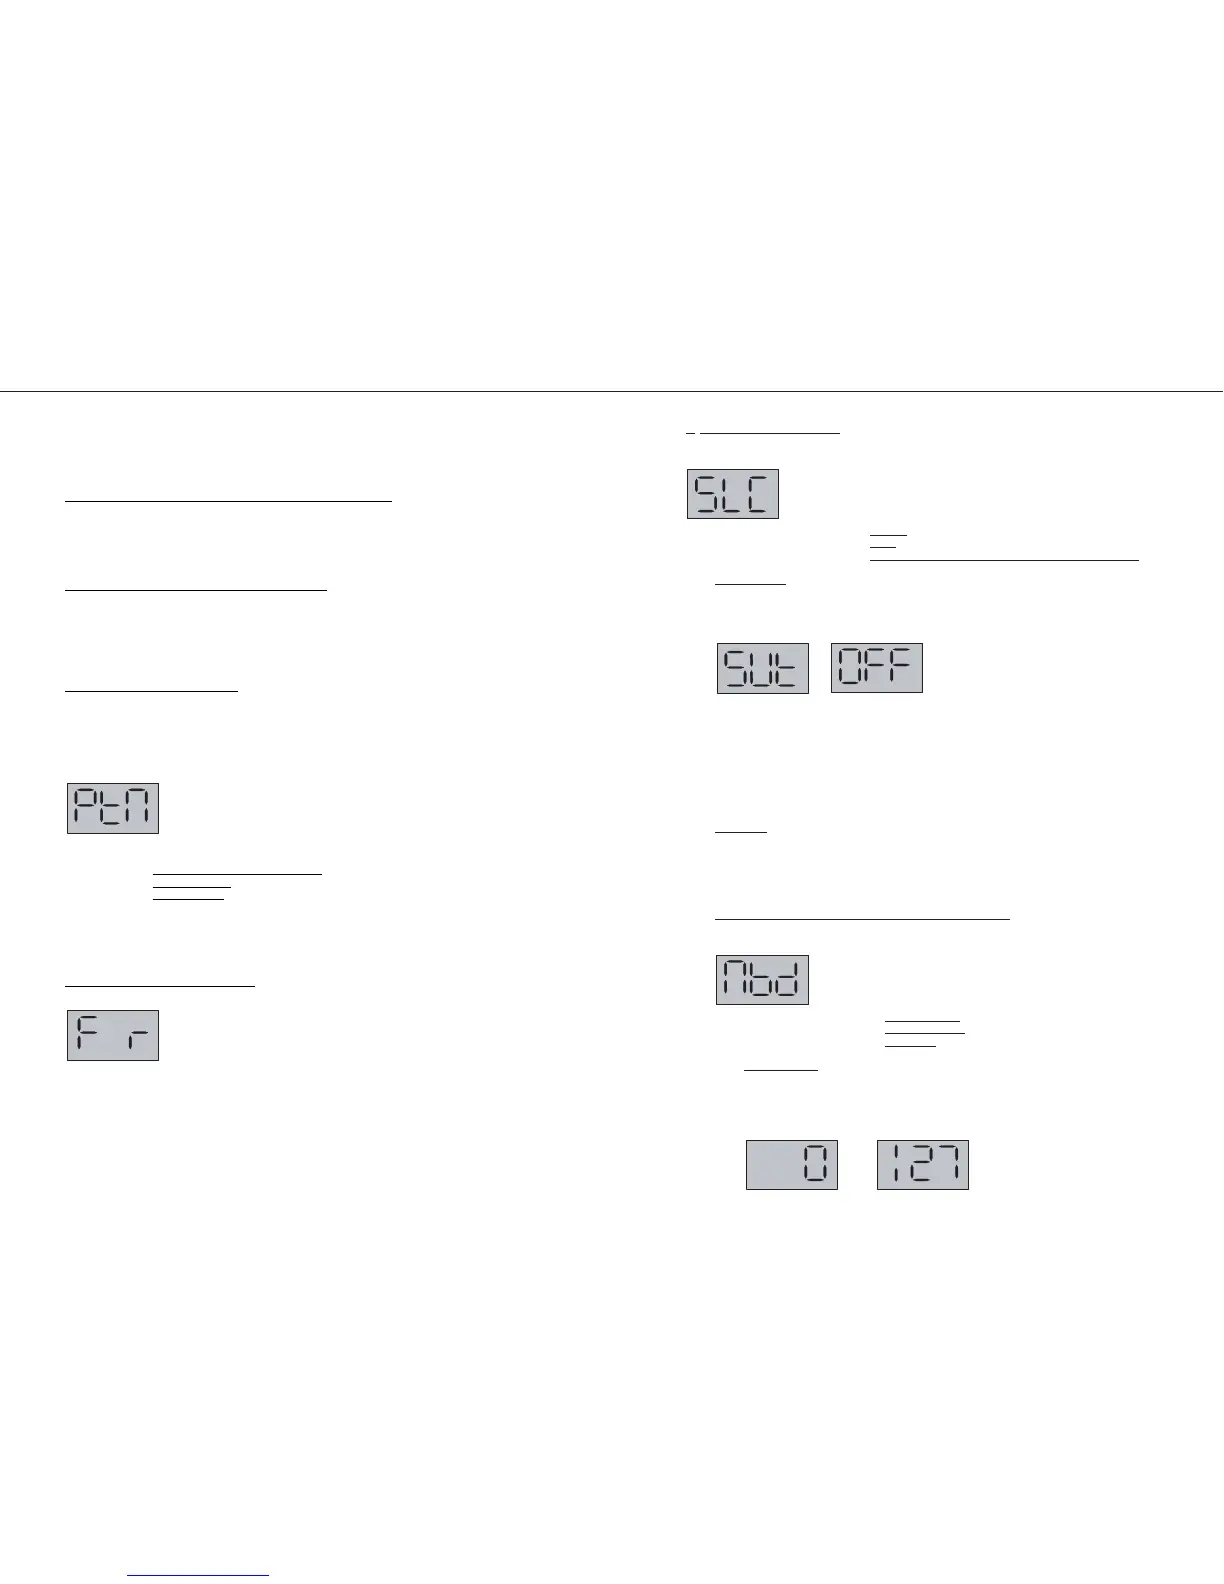
Once you have pressed the button 1, the display visualizes:
Pict. A (value 0) if the Expression bar is released;
Pict. B (value 127) if the Expression bar is completely pressed.
TEST MODE
ITEMS REQUIRED:
· MIDI cable;
HOW TO VISUALIZE THE SYSTEM PROGRAM VERSION
Turn the instrument on, while keeping pressed the button 2 of section PATCH.
After a few seconds, the display will visualize a writing identifying the software version:
i.e.: VER 100 - 04 oct 2001
To exit, turn the instrument off.
HOW
TO CARRY OUT THE FACTORY SETUP
Turn the instrument on while keeping the button WRITE pressed.
After a few seconds, the display will visualize the writing Factory setup.
The Factory Setup function re-establishes the instrument's factory settings.
HOW TO ENTER TEST MODE
Turn the instrument on while keeping pressed the button 1 of section PATCH.
After a few seconds, the display will visualize the following writing:
TEST ROLAND AX-7 VERSION 1.00
Then the display visualizes:
Every button of section Patch corresponds to a test to carry out.
Button 1 ⇒ P
anel check ("F": Front, "R": Rear);
Button 2 ⇒ K
eyboard check
Button 3 ⇒ Memory check
Turn the instrument off to exit test mode.
Note: After carrying out the tests, the instrument automatically performs the Factory Setup.
1) PANEL CHECK (FRONT / REAR)
Once entered test mode, press button 1. The display visualizes:
If you press button 1, you check the Front Control Panel.
If you press button 2, you check the Rear Control panel (MIDI, D-Beam, HOLD and Battery).
Press EXIT to come back to the previous menu.
 Loading...