9
Dec. 2017 E-X20, E-X20A
Factory Reset
Hold down [+/YES] and [-/NO], and turn on the power.
System Self-test
Key Combination Instruction
Press and hold the following key combination then power on can achieve
some special functions:
• Press [STORE] + [M1] + [M3], to enter firmware update mode.
• Press [STORE] + [M2] + [M4], to enter system self-test mode.
• Press [STORE] + [M3] + [M4], to display the serial number.
• Press [+/YES] + [-/NO], to reset all user data (except lesson course).
• Press [STORE] + [M1], to clean the memory data.
Operating Instructions
System self-test function could assist you make a comprehensive check
with these functions: LCD, DAC, ADC, USB-MIDI port, function buttons,
keys, pedals, A2S-RAM and A2S-ROM.
Before power on, please follow the procedure below:
• Connect the piano to PC via USB cable.
•Connect the pedals.
You can press the following button combination to choose a test item:
• Press and hold [PLAY/STOP] button then press [+] button to enter into
the next test item.
• Press and hold [PLAY/STOP] button then press [-] button to return to the
previous test item.
* After entering into the System self-test mode, please turn the [VOLUME] knob
to the Maximum level.
Test 1: Display the Firmware Version
Number
In Test 1, the LCD will display the firmware version number, as the
following picture when the version number is V1.0.0.
fig.test-1.eps
In this mode, you can press and hold [START/STOP] button then press
[+] button to enter into the Test 2.
Test 2: LCD Inspection
When switch to the Test 2, the LCD will display: LCD TEST
Press [+] button can start the LCD inspection, and the LCD will display
the test image (Full screen light).
After starting the LCD inspection, you can press [+] or [-] button to
change the test image (as following pictures), and check the LCD whether
was OK (such as ghost shadow and bad point problems).
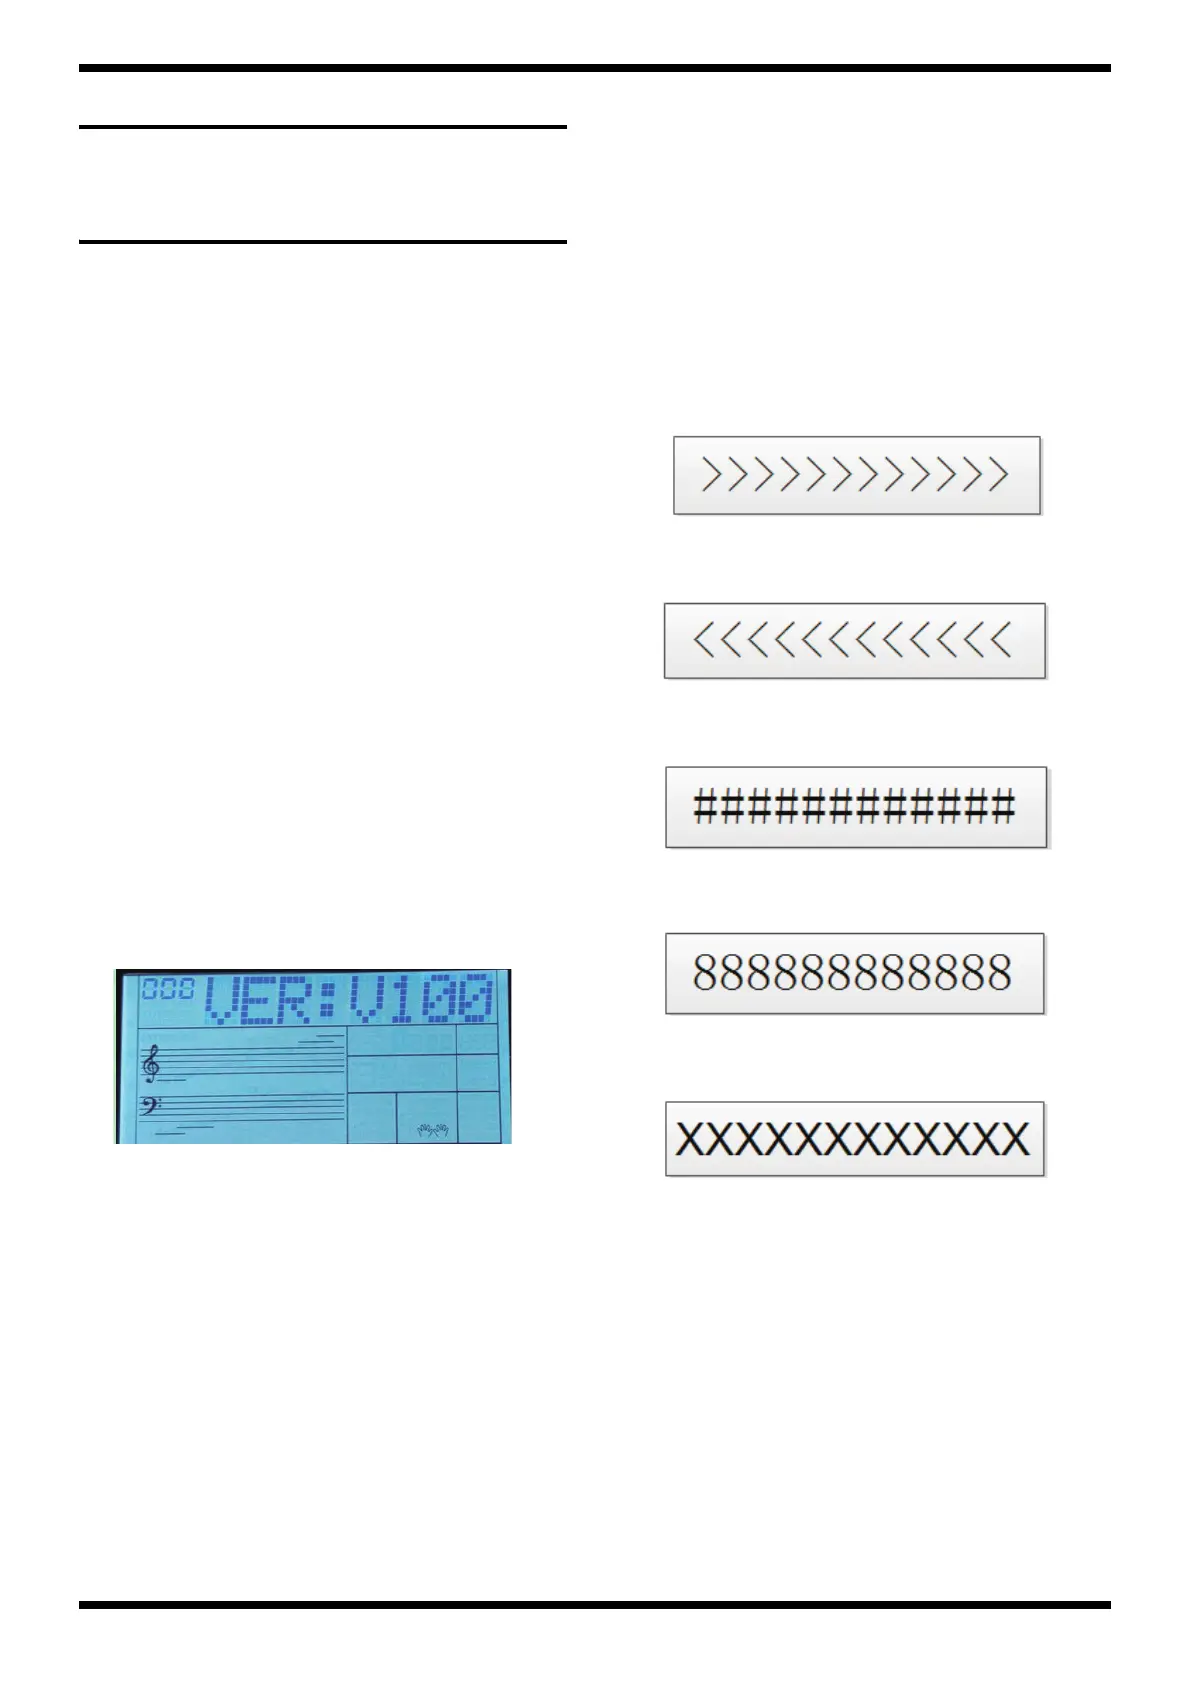
The Test image:
1. Full screen light
2. Full screen dark
3. display in the LCD lattice area “>”
fig.test-2-1.eps
4. display in the LCD lattice area “<”
fig.test-2-2.eps
5. display in the LCD lattice area “#”
fig.test-2-3.eps
6. display in the LCD lattice area “8”
fig.test-2-4.eps
7. display in the LCD lattice area “x”
fig.test-2-5.eps
In this mode, you can press and hold [START/STOP] button then press
[+] button to enter into the Test 3.
 Loading...