20
Apr.2004
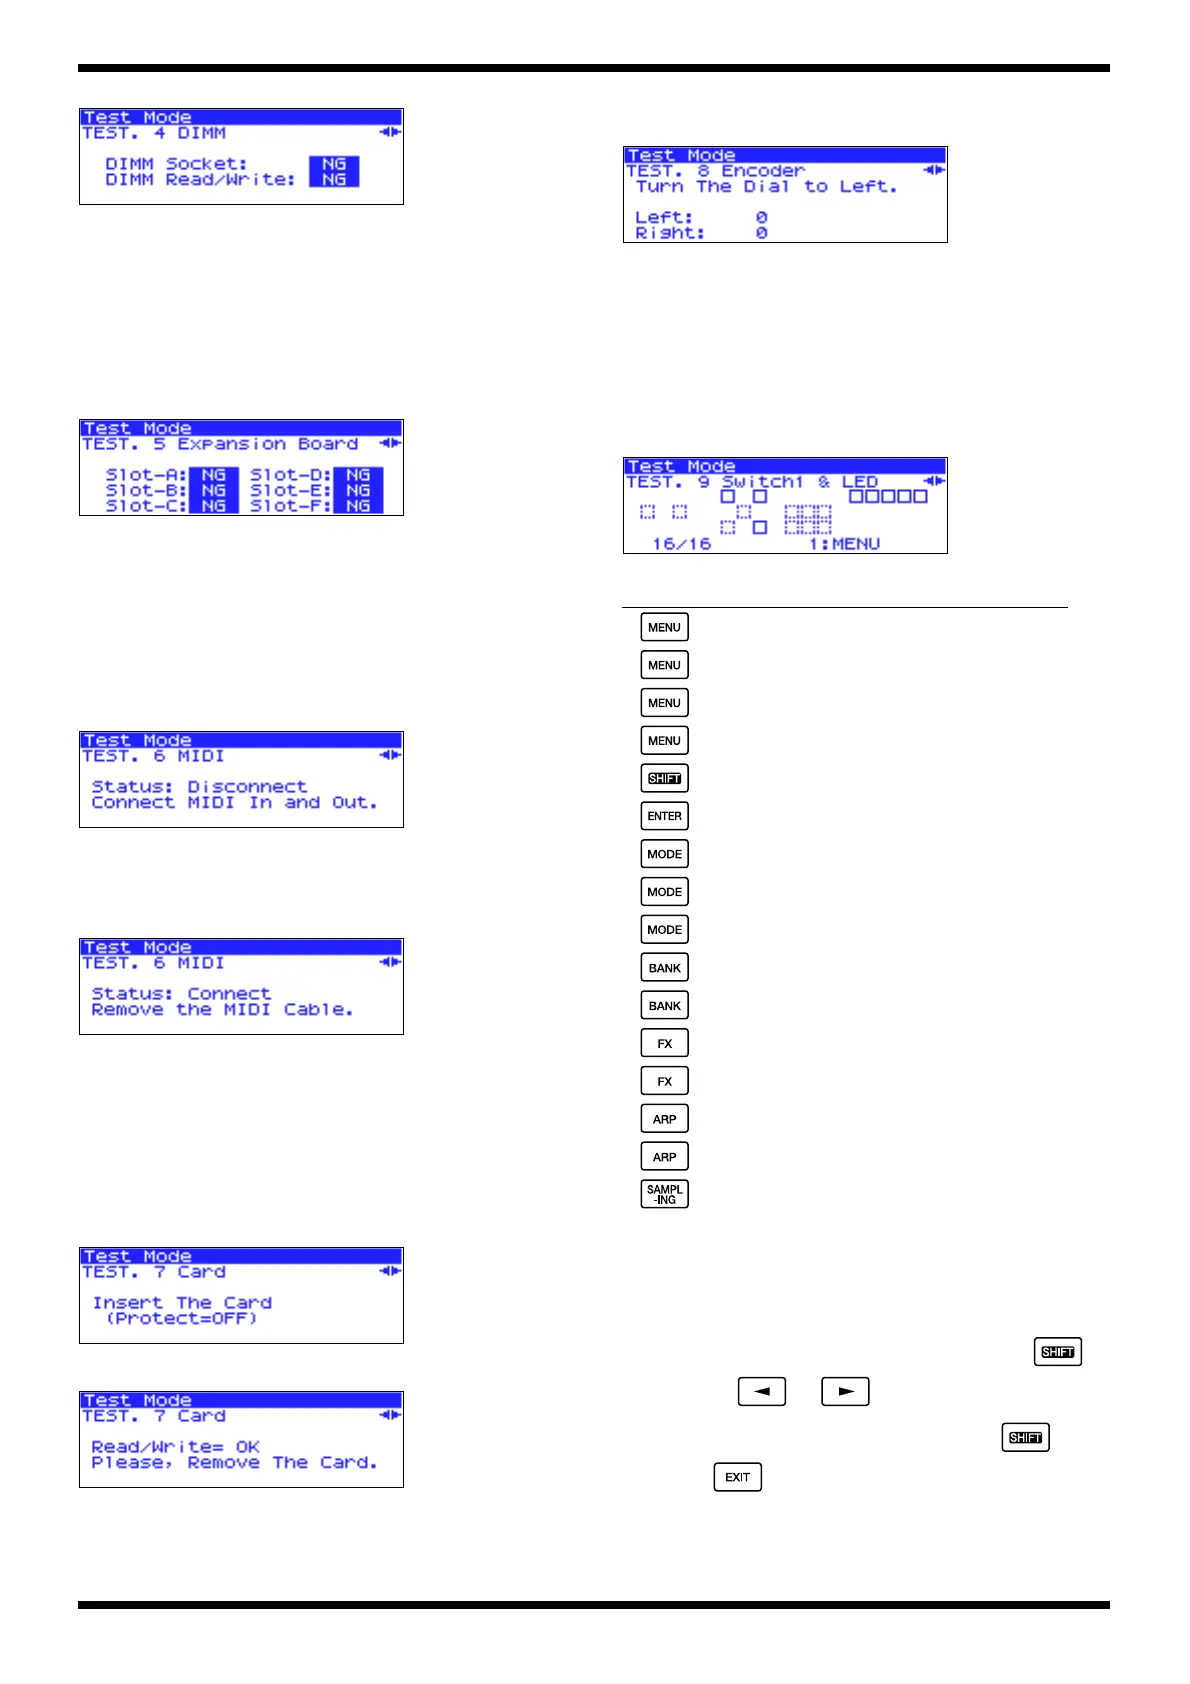
fig.ltest-dimm_100
• If all checks are OK, you will automatically proceed to the next test item.
5: Expansion Board
This checks the expansion board slots, and performs a Read test on the
expansion boards.
You must have installed all six expansion boards before you proceed.
The Fantom-XR must be powered-off when installing or removing expansion
boards.
fig.ltest-exp_100
• If the test result is OK for all expansion board slots, you will
automatically proceed to the next test item.
6: MIDI
This checks the MIDI connection.
This test is performed by directly connecting (shorting) the MIDI IN and MIDI
OUT connectors.
(a) If the MIDI IN connector and MIDI OUT connector are not connected
fig.ltest-midi-1_100
• Connect the MIDI IN connector to the MIDI OUT connector
• If the test result is OK, an indication of “Status: Connected” will appear,
and you will proceed to the next test item.
(b) If the MIDI IN connector and MIDI OUT connector are connected
fig.ltest-midi-2_100
• Break the connection between the MIDI IN connector and MIDI OUT
connector
• If the test result is OK, an indication of “Status: Disconnect” will appear,
and you will automatically proceed to the next test item.
7: Card
This checks the PC CARD slot, and performs a Read/Write test on the memory
card.
fig.ltest-card-1_100
• As directed by the display, insert a memory card into PC CARD slot.
fig.ltest-card-2_100
• If the test result is OK, a display like the one shown will appear.
• Remove the memory card from the PC CARD slot.
• When you remove the card, you will automatically proceed to the next
test item.
8: Encoder
fig.ltest-encoder_100
• Turn the [VALUE] knob toward the left (30 counts)
• Turn the [VALUE] knob toward the right (30 counts)
• If the test result is OK, you will automatically proceed to the next test
item.
9: Switch1 & LED
This checks the switches that have built-in LEDs, and also checks the other
LEDs.
fig.ltest-switch1_100
• When all checks have been completed, you will automatically proceed to
the next test item.
The following illustration shows the screen during this test; the right of the
screen shows all switches that need to be operated, and the switches that have
already been operated are grayed-out.
* * You can move to the previous or next test item by holding down
and pressing or .
* You can move to the 1:Version Check item by holding down and
pressing .
10: Switch2
This checks the switches that do not have built-in LEDs, and also checks the
Press button Display
MENU LED dark, MIDI LED lit
MIDI LED dark, USB LED lit
USB LED dark, PEAK LED lit
PEAK LED dark, SHIFT LED lit
SHIFT LED dark, ENTER LED lit
ENTER LED dark, MODE LED (red) lit
MODE LED (red) dark, MODE LED (green) lit
MODE LED (green) dark, TONE SWITCH 1 LED lit
TONE SWITCH 1 LED dark, GROUP LED lit
GROUP LED dark, TONE SWITCH 2 LED lit
TONE SWITCH 2 LED dark, FX LED lit
FX LED dark, TONE SWITCH 3 LED lit
TONE SWITCH 3 LED dark, ARP LED lit
ARP LED dark, TONE SWITCH 4 LED lit
TONE SWITCH 4 LED dark, SAMPLING LED lit
SAMPLING LED dark

 Loading...