25
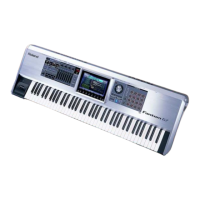
GW-7
13.KEYBOARD Test
fig.lcd-t20-piano.eps
1. Press each key and verify that sound is produced.
Also verify that the volume changes depending on the strength with
which you press the key.
2. Press the [ENTER] button to change the sound from PIANO to ORGAN.
3. Press each key and verify that sound is produced.
4. Press the [ENTER] button to proceed to the next test.
14.NOISE Test
fig.lcd-t22-noise.eps
1. Use a noise meter to measure the residual noise.
Use a noise meter to measure the residual noise of OUTPUT-L ,OUTPUT-
R
When use a noise meter to measure the residual noise of OUTPUT-L,
please insert dummy plug into OUTPUT-R.
2. Turn the [VOLUME] knob of the GW-7 all the way toward the right.
3. Set the input filter of your noise meter to “DIN- AUDIO.”
4. Verify that the measured value is “- 83.0 dBm” or less.
5. Press the [ENTER] button to proceed to the next test.
15.Factory Reset
fig.lcd-t23-factory.eps
1. Press the [ENTER] button to execute Factory Reset. (Do not turn off the
power while the screen indicates “KEEP POWER ON!”)
Factory Reset will be completed within 30 seconds.
2. Press the [EXIT] button, you will return to “14.NOISE Test.”
3. Press the [SHIFT] + [EXIT] button, you will return to “0.Test Mode” Top
Page.
4. When this screen appears, the procedure has been completed.
Turn off the power.
 Loading...