9
Audio les that you’ve imported from a USB ash drive into the JUNO-DS (referred to as “samples”) can be assigned to the keyboard and played.
In Performance mode, you can assign up to 16 audio les (16 parts).
NOTE
For an audio le to be imported, it must be a WAV format, 44.1 kHz, 16 bit le. If any other le is selected, the display indicates “Incorrect File!” and the le cannot be imported.
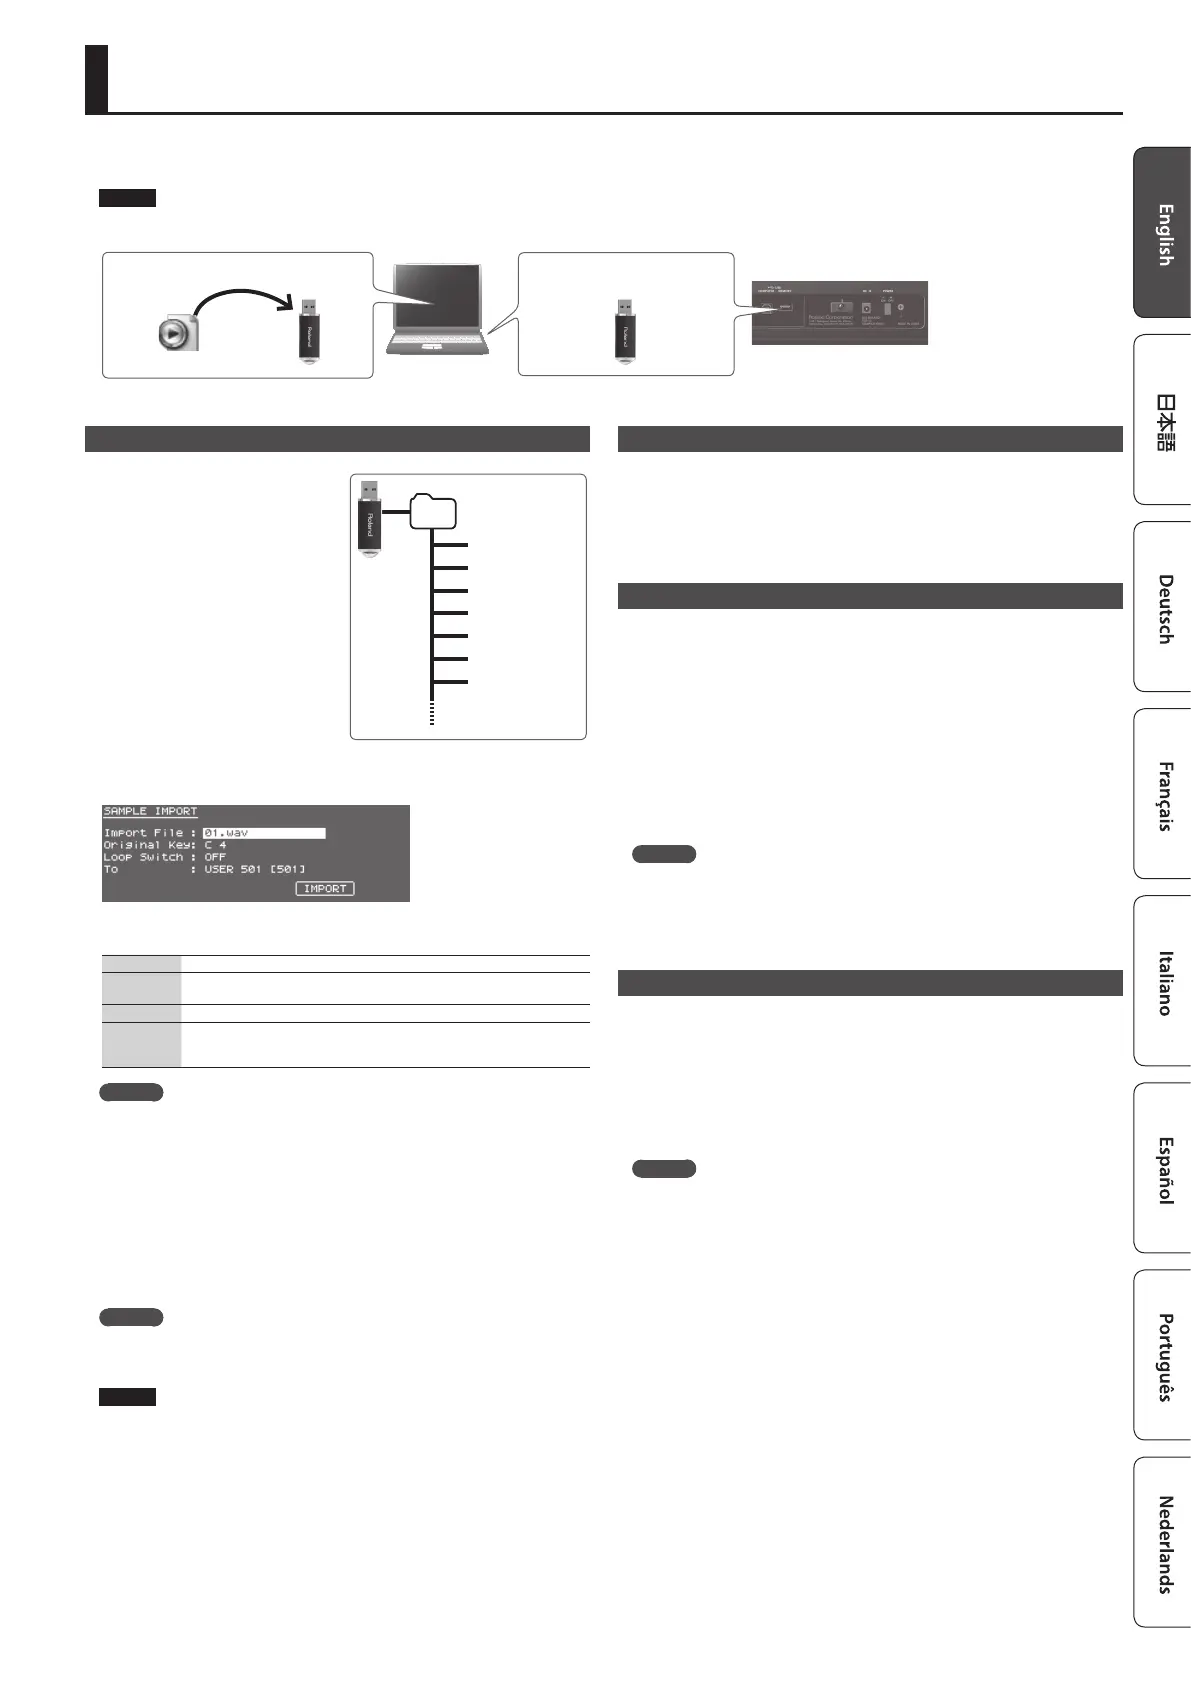
Copy to a USB ash drive
WAV
Insert USB ash drive
Importing Audio Files (Sample)
1.
Use the JUNO-DS to format the USB
ash drive (p. 17).
2.
Power-o the JUNO-DS, and then
remove the USB ash drive.
3.
Using your computer, copy
the desired audio les into the
“IMPORT” folder.
* Use only single-byte alphanumeric
characters in the folder names and
le names.
4.
Insert the USB ash drive into the
JUNO-DS, and turn on the power.
5.
Press the [SAMPLE IMPORT] button.
The SAMPLE MENU screen appears.
6.
Move the cursor to “SAMPLE IMPORT,” and press the [ENTER] button.
The SAMPLE IMPORT screen appears.
7.
Make settings to specify how the le is imported.
Import File Imported audio le
Original Key
Species the note number that plays the sample at the pitch at which it was
imported.
Loop Switch Turns loop playback on/o.
To:
Save-destination number of the sample.
Sample is saved in the JUNO-DS’s internal user memory, and is assigned a
number starting with 501.
MEMO
5
The sound is automatically assigned to the keyboard with the appropriate
pitches, starting from two octaves above the Original Key and extending
downward to the lowest note of the keyboard.
5
You can change the loop point and original key of the sample later. For details,
refer to “Parameter Guide (English)” (PDF).
8.
Move the cursor to “IMPORT,” and press the [ENTER] button.
The audio le is imported.
* If user memory is full, the screen indicate “Memory Full!” and you can’t import the
audio le. In this case, you’ll need to delete unnecessary samples.
9.
Repeat steps 7–8 to import the desired les into the JUNO-DS.
MEMO
5
An imported audio le can be used as a single patch by pressing the [SAMPLE]
button.
5
If the le size is large, the import may require several minutes.
NOTE
Never turn o the power while the screen indicates “Processing....”
Recalling a Sample
1.
Press the [SAMPLE] button.
2.
Use the value dial to select a patch.
* The pitch cannot be changed if the pitch is more than two octaves above the
specied Original Key.
Deleting Imported Samples
1.
Press the [SAMPLE IMPORT] button.
The SAMPLE MENU screen appears.
2.
Move the cursor to “SAMPLE DELETE,” and press the [ENTER] button.
The SAMPLE DELETE screen appears.
3.
Select the sample (patch) that you want to delete.
4.
Move the cursor to “DELETE,” and press the [ENTER] button.
A conrmation message appears.
If you decide to cancel, press the [EXIT] button.
5.
Press the [ENTER] button to delete a sample.
MEMO
5
Some or all notes of performances that use the deleted sample will no longer
sound.
5
It’s a good idea to back up important data to a USB ash drive or to your
computer (p. 18).
Editing Samples
1.
Press the [SAMPLE IMPORT] button.
The SAMPLE MENU screen appears.
2.
Move the cursor to “SAMPLE EDIT” and press the [ENTER] button.
The SAMPLE EDIT screen appears.
3.
Move the cursor to tab, and use the [K] [J] buttons to switch the pages.
4.
Move the cursor to the parameter that you want to edit, and use the value
dial to change the value.
MEMO
You can make detailed settings for the sample, such as the sample’s loop point
and original key. For details, refer to “Parameter Guide (English)” (PDF).
5.
To save the edited settings, perform the operation “Saving Your Settings
(Write)” (p. 10).
IMPORT folder
01.wav
02.wav
03.wav
04.wav
05.wav
06.wav
07.wav
Importing a Sample and Playing It on the Keyboard (SAMPLE IMPORT)