8
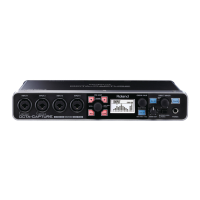
Connecting the VS-100/VS-700 and the OCTA-CAPTURE
1. Switch on the power to the VS-100/VS-700.
The OCTA-CAPTURE unit will be the timing master.
2. Specify the sampling frequency
(VS-100 Owner’s manual p. 52, VS-700 Owner’s manual p. 80)
* When using two units, they cannot be used with the 192 kHz setting.
3. Switch on the power to the OCTA-CAPTURE.
4. In the Utility section on the OCTA-CAPTURE, turn VS-EXPAND
on (OCTA-CAPTURE Owner’s manual p. 60).
5. Set the OCTA-CAPTURE to the same sampling frequency as
the VS-100/VS-700 (OCTA-CAPTURE Owner’s manual p. 68).
6. In order to digitally synchronize the two units, use a coaxial
cable to connect the OCTA-CAPTURE’s COAXIAL OUT (9/10)
to the VS-100/VS-700’s COAXIAL IN (9/10).
* If the Utility section’s DIGITAL setting is turned o, the sampling
frequency will not switch. Change the VS-100’s DIGITAL setting to
“AUTO” (VS-100 Owner’s manual p. 55)
7. Connect the VS-100/VS-700 and the OCTA-CAPTURE to the
computer.
Connect the two USB cables to USB ports that are near each other.
Windows 7/Windows Vista users
The driver will be installed automatically when you connect the
OCTA-CAPTURE. Please wait.
Windows XP users
After you’ve made the connection, follow steps 10 through 13 on p. 20
of the OCTA-CAPTURE Owner’s Manual to install the driver.
8. The procedure will dier depending on your system.
Proceed as follows.
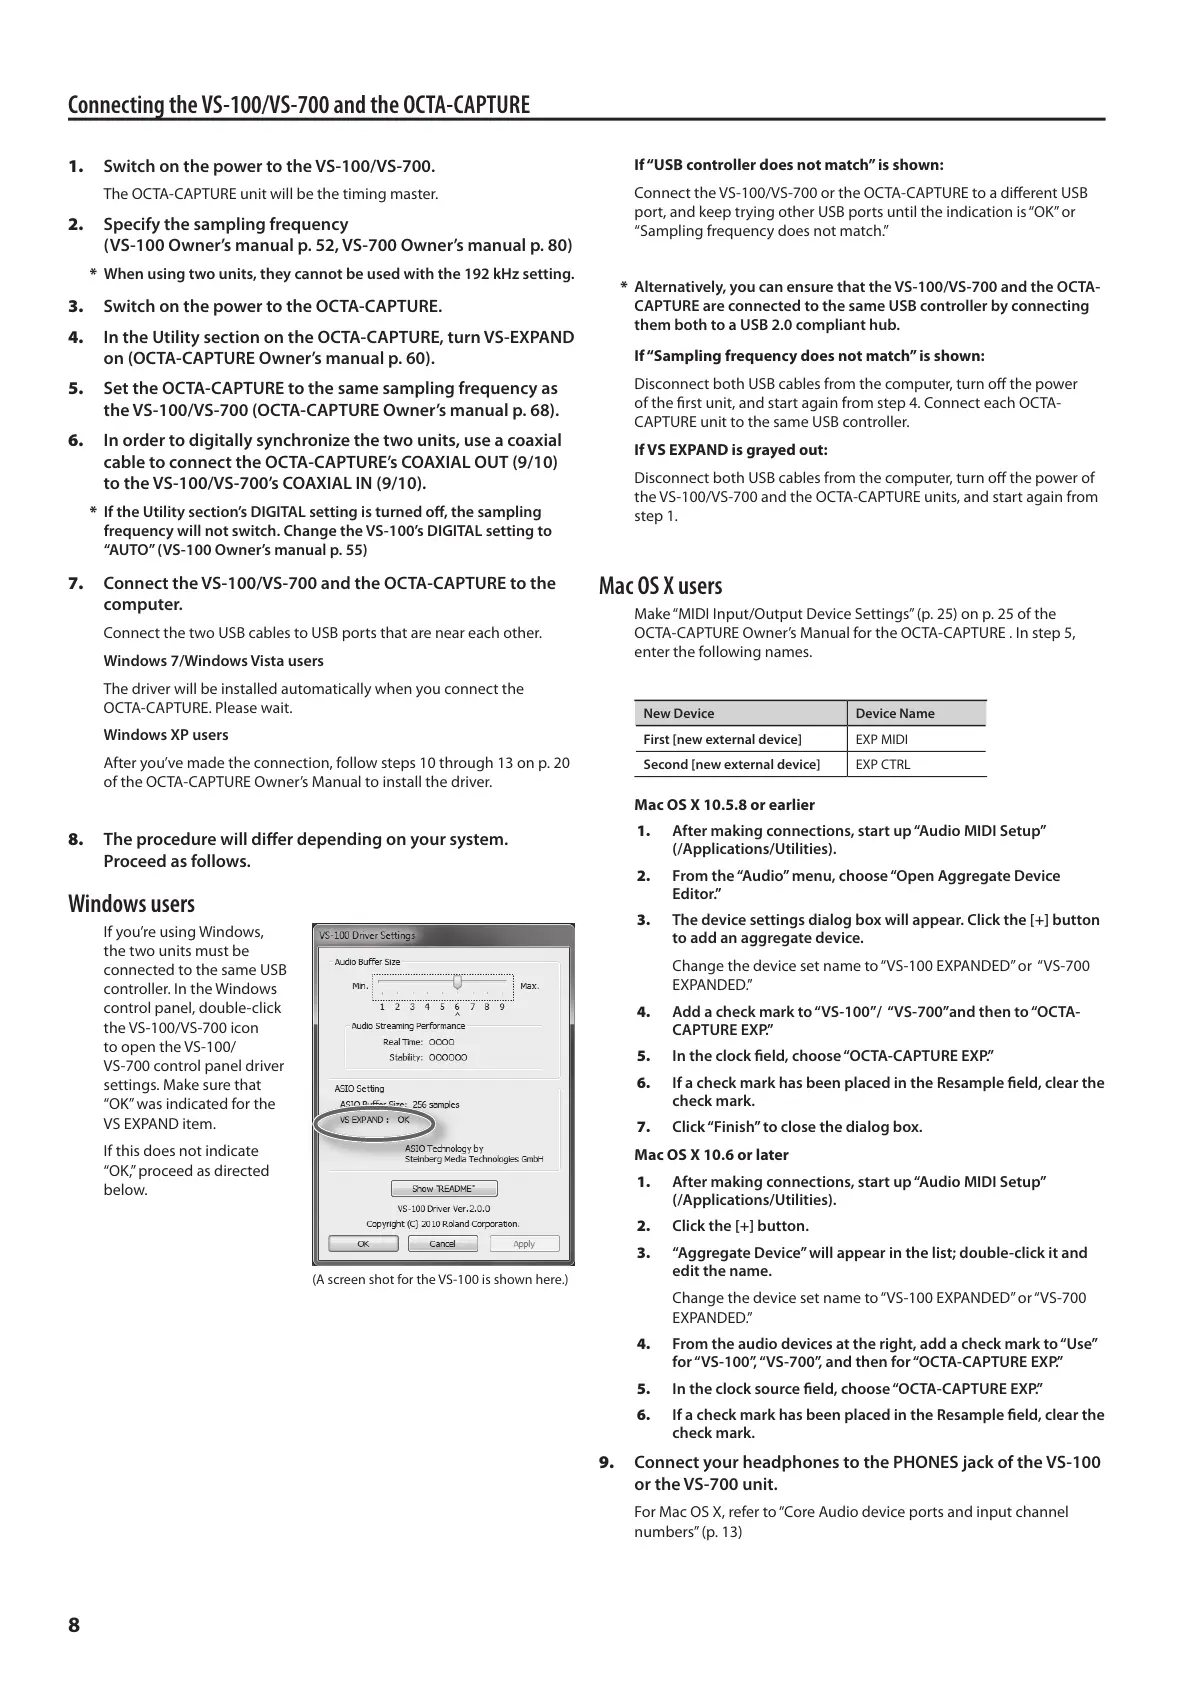
Windows users
If you’re using Windows,
the two units must be
connected to the same USB
controller. In the Windows
control panel, double-click
the VS-100/VS-700 icon
to open the VS-100/
VS-700 control panel driver
settings. Make sure that
“OK” was indicated for the
VS EXPAND item.
If this does not indicate
“OK,” proceed as directed
below.
If “USB controller does not match” is shown:
Connect the VS-100/VS-700 or the OCTA-CAPTURE to a dierent USB
port, and keep trying other USB ports until the indication is “OK” or
“Sampling frequency does not match.”
* Alternatively, you can ensure that the VS-100/VS-700 and the OCTA-
CAPTURE are connected to the same USB controller by connecting
them both to a USB 2.0 compliant hub.
If “Sampling frequency does not match” is shown:
Disconnect both USB cables from the computer, turn o the power
of the rst unit, and start again from step 4. Connect each OCTA-
CAPTURE unit to the same USB controller.
If VS EXPAND is grayed out:
Disconnect both USB cables from the computer, turn o the power of
the VS-100/VS-700 and the OCTA-CAPTURE units, and start again from
step 1.
Mac OS X users
Make “MIDI Input/Output Device Settings” (p. 25) on p. 25 of the
OCTA-CAPTURE Owner’s Manual for the OCTA-CAPTURE . In step 5,
enter the following names.
New Device Device Name
First [new external device] EXP MIDI
Second [new external device] EXP CTRL
Mac OS X 10.5.8 or earlier
1. After making connections, start up “Audio MIDI Setup”
(/Applications/Utilities).
2. From the “Audio” menu, choose “Open Aggregate Device
Editor.”
3. The device settings dialog box will appear. Click the [+] button
to add an aggregate device.
Change the device set name to “VS-100 EXPANDED” or “VS-700
EXPANDED.”
4. Add a check mark to “VS-100”/ “VS-700”and then to “OCTA-
CAPTURE EXP.”
5. In the clock eld, choose “OCTA-CAPTURE EXP.”
6. If a check mark has been placed in the Resample eld, clear the
check mark.
7. Click “Finish” to close the dialog box.
Mac OS X 10.6 or later
1. After making connections, start up “Audio MIDI Setup”
(/Applications/Utilities).
2. Click the [+] button.
3. “Aggregate Device” will appear in the list; double-click it and
edit the name.
Change the device set name to “VS-100 EXPANDED” or “VS-700
EXPANDED.”
4. From the audio devices at the right, add a check mark to “Use”
for “VS-100”, “VS-700”, and then for “OCTA-CAPTURE EXP.”
5. In the clock source eld, choose “OCTA-CAPTURE EXP.”
6. If a check mark has been placed in the Resample eld, clear the
check mark.
9. Connect your headphones to the PHONES jack of the VS-100
or the VS-700 unit.
For Mac OS X, refer to “Core Audio device ports and input channel
numbers” (p. 13)
(A screen shot for the VS-100 is shown here.)
 Loading...