Do you have a question about the Roland Sound Canvas SC-55 and is the answer not in the manual?
Highlights the SC-55's GS Standard compatibility, sound quality, and compact design.
Guidelines for power supply, unit placement, maintenance, and general safety precautions.
Details on the memory backup battery life and replacement recommendations.
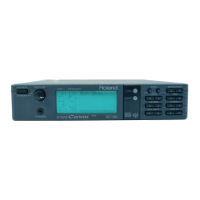
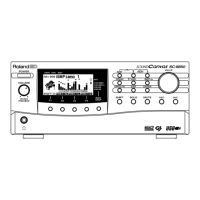
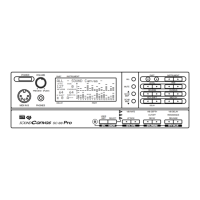
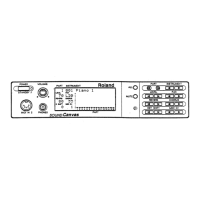
Description of buttons, knobs, and the display on the front panel.
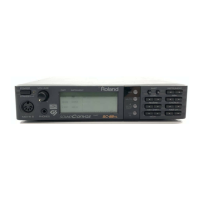
Details on MIDI connectors, audio jacks, and power input on the rear panel.
Explanation of MIDI IN connectors and how to connect MIDI devices.
Diagram illustrating MIDI keyboard connection.
Diagrams for connecting to sequencers, computers, or CD-ROM decoders.
Instructions for connecting audio outputs to stereo systems or monitors.
How to connect audio signals from external devices for mixing.
Instructions for connecting the power supply unit.
Steps for installing the unit into a rack mount adaptor.
Guidelines for operating the remote control and its range.
Instructions to turn off the remote control receiving switch.
Steps for replacing the lithium battery in the remote control.
Procedure to select and change instruments for each part.
How to set the volume level for all parts.
How to set the stereo pan position for all parts.
Steps to adjust the reverb effect level (0-127).
Steps to adjust the chorus effect level (0-127).
Instructions for transposing the pitch of all parts.
Explains how MIDI parts correspond to instruments.
Steps to select instruments using the unit's controls.
How to change instruments using an external MIDI device.
Explanation of drum parts and the use of MIDI channel 10.
Steps to choose drum sets using the unit's controls.
How to change drum sets using an external MIDI device.
Procedures for assigning parts to drum sets.
Adjusting the volume for each part (0-127).
Setting the stereo pan for each part (L63-0-R63).
Adjusting the reverb level for each part (0-127).
Adjusting the chorus level for each part (0-127).
Transposing the pitch for individual parts (-24 to +24).
How to temporarily mute all sounds simultaneously.
How to temporarily mute individual parts.
How to monitor the sound of a specific part.
How to monitor the sound of all parts simultaneously.
How to adjust the master tuning frequency (415.3-466.2Hz).
Instructions for adjusting the display contrast (1-16).
Steps to select and set bar display and peak hold options.
Troubleshooting steps for issues like no sound or incorrect pitch.
| Polyphony | 24 voices |
|---|---|
| Multitimbral | 16 parts |
| Drum Kits | 9 |
| MIDI Channels | 16 |
| Effects | Reverb, Chorus |
| Preset Patches | 128 |
| Headphone Output | Yes |
| Release Year | 1991 |
| Display | 16-character LCD |
| Type | Sound Module |
| Synthesis Method | LA Synthesis (Linear Arithmetic Synthesis) |
| ROM | 4MB |
| Connectors | MIDI In/Out/Thru, Stereo Output, Headphone Output |
| MIDI | IN, OUT, THRU |
| Outputs | Stereo (L/Mono, R) |