7
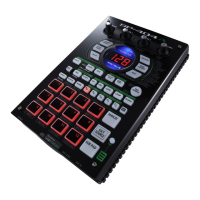
Before You Start
1.
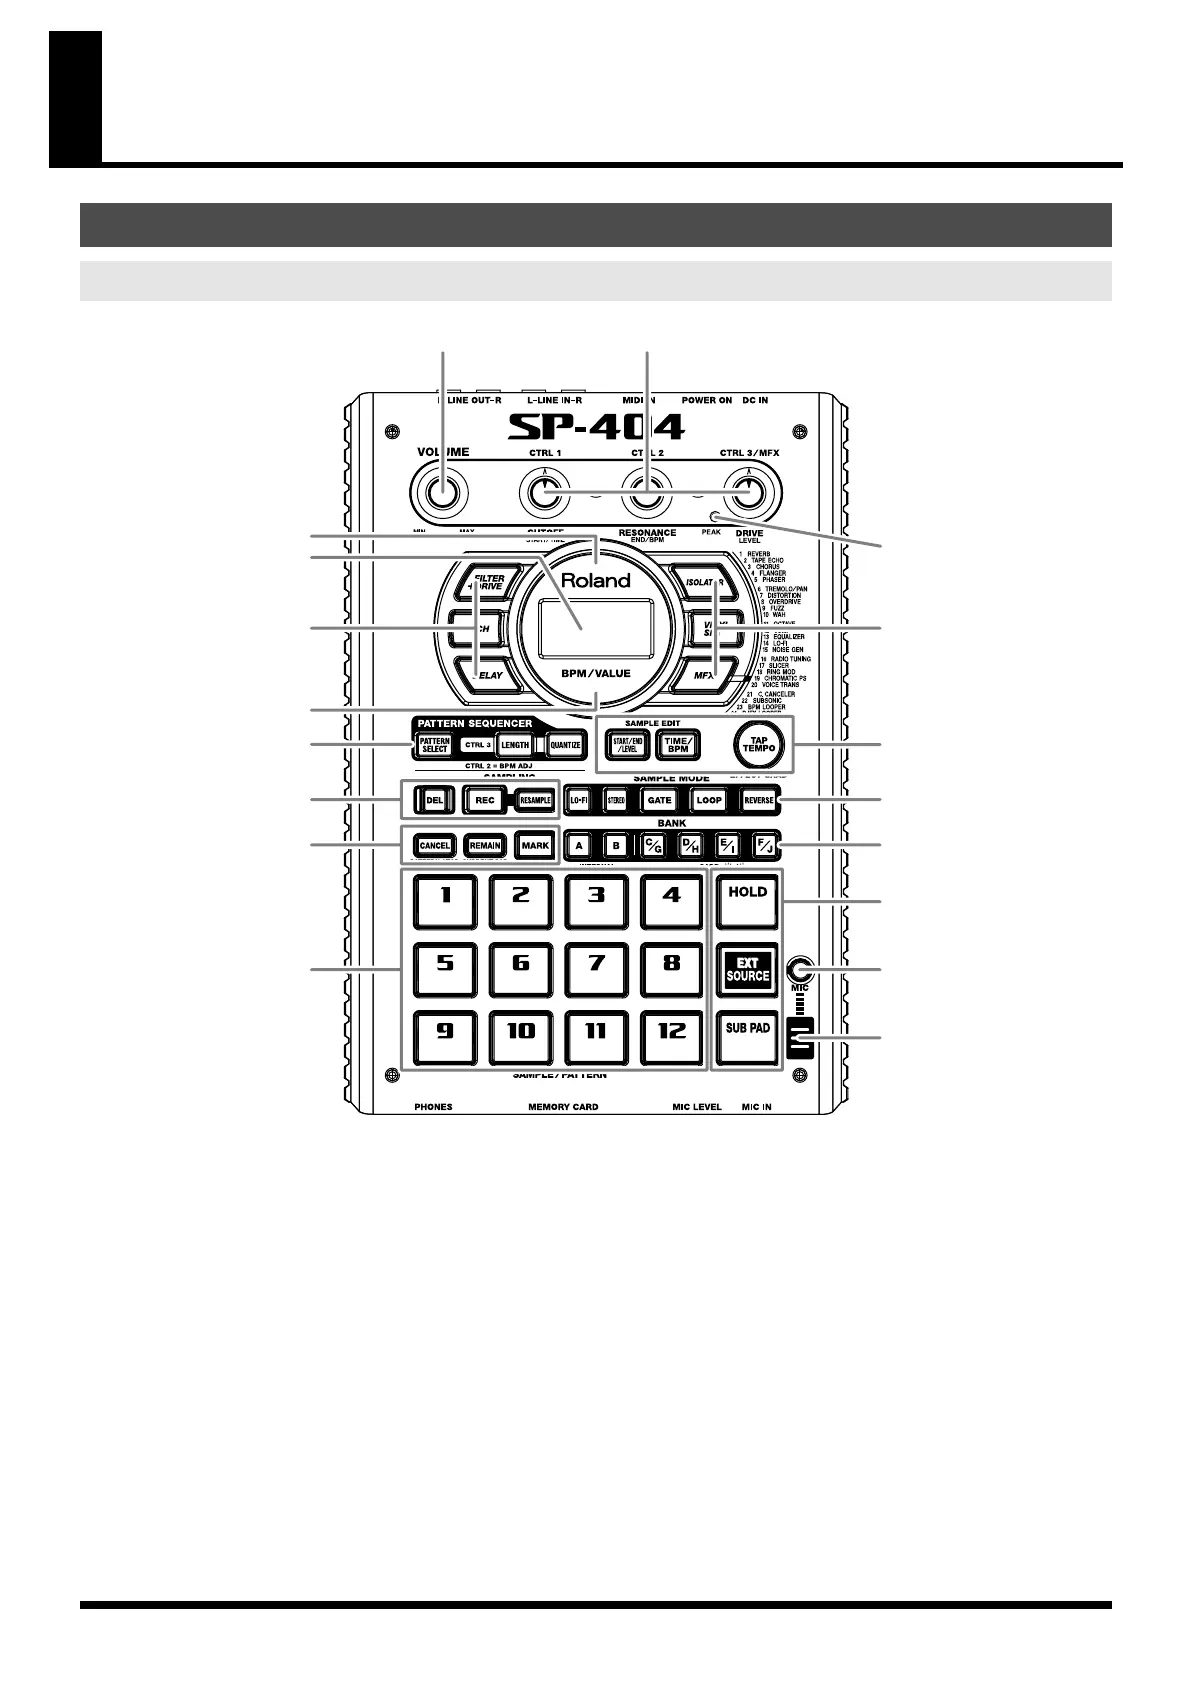
VOLUME Knob
This knob adjusts the volume of the line output and the
headphones.
2.
CTRL 1–3 Knobs
These knobs control the parameters that are assigned to each
knob according to the effect you’ve selected. The knobs are also
used in the following ways:
CTRL 1 Knob
You can use this knob to adjust the sample start location or the
sample playback time.
CTRL 2 Knob
You can use this knob to adjust the pattern’s BPM (tempo) or
the sample end location.
CTRL 3/MFX Knob
You can use this knob to select an MFX type, or to adjust the
sampling level or the sample volume.
3.
PEAK Indicator
This indicator helps you adjust the level when sampling. In
order to sample at the correct level, adjust the level so that this
indicator lights occasionally.
* The PEAK indicator shows the clipping level during internal A/D
conversion. It does not indicate the clipping level of the analog input.
4.
Effect Buttons
Use these buttons to select the effect you want to use. An effect
is on when its button is lit, and off when the button is dark. (p.
12, p. 18, p. 26, p. 45)
* You can’t turn two or more effects on simultaneously.
5.
Display
This provides information such as the BPM (tempo) of the
sample or pattern, the values of various settings, and error
messages. The display can also show the remaining available
sampling time.
6.
Display Illumination
This will blink in synchronization with the tempo of the pattern.
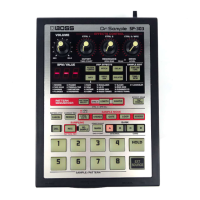
Names of Things and What They Do
Top Panel
12
3
44
5
6
6
7
9
11
8
10
12
13
14
15
16
SP-404_e.book 7 ページ 2006年3月3日 金曜日 午後2時46分