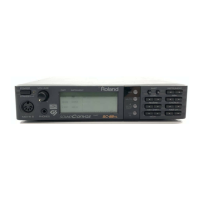
39
May, 2007 V-SYNTH/GT
25. SW1/LED1
This performs verification of switches with LEDs.
A screen like the one shown below is displayed on the LCD.
fig.25-sw1-led1.eps_90
Press the buttons displayed on the LCD screen in sequence.
Make sure that the LED lights up and a beep is played at this time.
When the last button, [TONE FX], has been pressed, execution automatically
advances to the next test item.
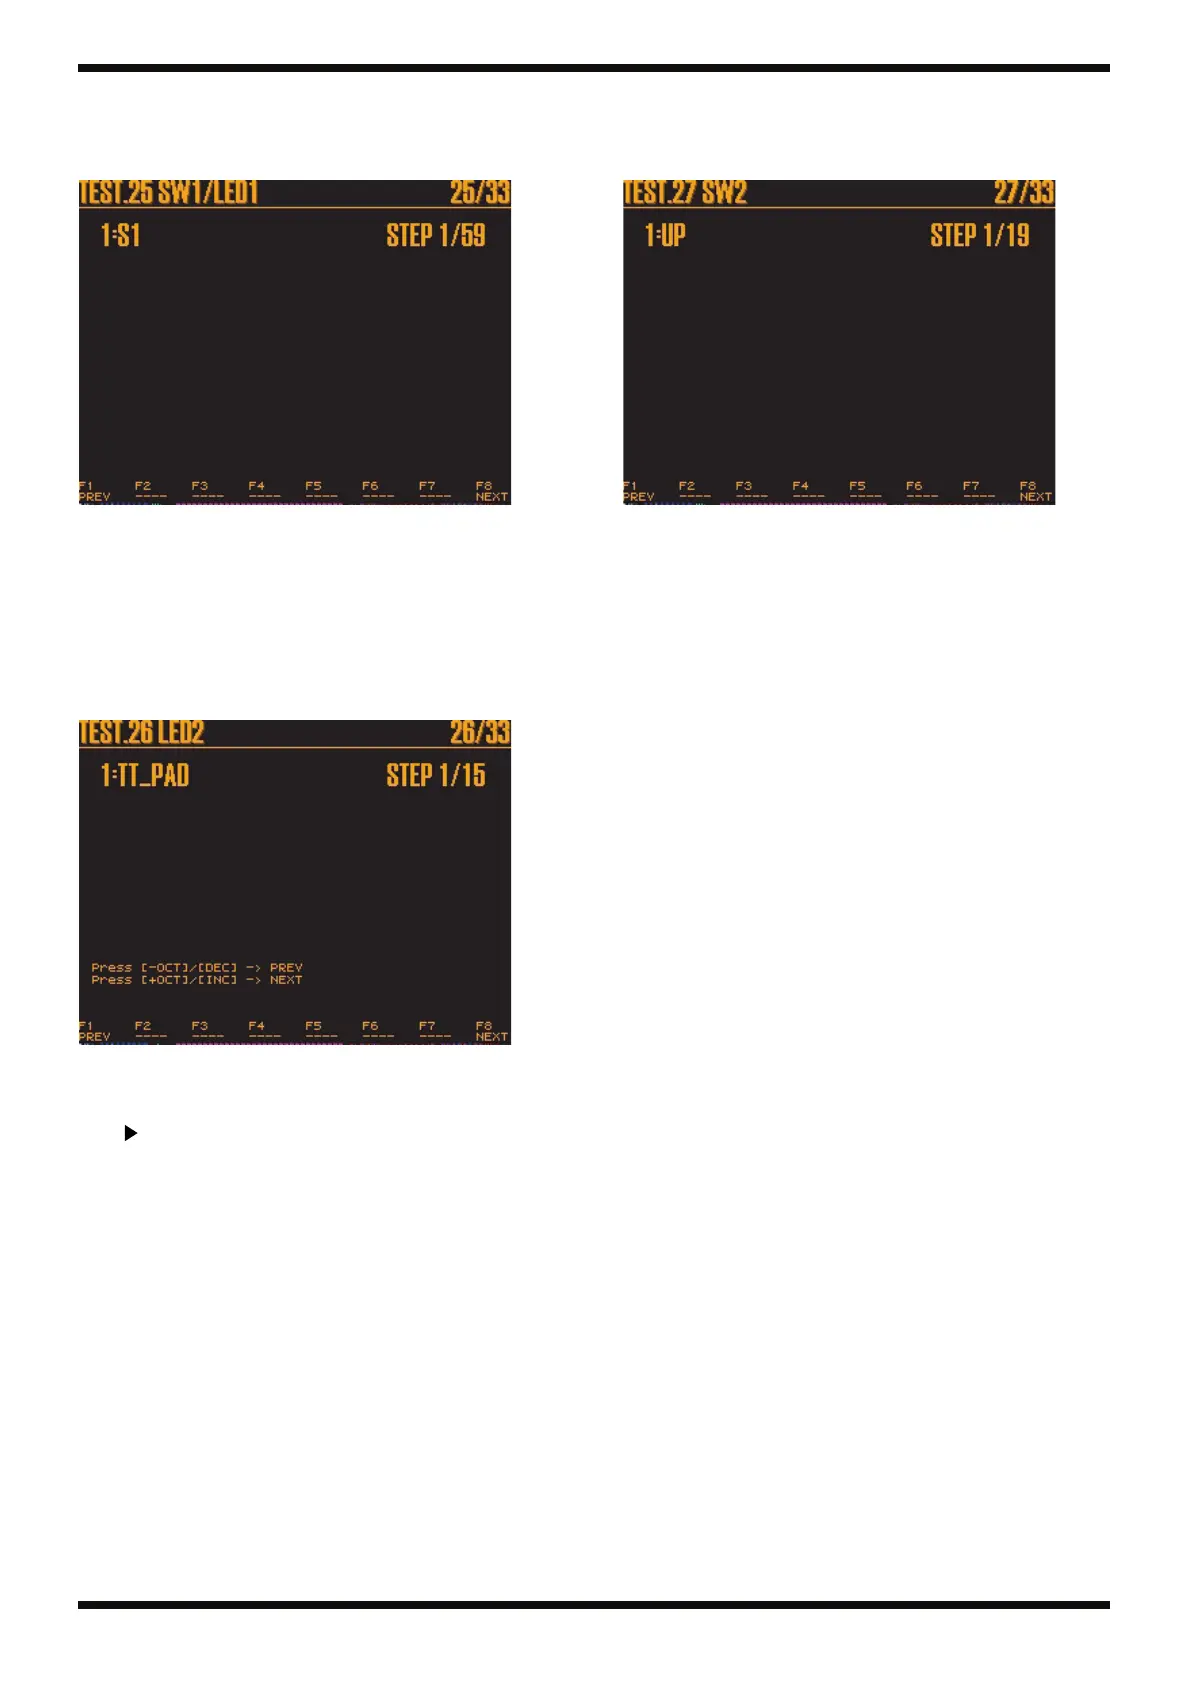
26. LED2
This performs verification of LEDs.
A screen like the one shown below is displayed on the LCD.
fig.26-led2.eps_90
Make sure that the LED displayed on the LCD screen is lighted.
Pressing [+OCT] or [INC] makes the next LED light up.
At [15: ENV_SCREEN], pressing [+OCT] or [INC] makes the LED go dark.
Press [ ] to advance to the next test item.
27. SW2
This performs verification of switches without LEDs.
A screen like the one shown below is displayed on the LCD.
fig.27-sw2.eps_90
All LEDs light up.
Press the buttons displayed on the LCD screen in sequence.
Verify that a beep is sounded when each button is pressed.
When the last button, [INC], has been pressed, execution automatically
advances to the next test item.
 Loading...