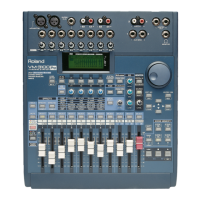
Inputs 1 and 2 can each provide power—called “phantom power”—to
connected condenser-type microphones. Before this can be done, the
system-wide phantom power switch must be turned on in the “SYSTEM
PREF” screen. Phantom power can then be activated independently for
Inputs 1 and 2 on their individual Input Assign screens.
Use the following procedure to turn on the system-wide phantom power:
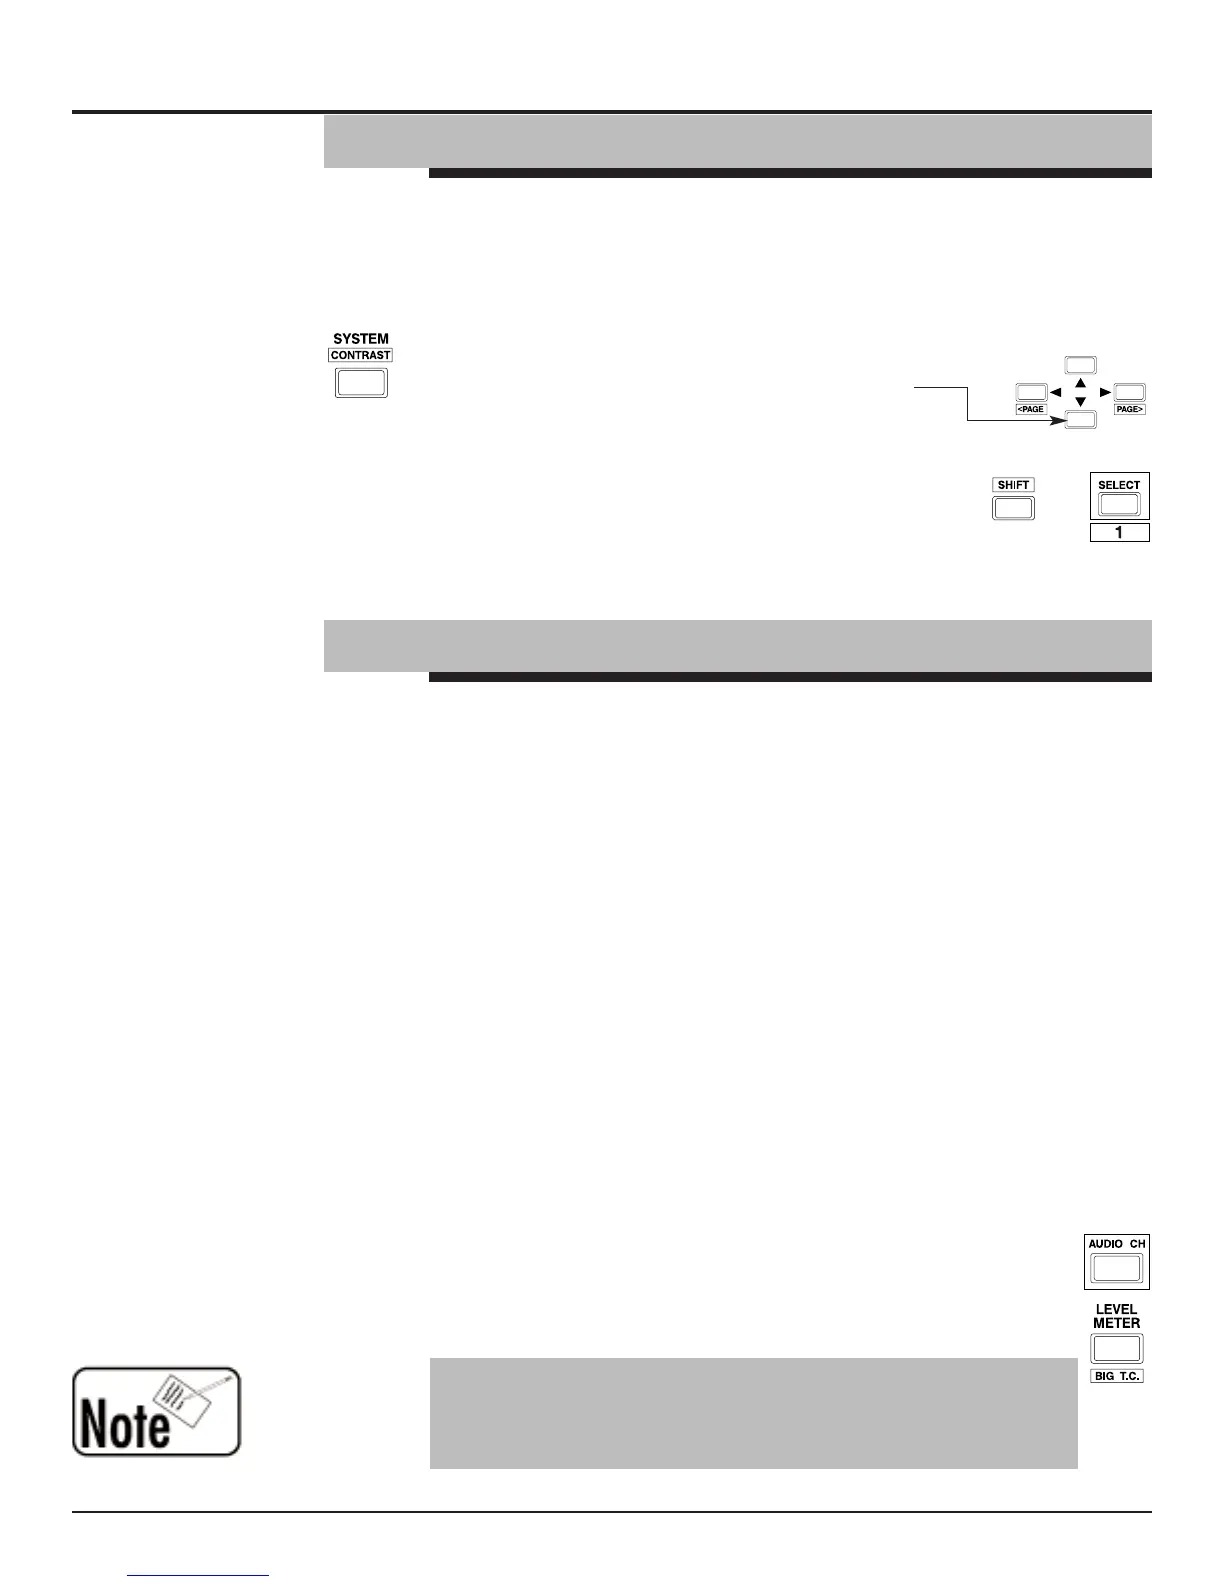
1. Press SYSTEM.
2. Use the DOWN page button to select “Phantom.”
3. Rotate the large gray VALUE dial to select “ON.”
Use the following procedure to switch the phantom power on or off for
Inputs 1 or 2:
1. While holding SHIFT, press the SELECT button for the
desired Channel (1 or 2).
2. Use the DOWN or UP page buttons to select “Phantom.”
3. Rotate the VALUE dial to select “ON”—this enables the channel’s
phantom power —or “OFF” to turn the phantom power supply off.
One of the great features of the VM-3100 is its routing flexibility. Any
input on the VM-3100 can be routed to any channel so you don’t have
to physically unplug a cable when you want to control its signal using a
different channel. An input can also be routed to multiple channels.
There are two methods in the VM-3100 that you can use for routing an
input to any channel.
Method One
This method uses the desired channel’s Input Assign screen. We’ll use
Channel 6 as an example:
1. While holding down SHIFT, press Channel 6’s SELECT button. The
Input Assign Display appears.
2. Use the DOWN or UP page buttons to select “Source.”
3. Turn the VALUE dial to choose the desired input—IN01 (Input 1)
through IN12 (Input 12).
VM-3100Pro Only:
You can also choose TR01 through TR08 to
select any track from a digital recorder—such as Roland’s
VSR-880—connected to the VM-3100’s RMDBII I/O terminal. The
RMDBII, or “R-BUS,” terminal can also be connected to a Roland
ADA-7000 AD/DA Converter or to a Roland AE-7000 AES/EBU
Interface—when using either device, you can choose from among
eight channels of digital audio by selecting TR01 through TR08.
4.
VM-3100Pro Only:
To select inputs jacks or tracks for Channels 13-
20, tap AUDIO CH until it turns green. Hold down SHIFT and the
SELECT button for the desired channel. Turn the VALUE dial to
choose the desired input.
5. Press LEVEL METER (BIG T.C.) to exit the Input Assign screen.
1999 Roland Corporation U.S. The Basics of the VM-3100/VM-3100Pro Faxback# 21099 Page 4
®ÂØÒňΠSupplemental Notes The Basics of the VM-3100/VM-3100Pro
III. Activating Phantom Power on Inputs 1 and 2
IV. How to Route Inputs to Channels
As shipped from the factory, inputs are controlled by their like-numbered
channels. For example, Input 1 is routed to Channel 1, etc.You can re-
establish these settings by initializing the VM-3100, as described on
Page 22 of this
Supplemental Note
.
+
 Loading...