Method Two
You can also route inputs to channels using the EZ Routing feature:
1. Press EZ ROUTING. If the “01 BASIC MIX” EZ Routing is not
already selected on the “EZR SEL” screen, turn the VALUE dial to
select it. Press ENTER/YES (REDO) to confirm your choice.
2. Press F1-F4 ON/OFF.
3. Press F1 [IN]. The “EZR IN” screen appears.
4. Tap the RIGHT page button until you’ve highlighted the input setting
for Channel 6—it’s the sixth one from the left.
5. Turn the VALUE dial to select the desired input.You can select any
input from Input 1 (IN01) to Input 12 (IN12).
VM-3100Pro Only:
You can also choose TR01 through TR08 to
select any one of eight tracks or channels of digital audio from a
device connected to the VM-3100’s RMDBII I/O terminal.
6. Press LEVEL METER (BIG T.C.) to exit the Input Assign screen.
VM-3100Pro Only: If your AUDIO CH button is currently green, press it
so that it turns red before continuing with this
Supplemental Note
.
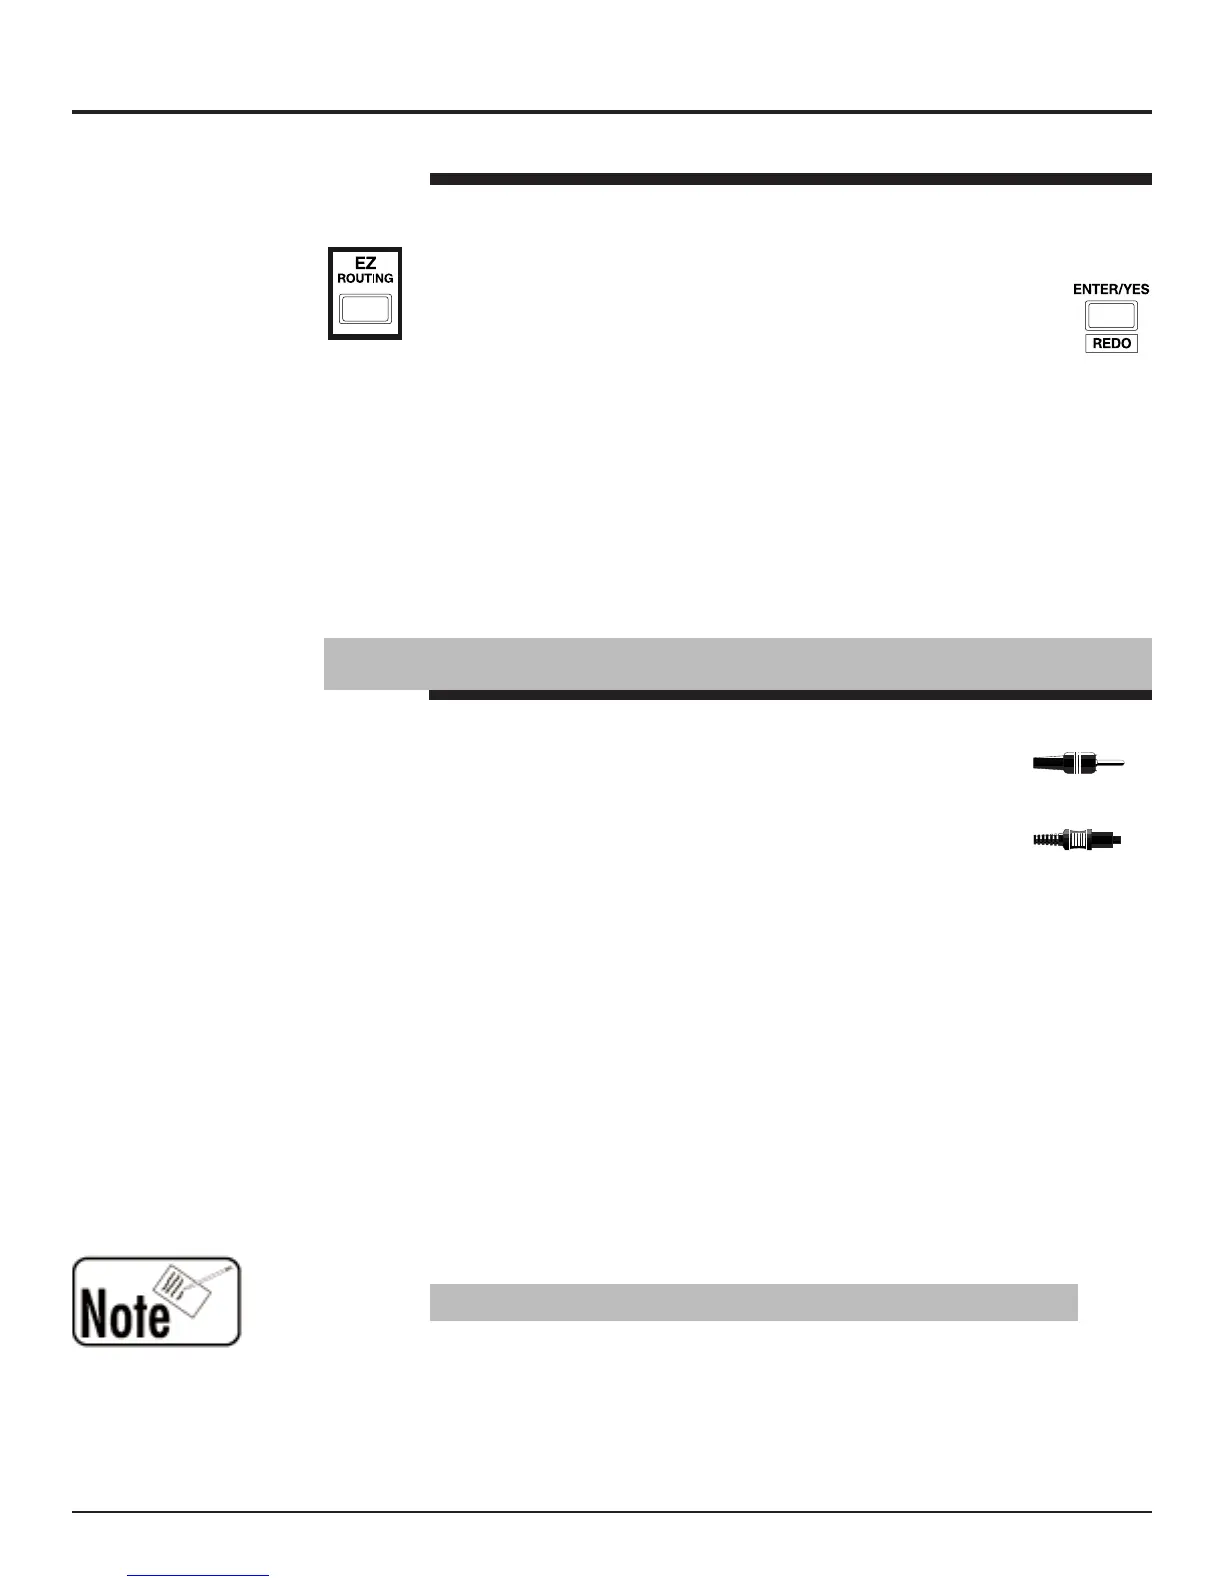
The VM-3100’s rear panel provides both coaxial and optical
digital inputs. Both of these inputs accept a stream of stereo
digital audio data.You can connect a digital device to the IN A
jack using a standard coaxial digital cable. The IN B jack
connects to an optical digital cable. Both types of cable can
be found at your local music retailer. We strongly
recommend you use high-quality cables to ensure accurate
transmission of digital signals between connected digital devices and
the VM-3100.
When two digital devices are connected, one or the other of the devices
must supply a common timing reference—called the “master clock”—
that both devices will use. This makes the synchronization between
digital devices extremely accurate. Generally, the device sending the
data will provide the master clock.
Before you can hear digital audio coming into the VM-3100, you must
first tell the VM-3100 which digital connection you’re using so that it
knows where to find the master clock. There are two ways to do this.
Method One
1. With the VM-3100 and the digital device powered down, connect the
device’s digital output to either of the VM-3100’s digital inputs.
2. Power on the digital device you’re connecting to the VM-3100.
3. Set the device to output a digital signal of 44.1kHz.
4. Turn on the VM-3100 and press SYSTEM.
5. Use the DOWN or UP page button to select “MasterClk.”
6. Turn the VALUE dial to select either “DIN-A” for the coaxial input or
“DIN-B” for the optical input. The display flashes “Digital IN
Checking” for a few seconds and then “Digital IN Locked!”—this
indicates that the VM-3100 is successfully synchronized to the
device connected to its digital input.
1999 Roland Corporation U.S. The Basics of the VM-3100/VM-3100Pro Faxback# 21099 Page 5
How to Route Inputs to Channels (continued)
®ÂØÒňΠSupplemental Notes The Basics of the VM-3100/VM-3100Pro
V. How to Set Up Digital Inputs
The VM-3100 always receives digital data at a sample rate of 44.1kHz.
Optical connector
Coaxial connector
 Loading...