13
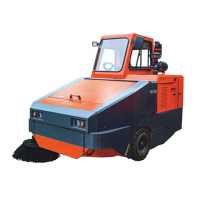
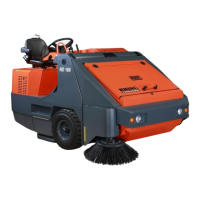
RootsScrub E Series (230V/50Hz)
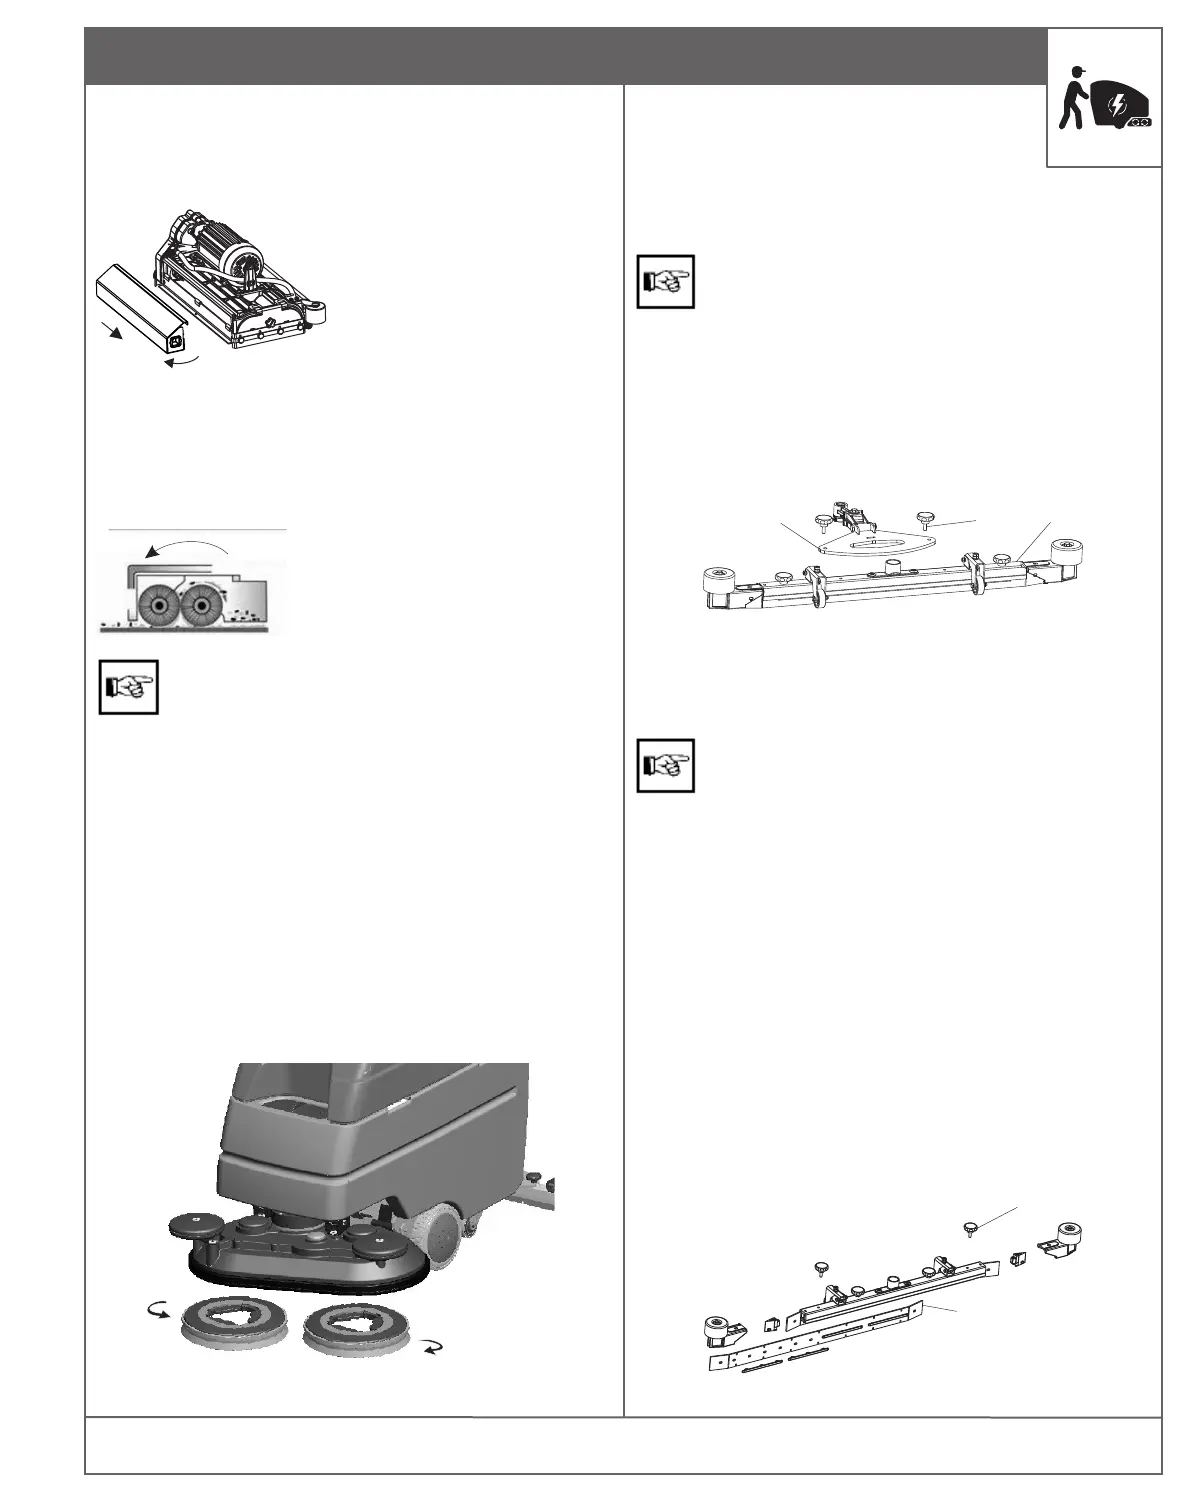
Twin Disc Type Brush
Installation of brush
Removal of brush
Ÿ The tank should be empty.
Ÿ Raise the brush head.
Ÿ Hold the brush in hand - press while rotating the brush onto
the catch till a click sound.
Ÿ Tilt the debris tray towards machine side and pull it out.
Ÿ Now empty the tray by inverting it and shaking.
Ÿ Clean the tray and place it back for further cleaning.
Debris Cleaning
i
o
n
o
f
c
t
r
o
e
i
r
t
a
D
ti
o
n
When inserting the brushes for the next operation,
make sure to change position of the brush such that
one-sided brush wearing is preluded.
Ÿ Raise the brush head and set to its parking position. Remove
the screw at the idler end, open the cover and pull the
brushes towards the user.
Ÿ Close the cover and retighten the screw.
Removal of brush
Ÿ Empty the tanks.
Ÿ Lift the squeegee and the brush head.
Ÿ Rotate the brush with a sudden jerk to remove them.
MACHINE OPERATION
OPERATION SQUEEGEE
The squeegee bracket group fixed to the machine,
allowing swiveling and the oscillating movements.
The squeegee, protruding at the side, evades obstacles in the
machines path and is made swivel backwards.
Straight Squeegee
Before staring to work, check the squeegee for possible
collection of foreign matter and for proper condition.
Mounting of Squeegee (first time)
Ÿ Lift squeegee bracket group (3)
Ÿ Mount squeegee (1) to squeegee bracket group (3) and screw
the knobs (2) as shown in figure.
Ÿ Attach suction hose to the tubular socket of the squeegee.
The supporting wheel under the squeegee bracket group
has been adjusted by the factory.
Ÿ Lift squeegee.
Ÿ Unscrew the squeegee nut (1).
Ÿ Remove the squeegee towards the bottom side.
Ÿ Detach suction hose from the tubular socket of the
squeegee.
Replacement of Sealing Strips
The sealing strips can be removed without any need of tools, as
follows:
Ÿ Remove the squeegee.
Ÿ Remove the knob at the deflector area.(1)
Ÿ Pull the sealing strips (2).
Ÿ Mount the new sealing strips by inverse sequence of
operation.
Removal of Squeegee
1. Squeegee
2. Squeegee Knob
3. Squeegee Bracket group
2
1
1
2
3