Assembly
Disconnect the plug
from the power source
before making any assembly, adjustments
or changing accessories. Such preventive
safety measures reduce the risk of starting the
tool accidentally.
After changing bits or
making any adjust-
ments, make sure the chuck and any other
adjustment devices are securely tightened.
-PPTF BEKVTUNFOU EFWJDF DBO VOFYQFDUFEMZ
shift, causing loss of control, loose rotating
components will be violently thrown.
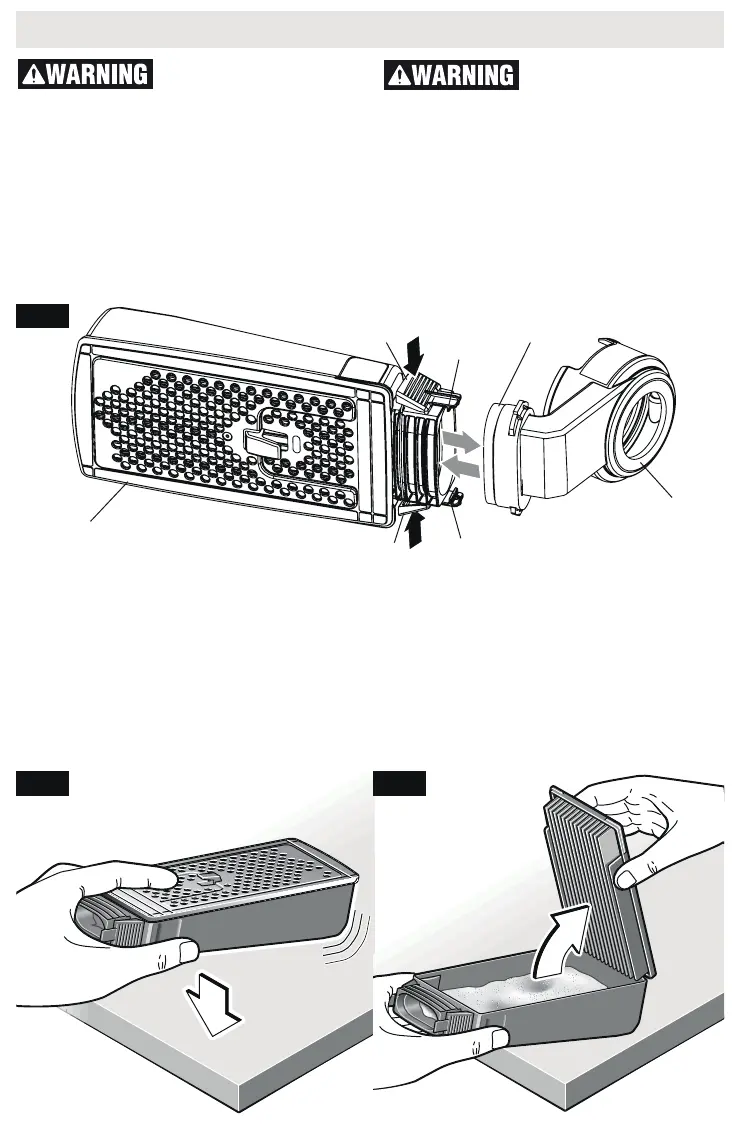
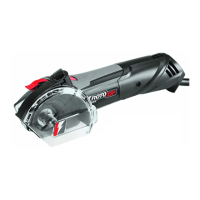
CANISTER ASSEMBLY
1. To attach dust canister, slide Canister onto
dust port until Canister stop tabs are en-
gaged (Fig. 2).
2. To remove dust canister, squeeze release
tabs on both sides of canister and pull away
from dust port (Fig. 2).
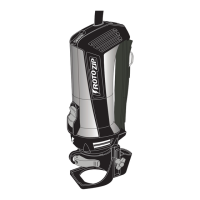
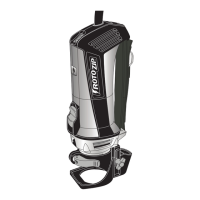
To empty canister:
1. Remove from tool and knock on a solid sur-
face to loosen dust (Fig. 3).
2. Hold canister and maintain a firm grip. Firm-
ly push upward on tab on corner of lid, and
remove from canister (Fig. 4). Knock excess
dust out of the microfilter, or remove dust
with your fingers or a soft brush. You may
notice that all the dust may not come out
of the canister. This will not affect cutting
performance but will reduce dust collection
efficiency.
NOTE: Do not wash the micro filter with soap
and water. Dust may become more firmly
lodged in the pores, which will reduce dust
collection, and damage the micro filter.
Fig. 3
Fig. 2
Fig. 4
FAN
HOUSING
DUST
PORT
STOP
TABS
STOP
TABS
RELEASE
TABS
RELEASE
TABS
DUST
CANISTER