2
ENGLISH
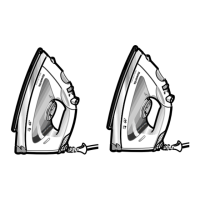
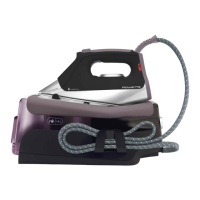
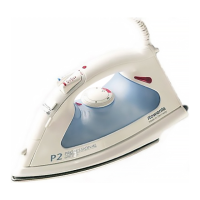
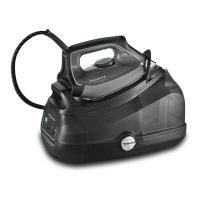
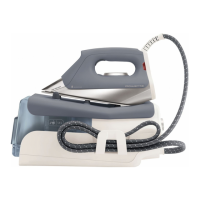
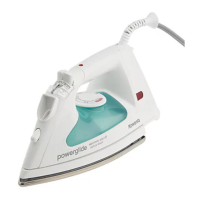
■ For appliance description see diagram on page 3:
A Spray jet
B Sliding cover water filling inlet
C Variable steam control
D Spray button
E Shot of steam button
F Automatic switch-off indicator light
(depending on model)
G Temperature dial
H Flexible cord protector
I Mains supply cord
J Pilot light
K Transparent water tank
L Stainless steel Airglide Precision
soleplate with steam vents
M Maximum water level indicator
SAFETY INSTRUCTIONS:
P The appliance complies with EU directives 72/23/EEC and 89/336/EEC.
E The appliance may only be connected to alternating current as specified
on the rating plate.
E If your home is fitted with a differential current switch, please ensure that
it is sensitive to pulse trains.
U.K. ONLY
SAFETY POINTS FOR REWIREABLE OR MOULDED PLUG:
E The mains lead is fitted with a BS 1363 13A plug.
E If the plug supplied with the product is not suitable for your socket outlet,
then it must be removed (cut off, if it is a moulded-on plug) and a suitable
3 pin plug fitted in accordance with the instructions given below.
IF YOU ARE IN ANY DOUBT, PLEASE CONTACT A QUALIFIED
ELECTRICIAN.
WARNING: Dispose of a plug that has been cut from the power supply cord,
as such a plug is hazardous if inserted in a live 13 amp socket outlet else-
where in the house.
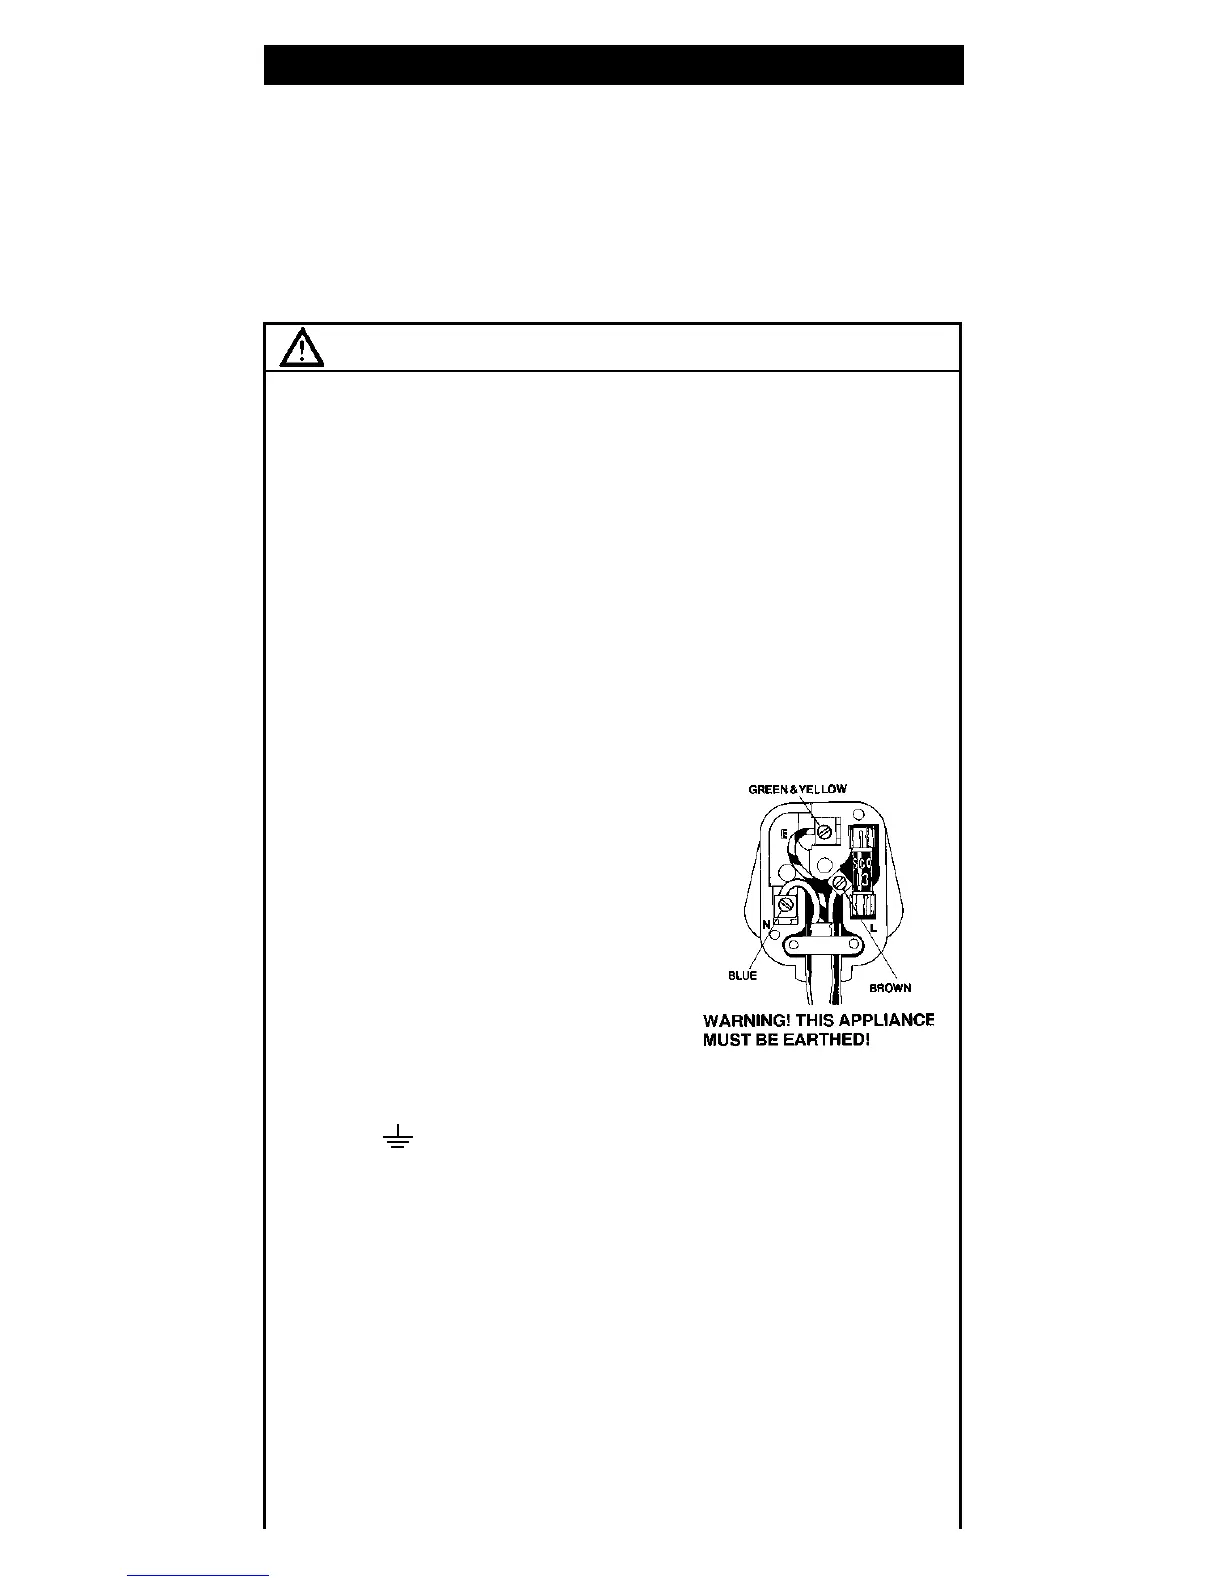
How to connect the cord to a U.K. plug:
IMPORTANT!
The wires in the mains lead are coloured in
accordance with the following code:
Green & Yellow Earth
Blue Neutral
Brown Live
Please read the instructions given below
before connecting the cord to a plug.
If you are in any doubt please consult a qualified
electrician.
As the colours of the wires in the mains lead
of this coffee maker may not correspond with
the coloured markings identifying the termi-
nals
in your plug, proceed as follows:
E The wire that is coloured GREEN & YELLOW must be connected to the
terminal in the plug which is marked with the letter E, or the earth
Symbol , or coloured GREEN or GREEN & YELLOW.
E The wire that is coloured BROWN must be connected to the terminal
which is marked with the letter L or coloured RED.
E The wire that is coloured BLUE must be connected to the terminal which
is marked with the letter N or coloured BLACK.
E This appliance requires a 13 amp fuse.
E Should the fuse need to be replaced an ASTA marked fuse, approved to
BS 1362, of the same rating must be used.
E Always replace the fuse cover after fitting a fuse. The plug must NOT be
used if the cover is omitted or lost until a replacement is obtained - make
certain that only the correct fuse cover is used and fitted.
E For plugs with a detachable fuse cover, the replacement must be the same
as the colour insert in the base of the plug, or as directed by the em-
bossed working on the base of the plug.
E If the detachable fuse cover is lost, a replacement may be purchased from
a Rowenta Service Centre (see enclosed Service Information leaflet).
E Information for supply may also be obtained from the plug manufacturer.
E An electrical appliance is not a toy. Use and store the appliance out of
reach of children. Do not let the supply cord hang down.